
Last updated October 8, 2026
Free in-home measure and quote - PGT, CGI and CWS impact lines compared on your actual openings, style by style


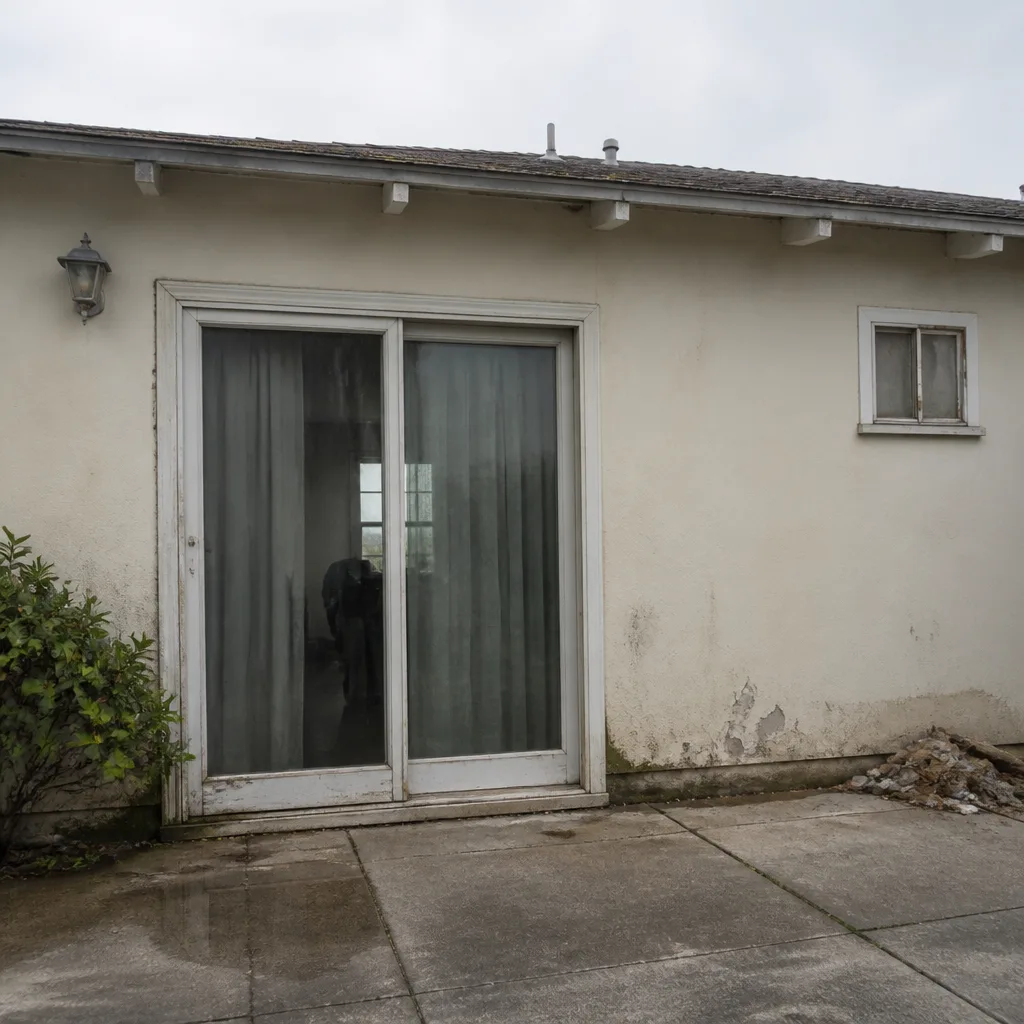 Before
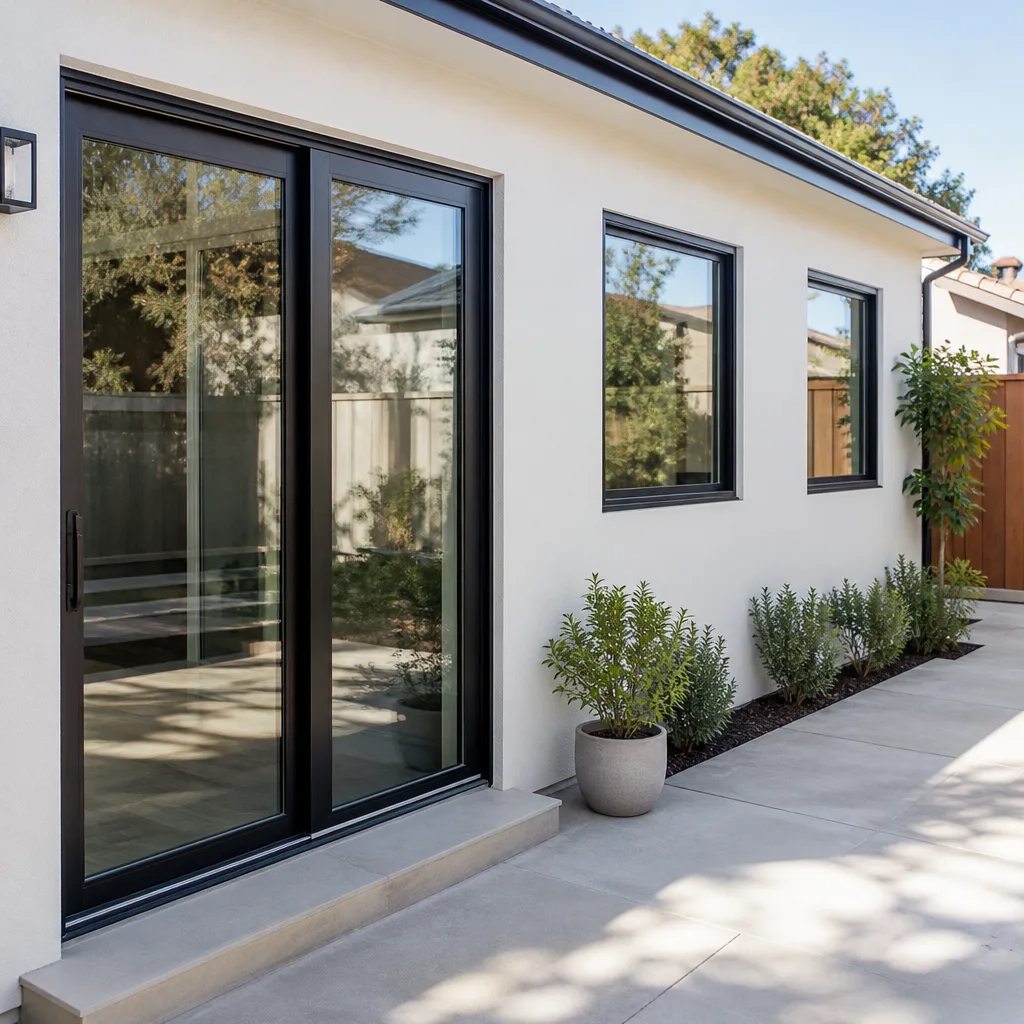 After
After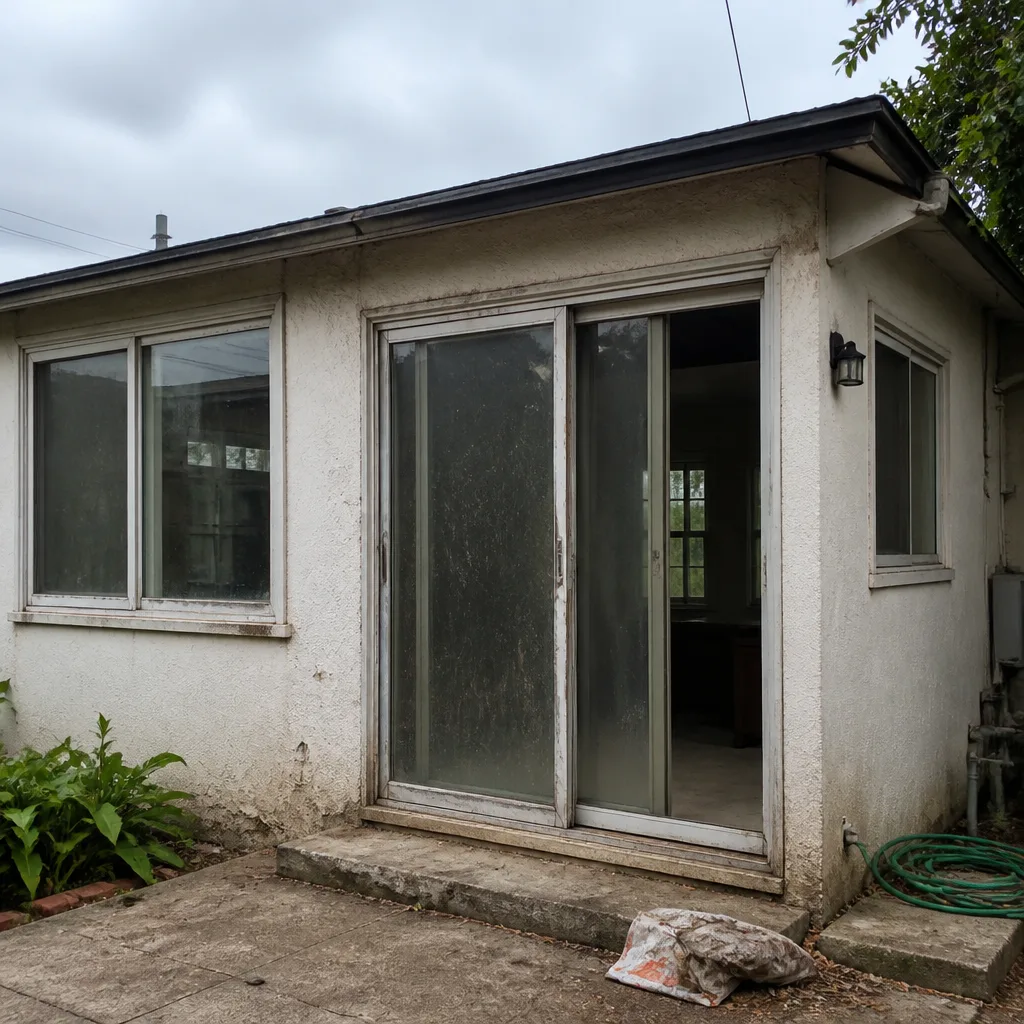 Before
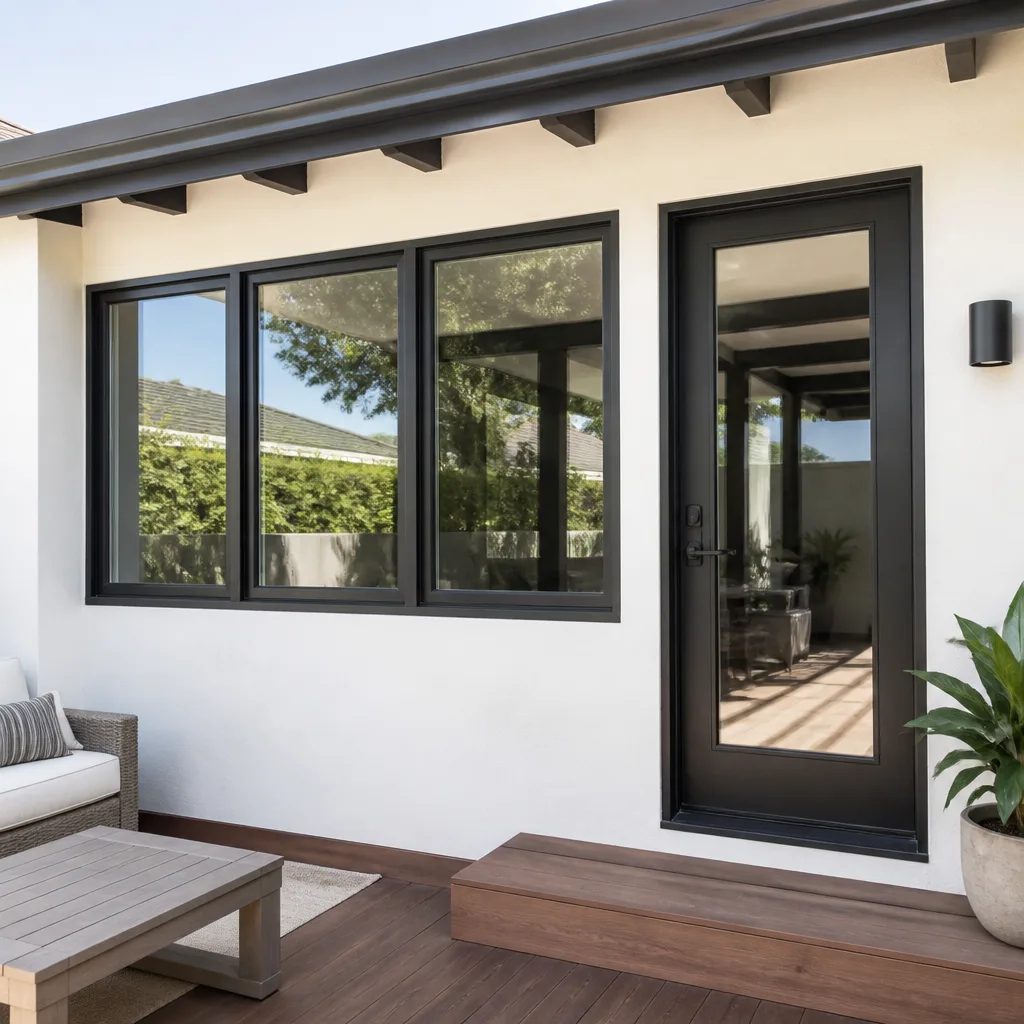 After
After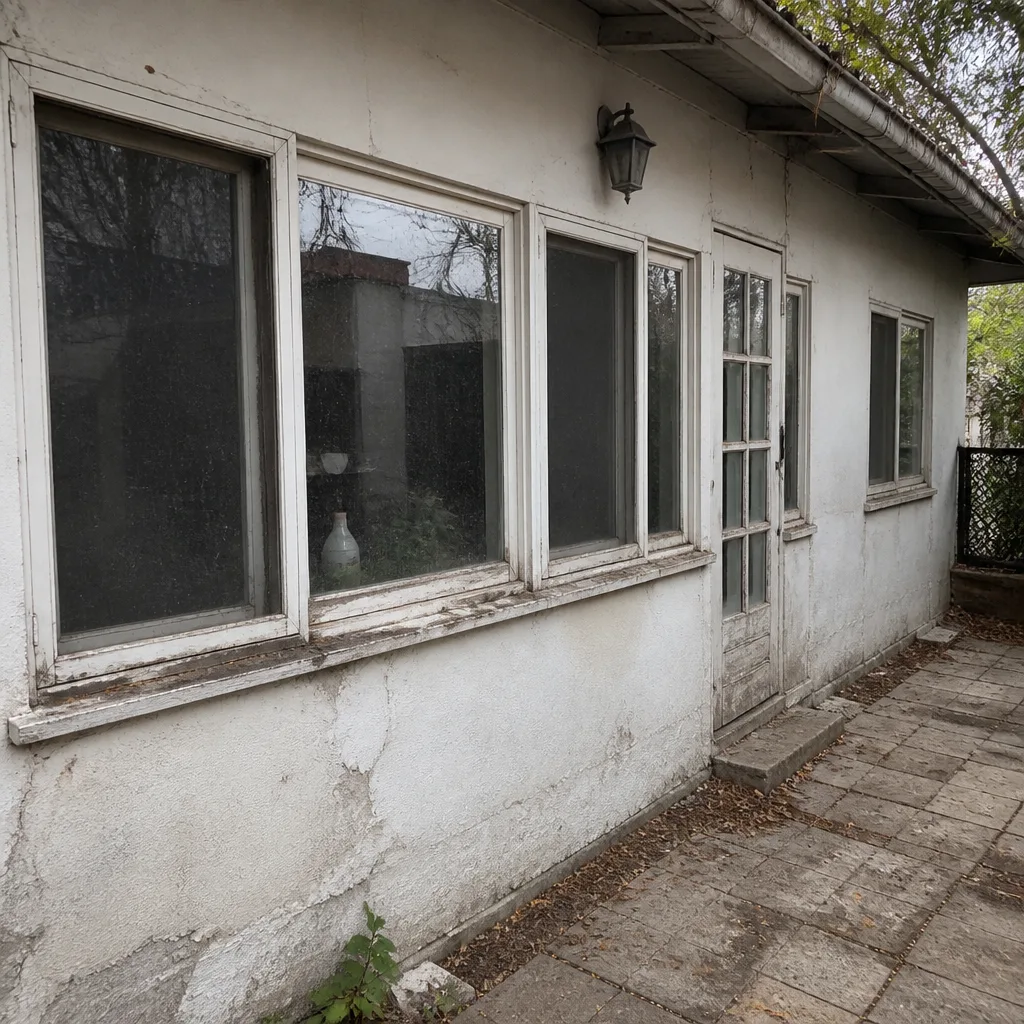 Before
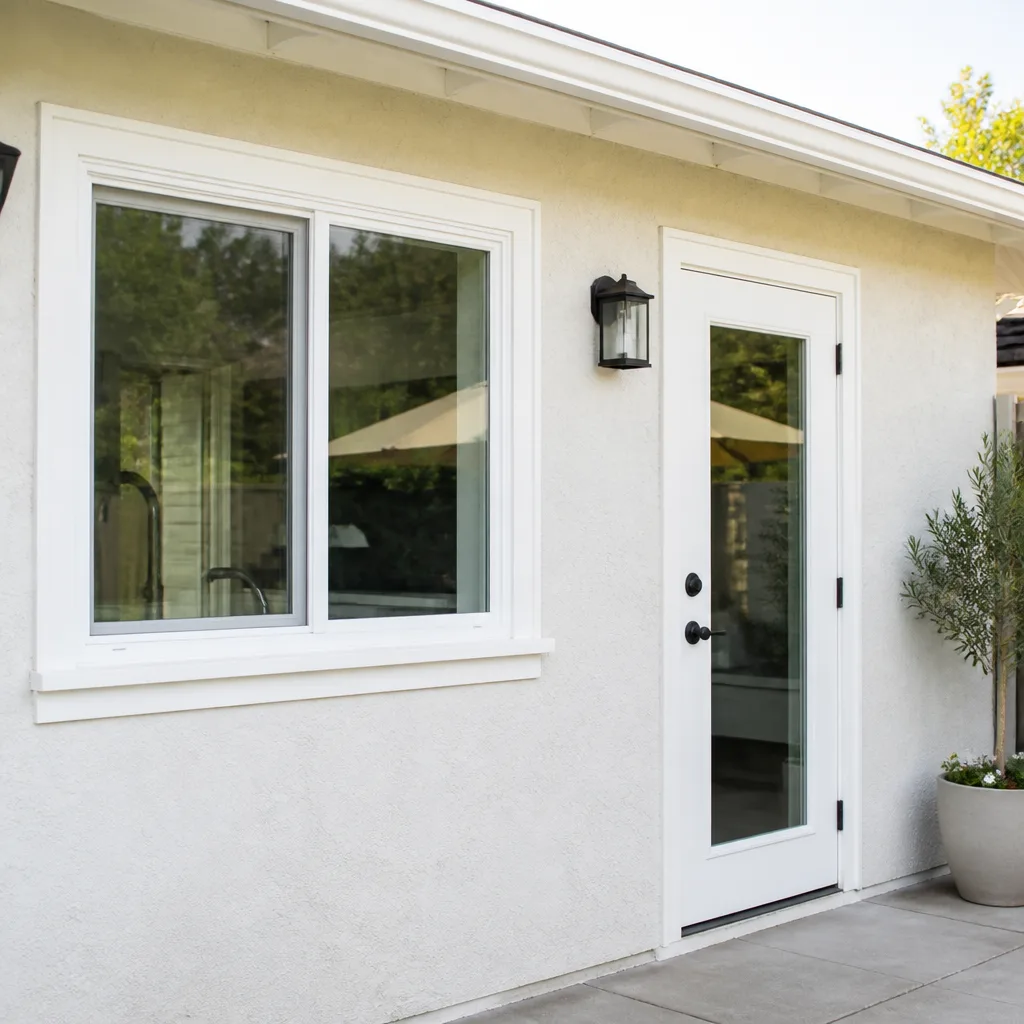 After
AfterDIY vs Professional Window Installation: What’s Safe to Do Yourself
Here’s the counterintuitive truth most window guides won’t tell you: the words “window installation” and “window replacement” get thrown around like they mean the same thing, and in Los Angeles they absolutely do not. A retrofit replacement into an existing frame is a different job from a new construction install into a rough opening, and the DIY calculus is different for each. The homeowner who can confidently handle one might be taking a serious financial risk attempting the other. This guide explains where that line sits, what California’s owner-builder permit really means, and why the waterproofing step is where DIY jobs go quietly and expensively wrong. For related reading, see our guide on DIY vs Professional Window Replacement: What’s Safe to Do Yourself. By the end, you’ll know which projects are genuinely safe to tackle yourself and which ones deserve a professional.
Quick Answer
Retrofit window replacement (swapping the sash and frame into an existing opening) can be a manageable DIY project for a homeowner with solid carpentry skills, the right tools, and a patient weekend. New construction window installation (cutting into framing, creating or enlarging a rough opening, integrating with the weather-resistant barrier) should almost always go to a professional, especially on stucco-clad Los Angeles homes where waterproofing mistakes stay hidden for years and cost thousands to repair. The deciding factors are whether the structural work already exists and who bears liability if water gets in.
Table of Contents
- Retrofit Replacement vs New Construction: Why the Distinction Matters
- California’s Owner-Builder Permit: The Fine Print Nobody Reads
- The Waterproofing Step: Where DIY Failures Hide
- Tools and Skills: What a Competent DIYer Actually Needs
- The Cost of Getting It Wrong in Los Angeles
- What’s Genuinely Safe to DIY
- Common Mistakes to Avoid
- When to Call a Professional
- Frequently Asked Questions
- The Bottom Line
Retrofit Replacement vs New Construction: Why the Distinction Matters
Quick answer first: retrofit replacement means the existing window frame stays put and a new window unit slides inside it. New construction installation means the old window comes all the way out, down to the rough opening, and a new unit gets fastened directly to the framing with a nailing flange. The difference is not cosmetic. It determines whether you’re touching the structural envelope of your house or merely refreshing an opening that already exists.
In a retrofit scenario, the heavy lifting was done when the house was built. The rough opening is already framed, the header is already sized, and the waterproofing layers around the opening were integrated decades ago (for better or worse). The retrofit window gets measured to fit inside the existing frame, shimmed level, screwed into the old frame, and sealed around the perimeter. This is real work, but it’s work within a defined boundary. Most of what can go wrong is visible: a gap in the caulk line, a sash that doesn’t operate smoothly, a failure to insulate the weight pocket if you’re dealing with old double-hung frames.
New construction installation is a different animal. The old window comes out to bare framing. The rough opening gets inspected, possibly rebuilt, possibly enlarged if you’re changing window sizes. A new unit with a nailing flange gets integrated into the wall’s weather-resistant barrier (WRB), the layer of housewrap or building paper that keeps water out of the wall cavity. Flashing tape goes on in a specific order: sill first, then jambs, then head, each layer overlapping the one below it. Then siding or stucco gets patched to meet the new window. In Los Angeles, where a large share of homes are stucco over wood frame, that stucco patch needs to be done correctly or water finds its way in behind the paper and sits there, quietly rotting the sheathing for years before anyone sees a stain on the interior drywall.
One is a window swap. The other is surgery on the wall assembly. Westlight Windows & Doors handles both, and the distinction is the first thing we clarify with every estimate because it changes the scope, the price, and whether the job is even a candidate for a weekend warrior. If someone asks us whether to DIY, our honest answer starts with this question: is the opening already there, framed, and dry? If yes, keep reading. If no, go to the section on When to Call a Professional.
California’s Owner-Builder Permit: The Fine Print Nobody Reads
Here’s a Los Angeles-specific fact that changes the DIY calculation: California allows a homeowner to act as their own contractor for work on their primary residence under an owner-builder permit, and yes, that includes window installation in some municipalities. But the permit application includes a certification that most people sign without reading carefully. The homeowner certifies that they will either do the work themselves or hire and supervise their own subcontractors, that they understand they are legally the general contractor on the project, and that they will not sell or lease the property for one year after completion. That last clause matters more than you’d think.
For a homeowner planning to stay in their Los Angeles home for a decade, the owner-builder route can make sense. But if there’s any chance of a job change, a family expansion, or a move within the year, signing that certification creates a problem: you cannot legally sell the house until 12 months after the work is complete without risking liability exposure. The state can’t stop the sale itself, but the certification means you accepted contractor-level responsibility for code compliance, and a buyer’s inspection that turns up problems leads back to you.
What the homeowner also accepts is full liability for the work. If a window installation fails a city inspection, the defect gets recorded against the property. If a contractor does the work under their own license, their bond and insurance carry the risk. Under owner-builder, you carry it personally. And in Los Angeles, where Window Installation services range from straightforward retrofit permits to complex new construction plan reviews depending on scope and municipality rules, the liability exposure grows with the complexity of the job.
For someone considering the DIY route, our recommendation at Westlight is simple: if you go owner-builder, go retrofit only, do it on a window or two, not a whole house, and schedule the inspection. The inspection is not your enemy. It’s the only independent check that the work won’t become a title defect you find out about at escrow, three years from now, while the buyer’s inspector points at water staining you never noticed.
The Waterproofing Step: Where DIY Failures Hide
Most DIY window installation guides focus on level, plumb, and square. Those matter. But the step that separates a successful install from a five-figure repair is what happens between the rough opening and the window flange: the integration of the window into the weather-resistant barrier. This is the single point where DIY errors cause the most expensive latent damage on stucco-clad Los Angeles homes, because the damage is invisible by design. The water gets in, the stucco covers the evidence, and the first sign of trouble is often a soft spot in the wall years later.
The correct sequence goes like this:
- Cut the WRB (housewrap or building paper) at the rough opening and fold the flaps inward and outward in a specific pattern.
- Apply sill flashing tape first, lapping over the bottom of the opening and up the jambs.
- Install the window unit with its nailing flange against the sheathing.
- Apply jamb flashing tape over the side flanges, then head flashing tape across the top, each layer overlapping the one below so water always drains outward and down.
- Integrate the top of the window with a metal drip cap or a proper head flashing detail so water running down the wall is directed away from, not into, the opening.
If the order is wrong, if the tape is backward, if the laps don’t shed water correctly, the wall becomes a water collection system. In Los Angeles, this is compounded by a specific local condition: many homes built before the 1990s have building paper that has degraded, and a new window installation into old paper without properly tying in new flashing creates a seam where water enters during winter rains. Los Angeles gets about 15 inches of rain a year, often in concentrated storm events, which is exactly when a hidden WRB defect turns into an interior leak.
We’ve opened up walls in neighborhoods from Northridge to Torrance where the stucco looked fine on the outside, but the sheathing behind it had turned to mulch because a previous window install skipped a $20 roll of flashing tape. The window itself was fine. The integration was not. This is the step that makes a professional installation worth the money, and it’s the step that’s hardest for a homeowner to verify without taking the window back out.
Tools and Skills: What a Competent DIYer Actually Needs
Not all window installations are created equal, and neither are the tool lists. If you’re doing a retrofit replacement, the tool requirement is real but manageable. If you’re doing new construction, even a tool-savvy homeowner may find themselves in territory where the right call is a pro. Here’s the honest inventory.
For a retrofit window replacement, you need:
- A drill/driver with a bit set, plus a second driver if you want to avoid constantly swapping bits
- A level (a 2-foot level minimum, and a 4-foot level helps)
- A pry bar and a utility knife for removing the old interior stops and sash
- Shims (wood or composite) and a hand saw or oscillating multi-tool to trim them
- Backer rod and a high-quality exterior sealant rated for your window material
- Low-expansion window foam for insulating the gap between the new frame and the old one
- A tape measure, a square, and the patience to check level and plumb multiple times
That’s a full Saturday’s worth of work for one window, maybe two if the openings are cooperative. The skill requirement is straightforward: measure accurately, shim patiently, seal thoroughly. A careful homeowner with basic carpentry confidence can do this and produce a result that functions well.
For a new construction window installation, the list grows:
- All of the above, plus a circular saw or reciprocating saw for opening up framing
- Flashing tape, peel-and-stick membrane, and a detailed understanding of lap order
- A nail gun or roofing nails for the nailing flange
- Stucco patching materials if you’re cutting into a stucco exterior, and the skill to blend the patch
- A weather-resistant barrier that matches what’s already on the house
- An understanding of header sizing if you’re changing the opening dimensions
And here’s the thing the tool lists don’t capture: the skill requirement is not “more of the same,” it’s a different category. You’re now doing wall assembly work, not window work. The stakes are higher, the failure modes are hidden, and the code inspector will be looking at the flashing detail, not just whether the window opens and closes. In our experience, a homeowner who replaces two retrofit windows comfortably may still be out of their depth on one new construction opening, and the result is a job that looks good from the living room and leaks from the first rain.
The Cost of Getting It Wrong in Los Angeles
Concrete numbers are the only honest way to talk about this. A retrofit window replacement in Los Angeles typically runs $400 to $900 per window when done by a professional, depending on window size, brand, and accessibility. A new construction installation runs more, commonly $800 to $1,500 per window, because of the additional flashing, possible framing repair, and stucco work. Those are the prices for doing it right the first time.
A failed window installation, discovered after water has been getting in for a season or two, is a different number entirely:
- Water damage remediation and framing repair: $1,500 to $5,000 depending on how much of the wall needs to be opened up
- Stucco patch and refinish: $400 to $1,200 for a localized repair, more if the stucco texture is hard to match and the whole wall needs a new finish coat
- Interior drywall repair and repaint: $300 to $800 per affected wall
- Mold assessment and remediation if the water sat long enough: $500 to $3,000
- Window replacement to fix the original install: $500 to $1,200 depending on the scope
The worst cases combine these: a window installed without proper flashing on a stucco wall in Los Angeles, water getting in during two or three rainy seasons, framing rot extending into the floor system, and a repair that totals $10,000 to $15,000. That’s the cost of a $300 DIY savings. We’ve seen versions of this in homes all over LA, and it’s the reason we tell homeowners that the waterproofing integration is not the place to find savings.
What’s Genuinely Safe to DIY
The honest answer is that some window work is genuinely reasonable for a homeowner who likes working on their house. Here’s the line:
A retrofit replacement into a sound, existing opening is the DIY sweet spot. The structural work already exists. The waterproofing, for good or ill, already exists. Your job is to put a new window unit inside the existing frame, seal it properly, and make sure it operates smoothly. This is how Westlight approaches it, and it’s how a careful homeowner can approach it too. If you’re dealing with a standard double-hung or fixed window in a wood-frame home, and you’re willing to spend the time to get the shimming right, this is achievable.
What’s not safe for DIY is any job that involves cutting back the WRB, touching the rough opening, changing window size, or penetrating stucco. If the old window comes all the way out to bare studs and sheathing, you’re now doing wall assembly work, and wall assembly work done wrong is the most expensive mistake a homeowner can make in Southern California. The water doesn’t announce itself. It waits.
Common Mistakes to Avoid
- Treating every window like a retrofit. A homeowner sees a YouTube video of someone swapping a window in an afternoon and assumes their stucco home with a leaking frame is the same job. It isn’t. Once the nailing flange and the WRB come into play, it’s a different trade.
- Skipping the flashing tape. The single most common mistake we see. The window gets set, the screws go in, the caulk gets applied, and the flashing integration never happens. On a stucco home in Los Angeles, the leak starts at the next rain.
- Caulking the bottom flange as a “fix.” It’s tempting to seal the bottom of the window with caulk to keep water out. That actually traps water behind the window. The bottom needs to drain, not be sealed.
- Using the wrong sealant. Not all caulks work on all materials, and the wrong one fails within a season or two. A window sealed with painter’s caulk looks fine for six months and starts leaking the following winter, which is about how long it takes most homeowners to forget a job was done.
- Assuming the old header is fine. If you’re enlarging an opening and you don’t verify the header, you’re guessing about structural support. In earthquake-conscious Los Angeles, guessing about structure is not a gamble worth taking.
- Skipping the permit to save time. The city of Los Angeles has specific window installation requirements, and unpermitted work can become a problem at sale. The permit fee is a small fraction of what it costs to fix an unpermitted installation discovered during escrow.
When to Call a Professional
Call a professional when the job involves new construction installation, any change to window size, any cutting into stucco or siding, any visible water damage around the existing opening, or any window on a second story where ladder work and a heavy window unit create a safety risk. For more on this decision, read our DIY vs Professional Windows & Doors: The Los Angeles Homeowner’s Decision Guide. Call a professional when you don’t have the tools or the patience to do the flashing correctly. And call a professional when the window is going into a home you plan to sell within a few years, because the liability follows you. Westlight Windows & Doors offers free estimates in Los Angeles. Call (903) 354-7134 and we’ll help you figure out what the job actually requires, even if the answer is that you don’t need us.
Frequently Asked Questions
Professional retrofit window replacement in Los Angeles typically runs $400 to $900 per window, while new construction installation runs $800 to $1,500 per window depending on size, brand, and the scope of flashing and stucco work. The price you pay depends on what’s actually being done: a window swap into an existing frame is less expensive because the structural work already exists. Call (903) 354-7134 for a written estimate specific to your home.
Yes, an owner-builder permit allows a homeowner to install their own windows on their primary residence, but you accept contractor-level liability for code compliance and you certify that you won’t sell the property within one year. A failed inspection creates a recorded defect on the title, and the liability follows you personally. The permit route makes sense for a homeowner staying put who does careful retrofit work, not for someone planning a move.
Retrofit installation places a new window inside the existing frame and opening, leaving the structural work and waterproofing untouched. New construction installation removes the old window down to the rough opening, fastens the new unit directly to framing with a nailing flange, and integrates it with the weather-resistant barrier. The difference determines whether the job is an advanced DIY project or a professional one.
Yes, and this is the failure mode that makes window installation different from most DIY projects. Stucco hides water intrusion for years. A window installed without proper flashing allows water behind the stucco during Los Angeles winter rains, and the first visible sign is often interior staining or a soft spot in the wall, by which point the framing may need significant repair.
For retrofit replacement in many cases, the window swap can be done under the existing building envelope without a plan review, but Los Angeles has its own window installation requirements and the permit is still the right move for most jobs. For new construction installation, the permit is essential and the inspector will check the flashing integration. Unpermitted work becomes a title problem at sale.
A professional retrofit replacement typically takes one to two hours per window for a standard size, while a full-house job can be done in a day or two depending on how many windows are involved. New construction installation takes longer per window because of the flashing integration and stucco work. The Westlight Windows & Doors home page has more detail on what to expect from a Kingswell installation, and we’re happy to give you a realistic timeline when we see the job.
The Bottom Line
The honest answer to the DIY question is that it depends on which “installation” you’re actually doing. Retrofit replacement into an existing frame is a manageable weekend project for a careful homeowner with the right tools and a willingness to get the sealing right. New construction installation, cutting into the rough opening, touching the weather-resistant barrier, or patching stucco is professional work, and the cost of doing it wrong in Los Angeles runs well into five figures. Know which job you have before you touch a screwdriver, and if you don’t, call (903) 354-7134 for a free estimate. Browse our more guides & resources for additional homeowner guidance. We’ll tell you straight, and the quote is in writing before any work starts.
Written by Owen Satterfield, Owner at Westlight Windows & Doors, serving Los Angeles since 2009.