
Last updated October 8, 2026
Free in-home measure and quote - PGT, CGI and CWS impact lines compared on your actual openings, style by style
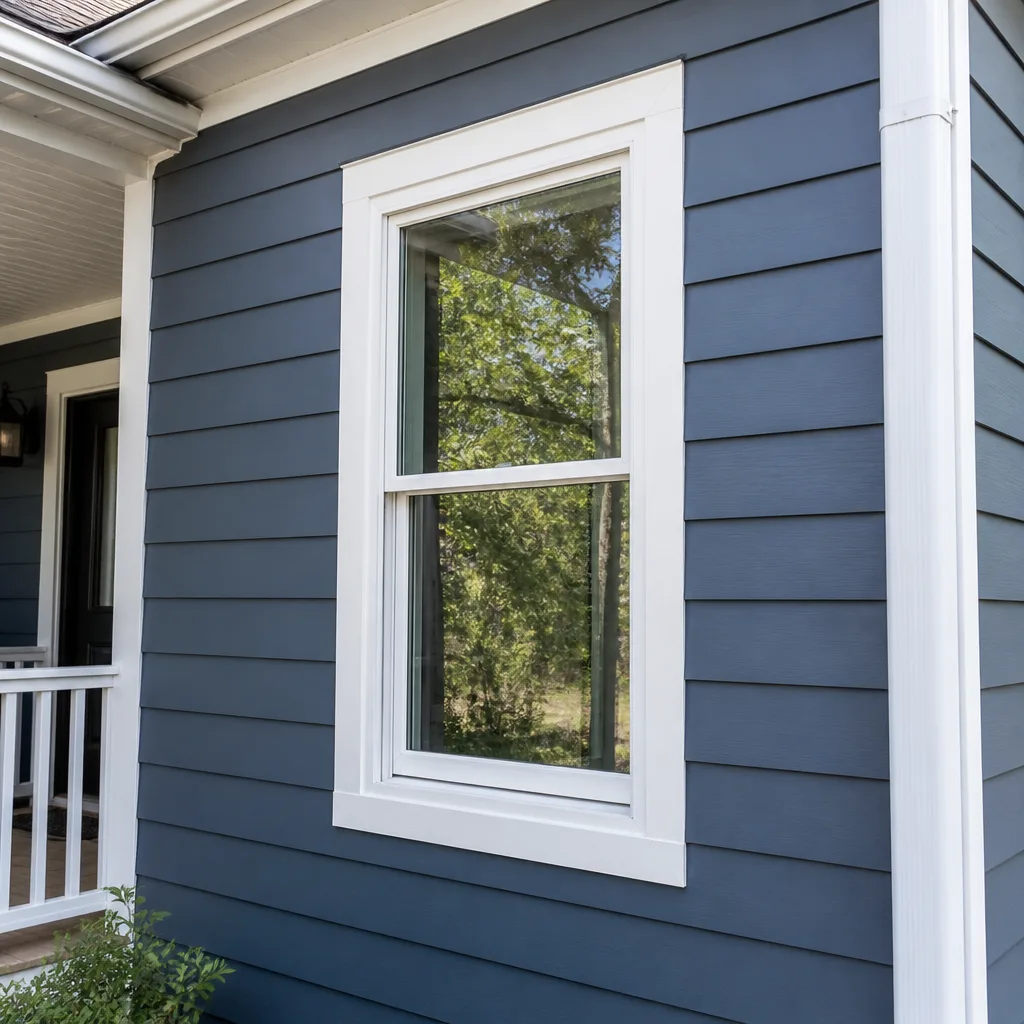
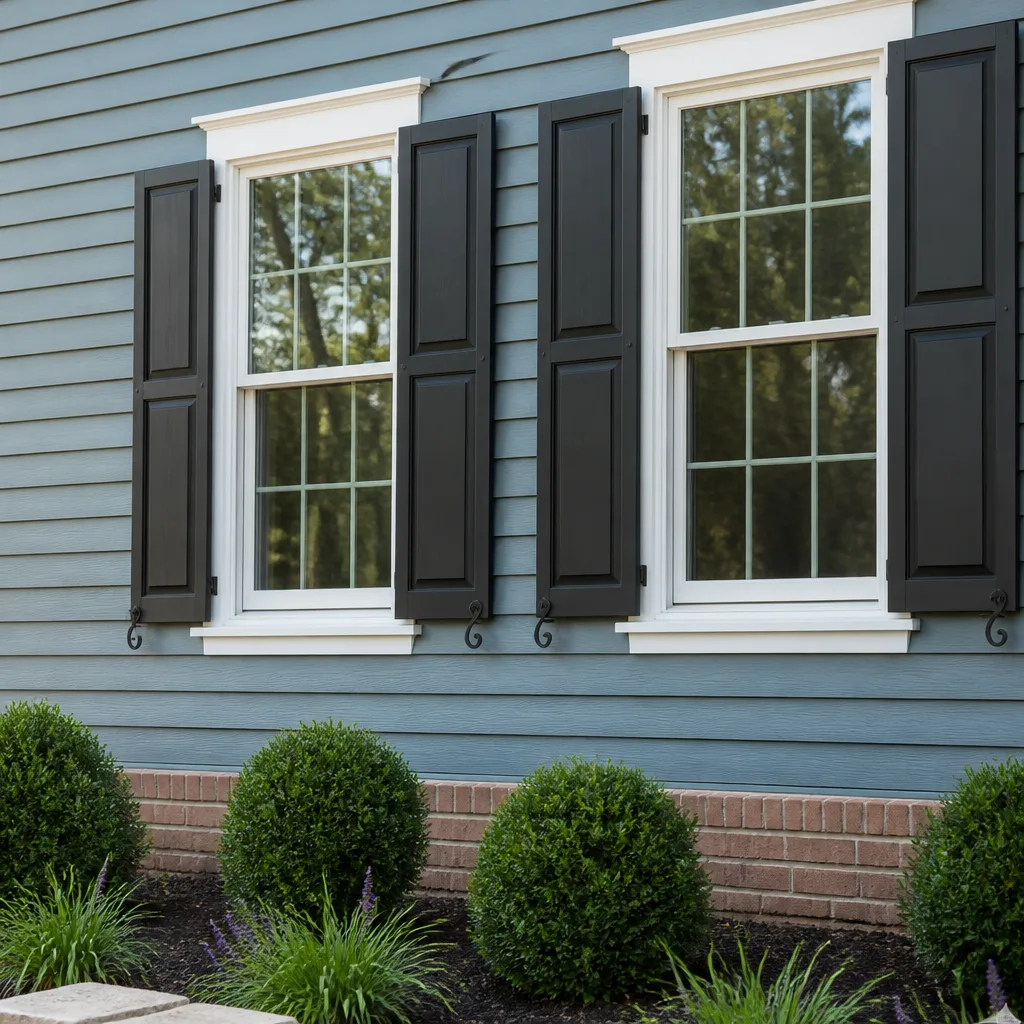
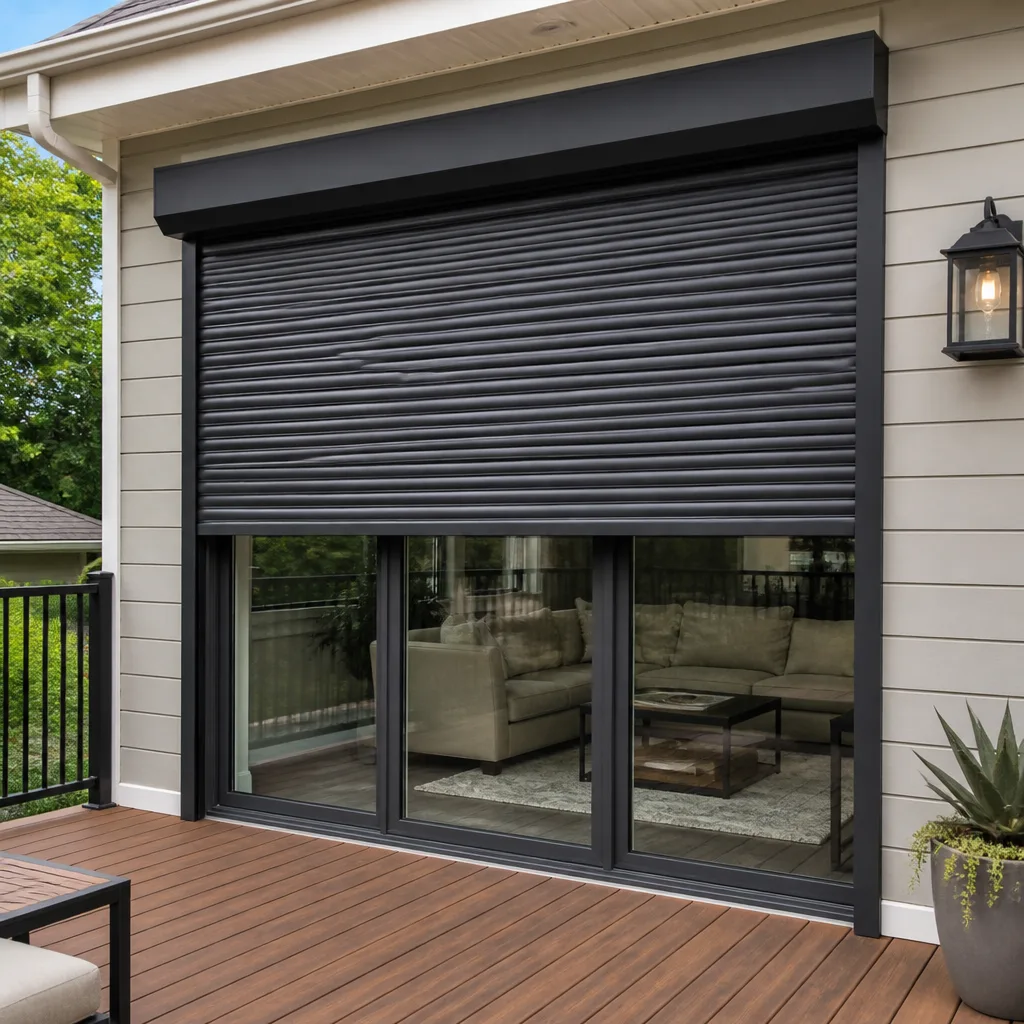
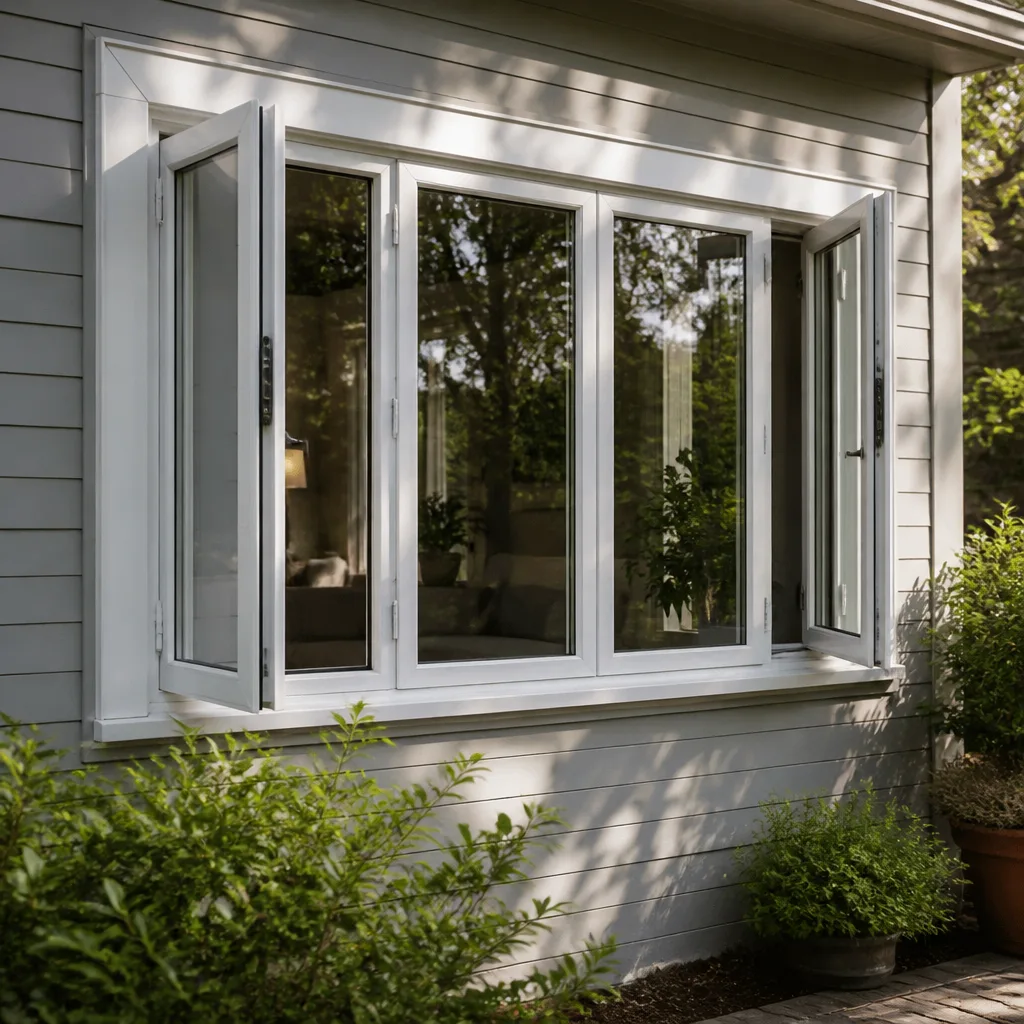
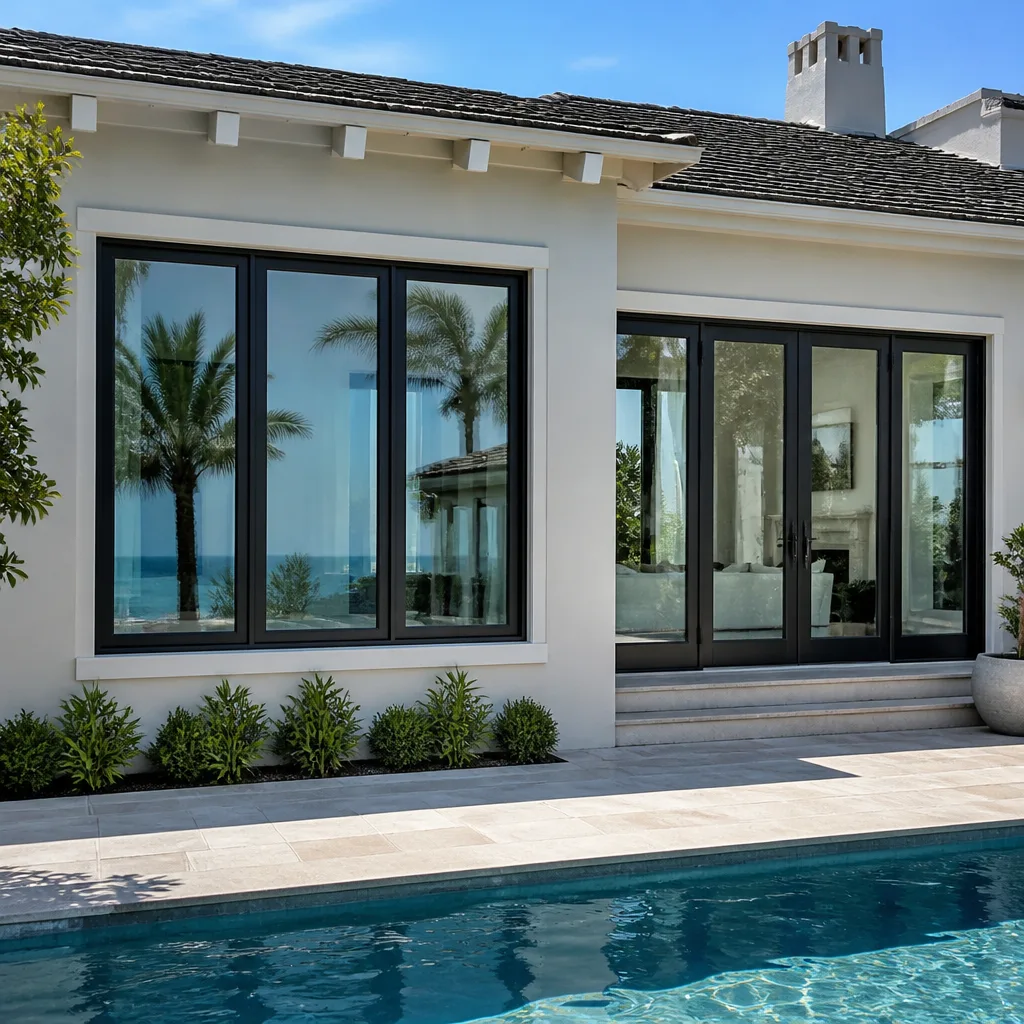
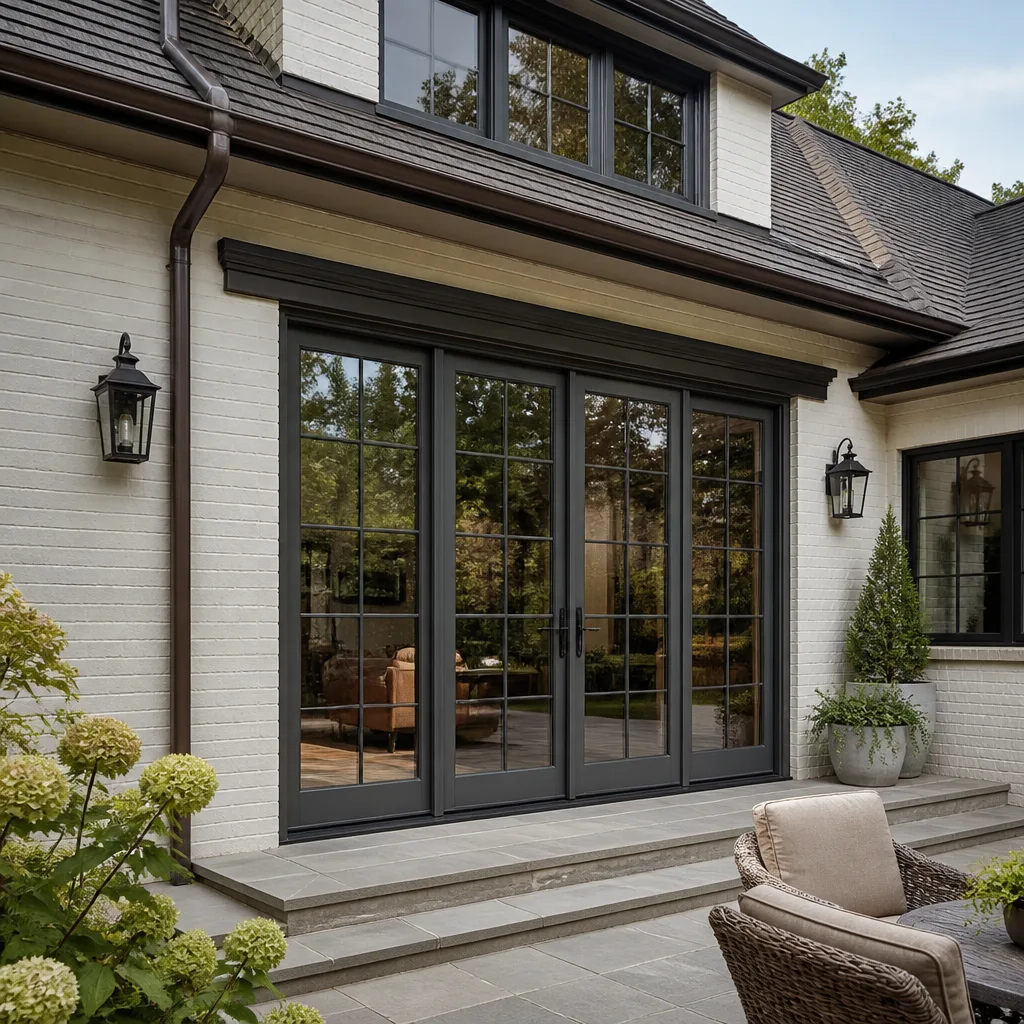
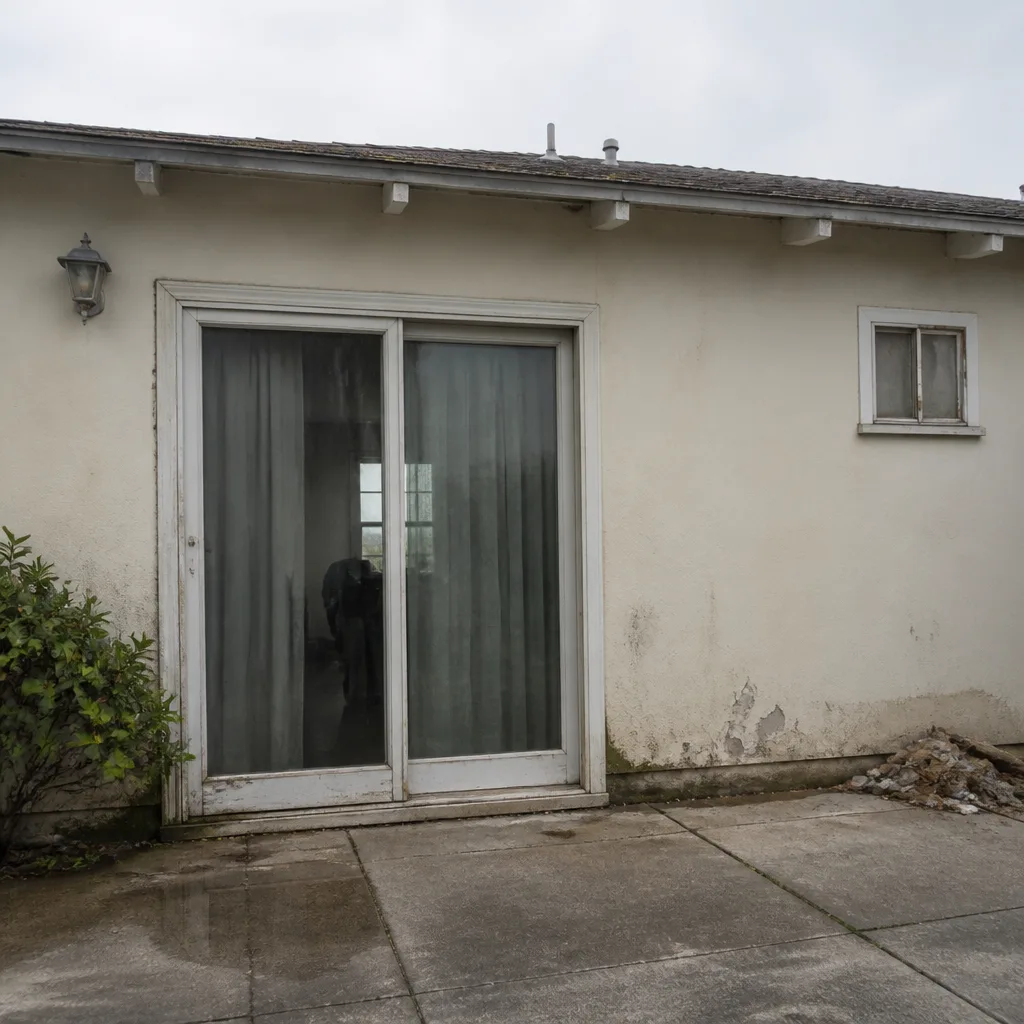 Before
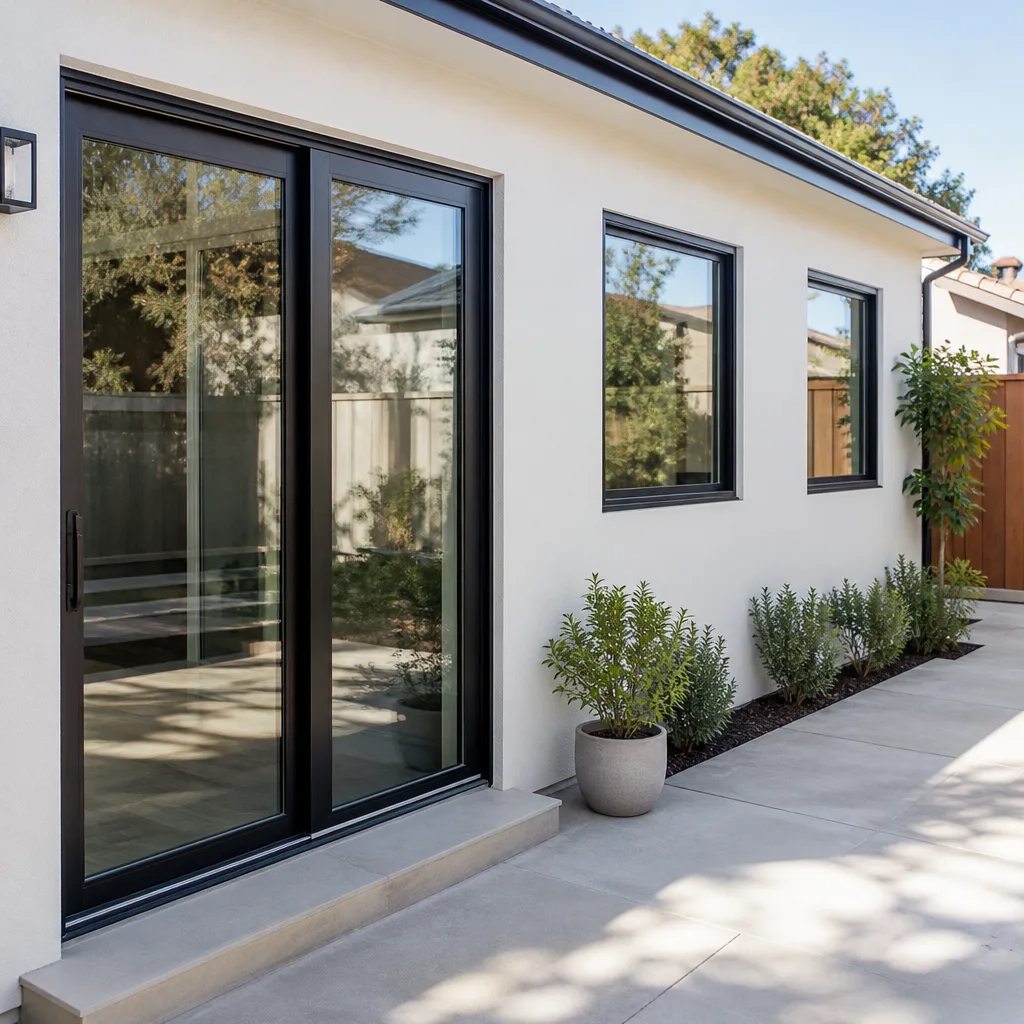 After
After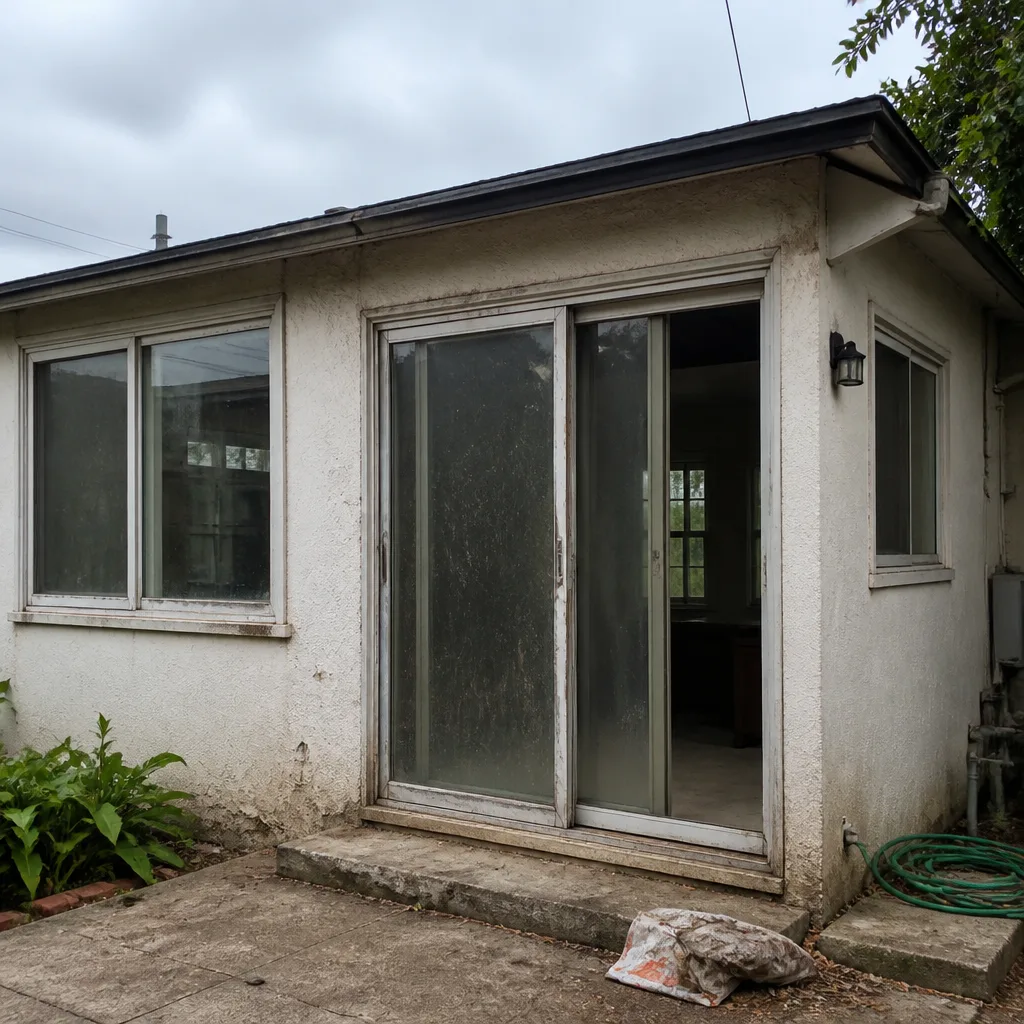 Before
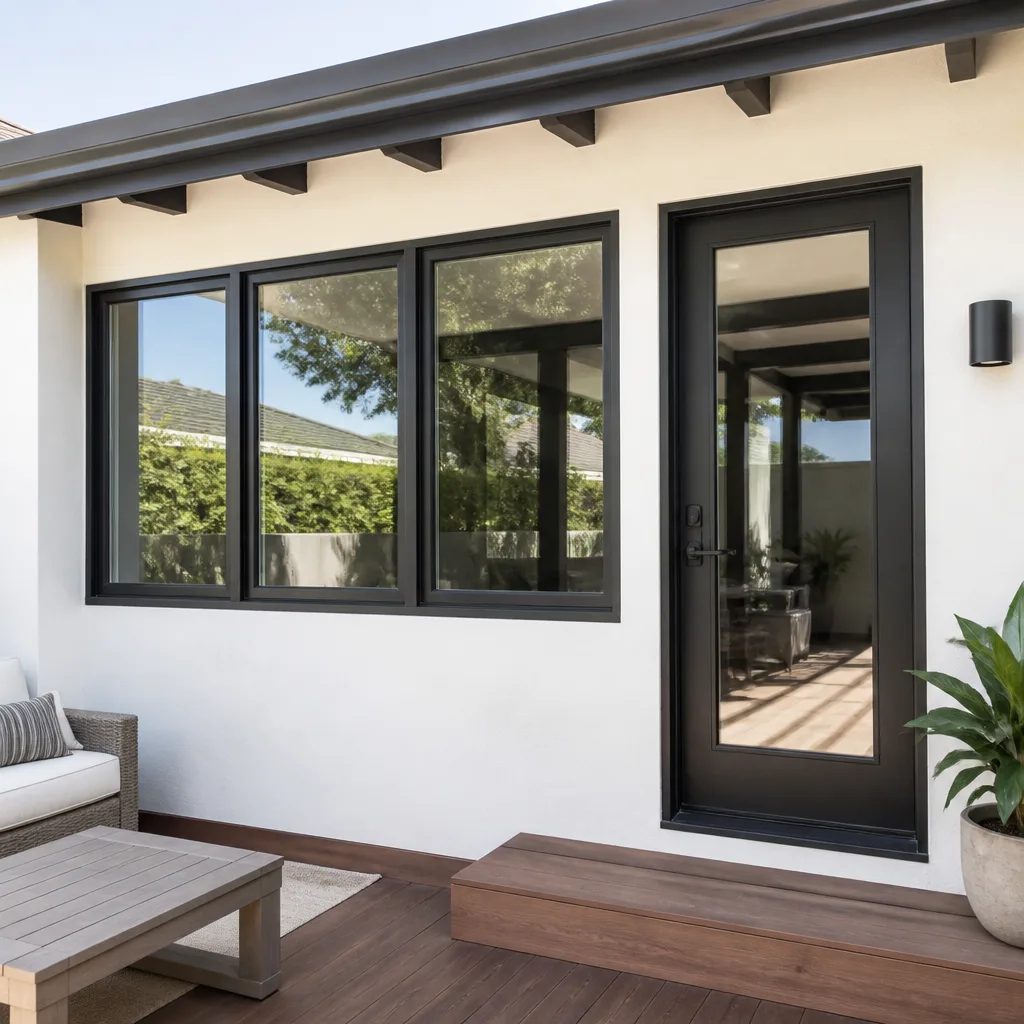 After
After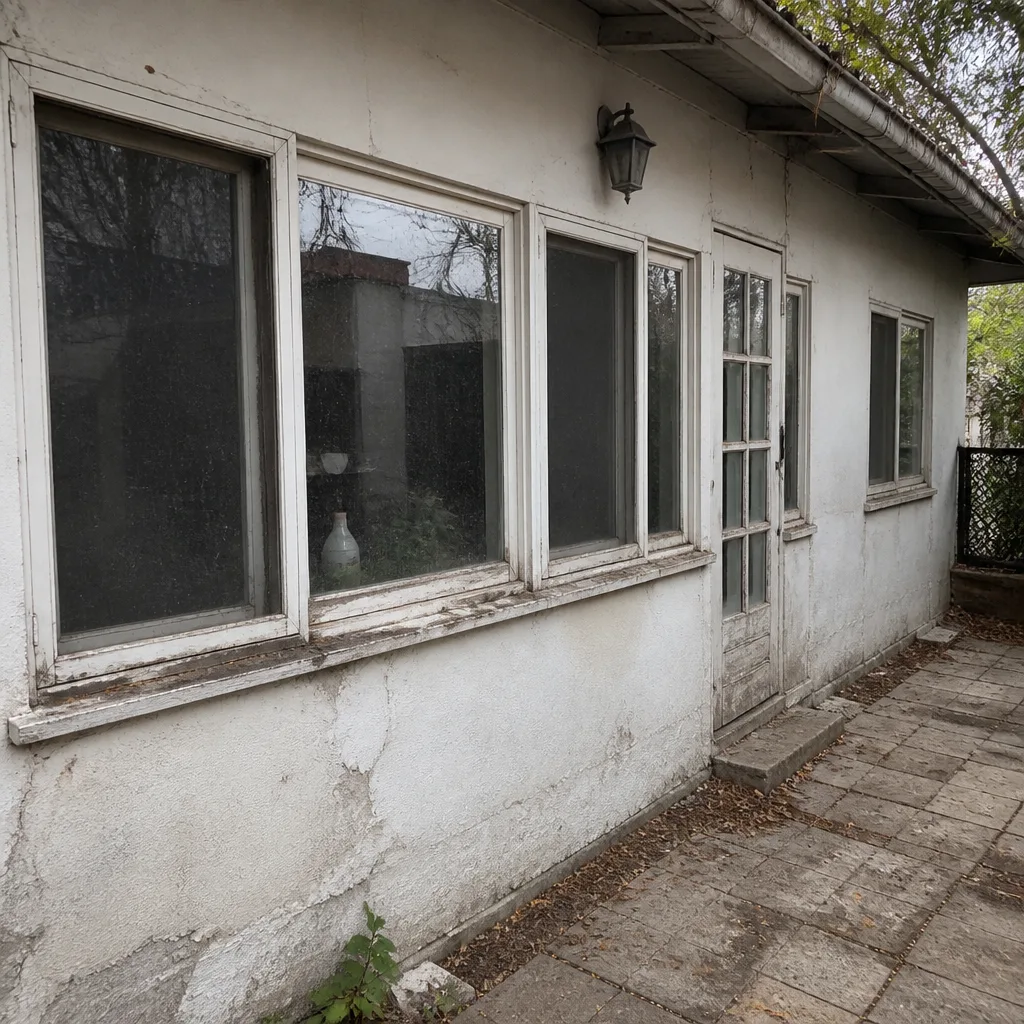 Before
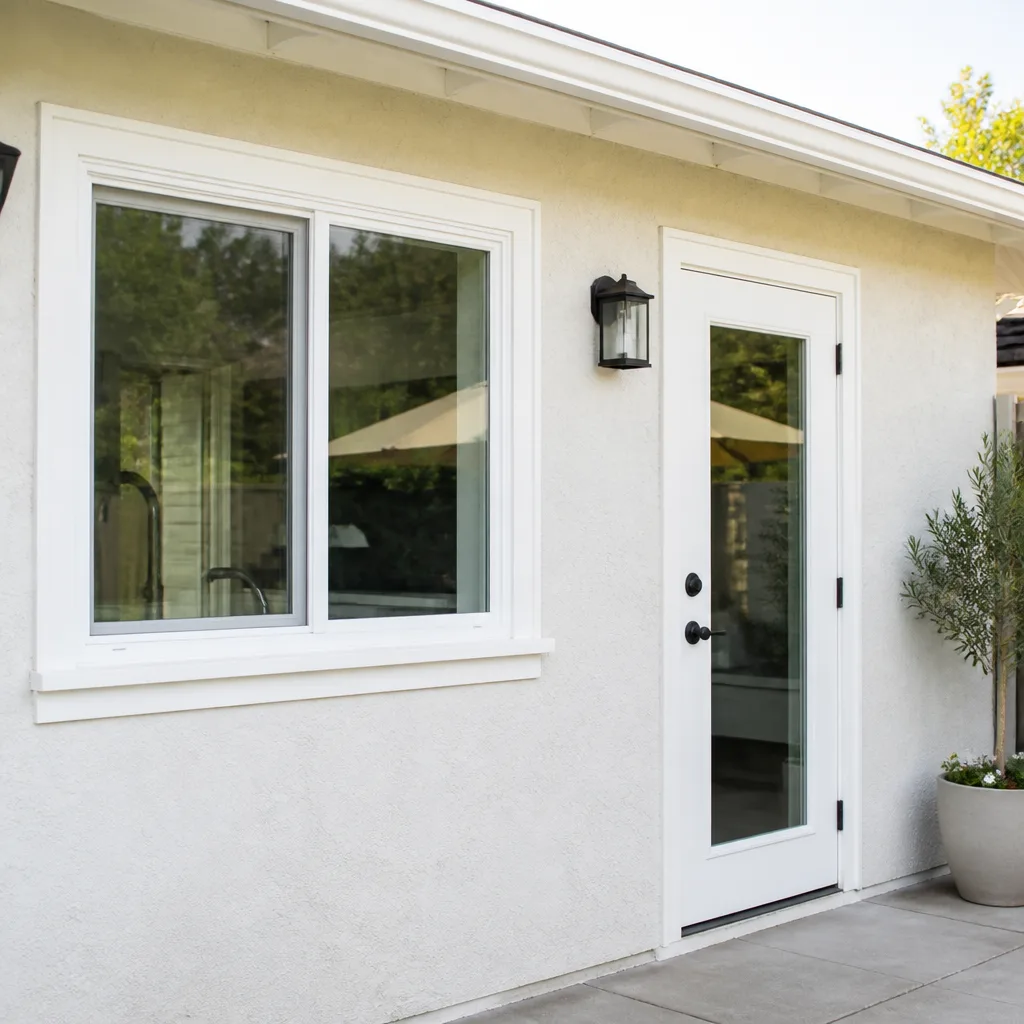 After
AfterDIY vs Professional Door Installation: What’s Safe to Do Yourself
Most door installation failures in Los Angeles don’t happen because someone lacked skill. They happen because the rough opening was never square, and nobody checked before the first screw went in. A 1940s bungalow in Highland Park or a 1960s ranch in the Valley has settled over decades, and that settlement shows up as a frame that’s drifted a quarter inch out of true. This guide will teach you the three checks that separate a safe weekend project from a $1,400 mistake, what tools and time it actually takes, and where the real line sits between DIY vs Professional Window Installation: What’s Safe to Do Yourself and what you should hand off.
Quick Answer
Door Installation services for interior pre-hung doors in an existing square, plumb frame are a realistic DIY job for anyone comfortable with a level, shims, and a drill. Exterior door replacement is not, because waterproofing, threshold setting, and energy sealing failures don’t show up for months, and by then the repair bill dwarfs what a professional installation would have cost. If your rough opening fails the three-check test below, call a pro before you buy the door.
Table of Contents
- The Three-Check Test: Plumb, Level, Square Before You Buy Anything
- Interior Pre-Hung Doors: A Realistic Skill and Tool List
- Why Exterior Door Replacement Is Categorically Different
- The Real Cost of a DIY Mistake: Re-Work Scenarios with Real Numbers
- Splitting the Job: What to Ask a Pro If You Want to Do the Finish Work Yourself
- Common Mistakes to Avoid
- When to Call a Professional
- Frequently Asked Questions
The Three-Check Test: Plumb, Level, Square Before You Buy Anything
Before you spend a dollar on a door, spend ten minutes with a 4-foot level and a tape measure. The three-check test tells you whether your rough opening is a candidate for DIY work or whether it needs correction first. Here’s what we inspect on every installation in Los Angeles, from West Adams craftsman homes to mid-century ranches in Sherman Oaks, and here’s what you should check too.
- Plumb (vertical): Hold the level against both sides of the rough opening, at three heights each side: top, middle, bottom. The bubble needs to sit inside its marks at all three points. If the wall leans more than 1/8 inch over the height of the opening, the door casing will gap visibly at one corner.
- Level (horizontal): Rest the level across the header and across the rough sill. More than 1/8 inch of slope across the opening means the door will want to swing open or closed on its own, and no amount of hinge adjustment will fix it.
- Square (diagonal): Pull a tape diagonally from top-left corner to bottom-right corner, then from top-right to bottom-left. If those two measurements differ by more than 3/16 inch, the frame is out of square. A door is a rectangle. It cannot occupy a parallelogram without binding, scraping, or refusing to latch.
Here’s the point most tutorials skip: a rough opening that fails any one of these checks is not a door problem. It’s a framing problem. You can shim a pre-hung door to correct minor deviations, but shims have limits. When you stack three shims in one corner and none in the other, you’re not installing a door, you’re fighting the house. In older Los Angeles neighborhoods where houses have settled unevenly into expansive clay soil, we see frames that pass plumb and level but fail square by a quarter inch or more. That’s the one that gets people.
The three-check test costs nothing and takes ten minutes. If the opening passes, a pre-hung interior door is a fair DIY project. If it fails on square by more than 3/16 inch, the frame needs correction, which means opening the wall, which is a framing job, not a door job. That’s the line.
Interior Pre-Hung Doors: A Realistic Skill and Tool List
Let’s be honest about what a first-timer is signing up for. A pre-hung interior door comes already mounted in its own frame, with hinges attached and the door pre-cut to fit. You’re not building anything. You’re setting a complete unit into a rough opening, shimming it true, and nailing it off. That’s a one-day project even if you’ve never done it before, and a two-to-three-hour project if you have.
Here’s the tool list, and here’s what you’ll actually spend:
- A 4-foot level: Not a torpedo level. A 2-footer can hide a gradual slope that a 4-footer will reveal. Budget $30-$60 for one that reads true.
- A pack of tapered wood shims: You’ll use eight to twelve per door. A pack of twenty runs about $5 at any hardware store in Los Angeles.
- A drill with a #2 Phillips bit and a 3/16-inch drill bit: For pre-drilling through the jamb into framing. You own this already or you don’t, and if you don’t, a cordless drill is $60-$120.
- 2-inch and 3-inch finish nails or trim screws: Some installers use a nail gun. You don’t need one. Hand-driving eight to ten nails per side is slower but no less effective. $8 for a mixed box.
- A utility knife and a small pry bar: For removing the old casing and the old door slab if one exists. $15 combined.
- A sharp pencil and a roll of painter’s tape: Marking shim depth and hinge locations before you set the unit. You own these.
Total first-timer tool investment: roughly $120-$200 if you’re starting from zero. The door itself runs $150-$400 for a standard six-panel hollow-core or solid-core slab in a pre-hung frame at Los Angeles door suppliers. So the whole project, all in, lands between $270 and $600. Compare that to professional interior door installation, which in the Los Angeles market typically runs $350-$600 per door for labor, and the question becomes clear: if you have the tools and a free Saturday, an interior pre-hung door in a passing rough opening is a reasonable place to save money.
Here’s the honest time estimate for a first-timer: budget four to five hours for the first door, including removal of the old unit, cleanup, and discovering that one hinge screw wants to strip. The second door takes half that. The skill barrier is mostly patience: you’ll shim, check, shim again, check again, and then nail. Nothing about it is dangerous. Nothing about it requires code inspection. It’s slow, not hard.
Why Exterior Door Replacement Is Categorically Different
An exterior door does three jobs that an interior door never has to do. It keeps water out of your wall. It seals against air leakage that costs you money every month on your energy bill. And it locks against someone who’d rather not knock. Those three jobs are why exterior door replacement is not a scaled-up version of interior work. It’s a different trade.
Waterproofing is the one that wrecks people. An exterior door in Los Angeles sees rain a handful of days a year, which sounds like it makes waterproofing less important. It actually makes installation errors harder to catch, because the leak won’t show up for months. When a door pan, sill flashing, or threshold seal fails on a door in Los Angeles, water wicks into the subfloor and the bottom of the wall framing. By the time the homeowner notices a soft spot in the floor or mold under the baseboard, the bottom 18 inches of framing are saturated. Repairing that means pulling the door, cutting out rotted wood, and rebuilding the rough opening, which is a $900-$1,500 framing repair before you even get back to the door. A professional installation with proper sill flashing and threshold sealing costs a fraction of that repair bill.
Energy sealing matters more than most people think, and in Los Angeles it’s less about cold and more about the other direction. A poorly sealed exterior door leaks conditioned air. In August, when it’s 105°F in the Valley, your AC is fighting a door that’s bleeding cold air into the wall cavity. In our installations, we use door-specific expanding foam around the rough opening and a threshold with a proper compression seal, because a 1/8-inch gap under an exterior door equals roughly a 4-inch by 4-inch hole in the wall in terms of air exchange.
Then there’s the security piece. An exterior door that doesn’t latch square, or whose strike plate is shimmed out with matchsticks and hope, is an invitation. The deadbolt needs a clean, full-depth strike, and the weatherstripping needs to compress evenly when the door closes, not leave a top corner visible to the person standing outside at 2 a.m.
If you want to see how the pros think about this work, look at the product lines we carry and install around Los Angeles. Therma-Tru is the entry-door brand most people know, and for good reason: their pre-hung fiberglass units come with a systemized sill and threshold design that installs tighter than a wood door ever will. For homes in wind zones or with impact requirements, PGT and CGI make exterior doors engineered for structural load, not just aesthetics. The brand matters less than the principle: a properly engineered exterior door unit, installed correctly, works as a system. A slab door from a big-box store, screwed to an existing frame with whatever hinges were already there, does not.
The Real Cost of a DIY Mistake: Re-Work Scenarios with Real Numbers
Let’s talk about what happens when it goes sideways. Not vague warnings. Specific failure modes with price ranges, because a homeowner who’s been burned before wants numbers, and numbers are what matter.
Scenario one: the out-of-square frame that got ignored. The DIY installer bought a pre-hung interior door from a Los Angeles home center for $230, test-fitted it into an opening that was out of square by a quarter inch, and decided shims would solve it. The door closed on day one and bound by day thirty, as the house settled back onto the shims. The fix: pull the door, remove the shims, correct the framing, reinstall. A framing correction on an interior wall runs $400-$700 in the Los Angeles market. Total cost of the DIY attempt: $230 for the door plus $600 for the fix, versus $400-$500 to have it installed professionally the first time.
Scenario two: the exterior door that leaked. The installer caulked the threshold and called it waterproofing, skipping the sill flashing and door pan. Nine months later, after one wet Los Angeles winter, the subfloor under the door is spongy and the trim is separating. The repair requires removing the door, cutting out rotted framing, reframing the rough opening, and reinstalling. That’s a $1,200-$2,000 repair on top of whatever was spent on the original door, which often can’t be salvaged. A professional exterior door installation with proper flashing, including the door, typically runs $1,500-$2,800 in Los Angeles, depending on the product. The mistake costs more than the job would have.
Scenario three: the security strike that missed. The installer didn’t check that the deadbolt throw had full depth into the strike plate. The door locks, but a firm shoulder-bump pops it. The fix is usually just re-mortising the strike, but the exposure window is real. This mistake is cheap to fix and expensive in the worst case, and it’s why we tell every customer: if the deadbolt doesn’t throw with clean resistance and a satisfying click, the door isn’t done.
The pattern across all three scenarios: the failure wasn’t discovered at installation. It was discovered later, by water, by binding, or by force. That delay is what makes DIY exterior work risky. The feedback loop is measured in seasons, not hours.
Splitting the Job: What to Ask a Pro If You Want to Do the Finish Work Yourself
There’s a middle path, and it’s one most people never consider because most contractors won’t offer it. You can hire a professional to do the structural and waterproofing work, the parts that fail silently, and do the finish work yourself, the parts that are visible and forgiving.
Here’s what that looks like in practice. Ask the contractor to: remove the old door, correct the rough opening to plumb and square, install the new pre-hung door unit, set the threshold, flash and seal the sill, shim and fasten the frame, and insulate the rough opening. Then you take over. You install the interior casing, the door stop, the hardware, and you do the painting. Casing installation is a skill, but it’s a learnable finish skill, and a casing mistake is visible and correctable, unlike a flashing mistake behind the drywall.
When you call to ask about this, here’s what to listen for. A contractor who is willing to split the work and put the terms in writing is a contractor who isn’t hiding anything. At Westlight Windows & Doors, this is built into how we work: every job gets a written price before any work starts, and if a customer wants to do their own trim, we’ll say exactly what we’ll do, where our work stops, and what it costs. The Kingswell Guarantee, the four promises on every job, a written price, a real arrival window, a clean jobsite, and a written guarantee on the completed work, applies to the portion we install. If a customer installs their own casing and it separates, that’s their work. If our flashing fails, that’s ours, and we come back and fix it at no charge.
Common Mistakes to Avoid
- Skipping the three-check test. Buying the door first and checking the opening second is the most expensive sequencing error in this entire guide. Ten minutes with a level and tape measure before you spend a dollar.
- Using drywall screws in a door frame. Drywall screws are brittle and snap under the repeated shock of a door closing. Use proper wood screws or finish nails. A snapped screw inside a pre-hung jamb is a genuinely miserable thing to extract.
- Shimming the door to the drywall instead of the framing. The rough opening’s framing is the reference point. Drywall is a finish surface and it’s never plumb. Shim to the studs, not the drywall face.
- Forgetting to check floor height before installing an exterior door. Los Angeles homes with original hardwood floors often have floors that are thicker than the old threshold accounted for. If the new door sweeps the floor or drags across a new tile entry, it wasn’t planned.
- Skipping the sill flashing on an exterior door in a dry climate. It rains less in Los Angeles than in Seattle, but a leak in a dry climate goes unnoticed longer, which means more rot by the time it’s found. Flash every exterior door like it’s in a rain forest.
- Testing the door by eye instead of with a level. A door can look straight and close clean for a week while the jamb is slightly twisted. Then the weather changes, the wood moves, and suddenly it binds. The level doesn’t lie.
When to Call a Professional
Call a professional when the rough opening fails the square check by more than 3/16 inch, when the job is an exterior door of any kind, when the existing frame shows signs of water damage or termite damage, or when the door is in a load-bearing wall and the opening needs to be enlarged or relocated. These are framing and waterproofing projects wearing a door’s clothes. In Los Angeles, where housing stock ranges from 1920s bungalows with balloon framing to 1980s tract homes with particleboard jambs, the condition of the opening is half the job. Westlight Windows & Doors offers free estimates in Los Angeles, call (903) 354-7134 and we’ll send a technician to look at the opening, run the three checks, and give you a written price before any work starts.
Frequently Asked Questions
Interior pre-hung door installation in Los Angeles typically runs $350-$600 per door for labor, plus the cost of the door itself, while exterior door installation runs $1,500-$2,800 installed, depending on the product and the condition of the rough opening. Every job at Westlight Windows & Doors comes with a written price before work starts, so you’ll know your exact number before you commit. Call (903) 354-7134 for a free estimate.
Yes, if the rough opening passes the plumb, level, and square checks, a pre-hung interior door is one of the best first projects because the door comes already mounted in its frame and the work is about shimming and fastening, not building. Budget four to five hours for your first one and expect to spend $120-$200 on tools if you’re starting from zero.
Ignoring an out-of-square rough opening and piling shims into one corner until the door looks straight is the most common mistake we see, and it’s also the most expensive, because the door binds within weeks and the framing correction costs more than professional installation would have. The three-check test catches this before the door is bought.
We don’t recommend it, because exterior doors require sill flashing, threshold setting, and energy sealing that failures don’t reveal for months, and by the time you see the damage, the repair costs more than the installation would have. If you want to split the job, hire a pro for the structural and waterproofing work and do the interior casing and painting yourself.
The Kingswell Guarantee is four promises on every job we do in Los Angeles: a written price before any work starts, a committed arrival window, a clean jobsite when we leave, and a written guarantee on the completed work. If a repair fails within the guarantee period, we come back and fix it at no charge under the 365-Day Done Right Promise.
No permit is required for a like-for-like door replacement in an existing opening in Los Angeles, but if the opening is being enlarged, relocated, or created new in a load-bearing wall, a building permit is required, and that’s a framing job, not a door job. When Westlight handles a door installation in Los Angeles, we pull permits when the job requires them and the work passes inspection before we call it done.
The Bottom Line
The line between a safe DIY door job and a professional one isn’t about skill. It’s about the opening. A square, plumb, level rough opening and an interior pre-hung door is a fair weekend project that saves real money. An out-of-square opening, an exterior door, or any sign of water or termite damage is a different job wearing the same name. Check the opening first, buy the door second, and when the job is beyond the line, get a written price from someone who stands behind the work. For related guidance, see our DIY vs Professional Window Replacement: What’s Safe to Do Yourself. That’s been our approach in Los Angeles since 2009, and it’s why we put every promise in writing before the first screw turns.
Written by Owen Satterfield, Owner at Westlight Windows & Doors, serving Los Angeles since 2009. Explore more guides & resources on our blog.