
Last updated October 8, 2026
Free in-home measure and quote - PGT, CGI and CWS impact lines compared on your actual openings, style by style

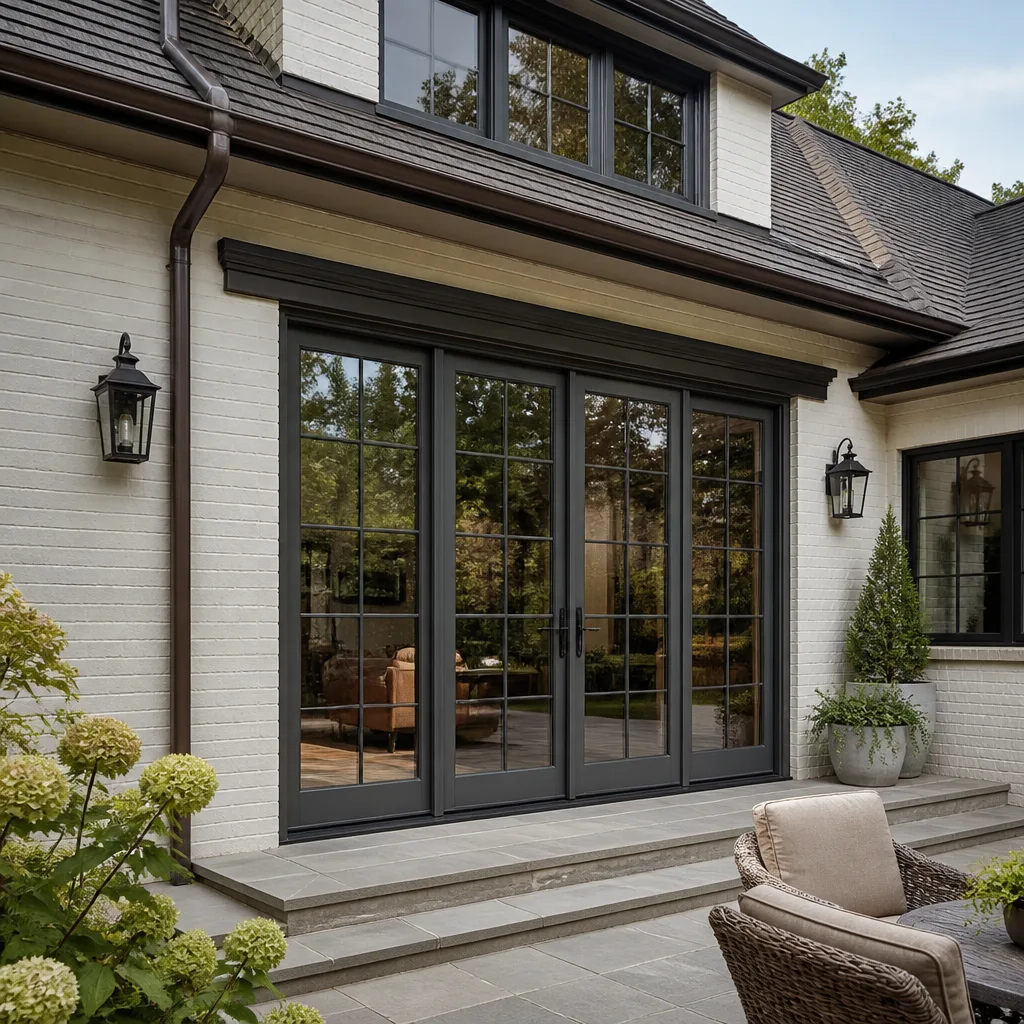
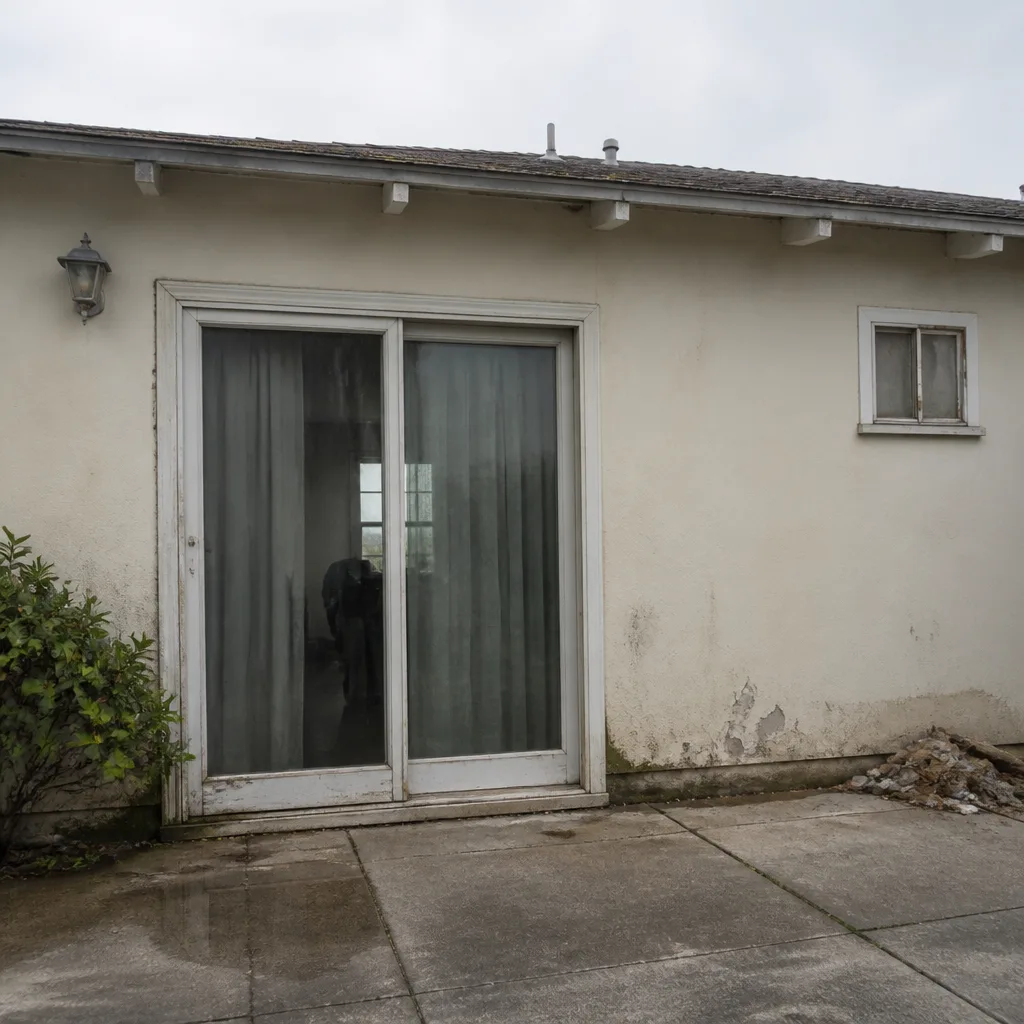 Before
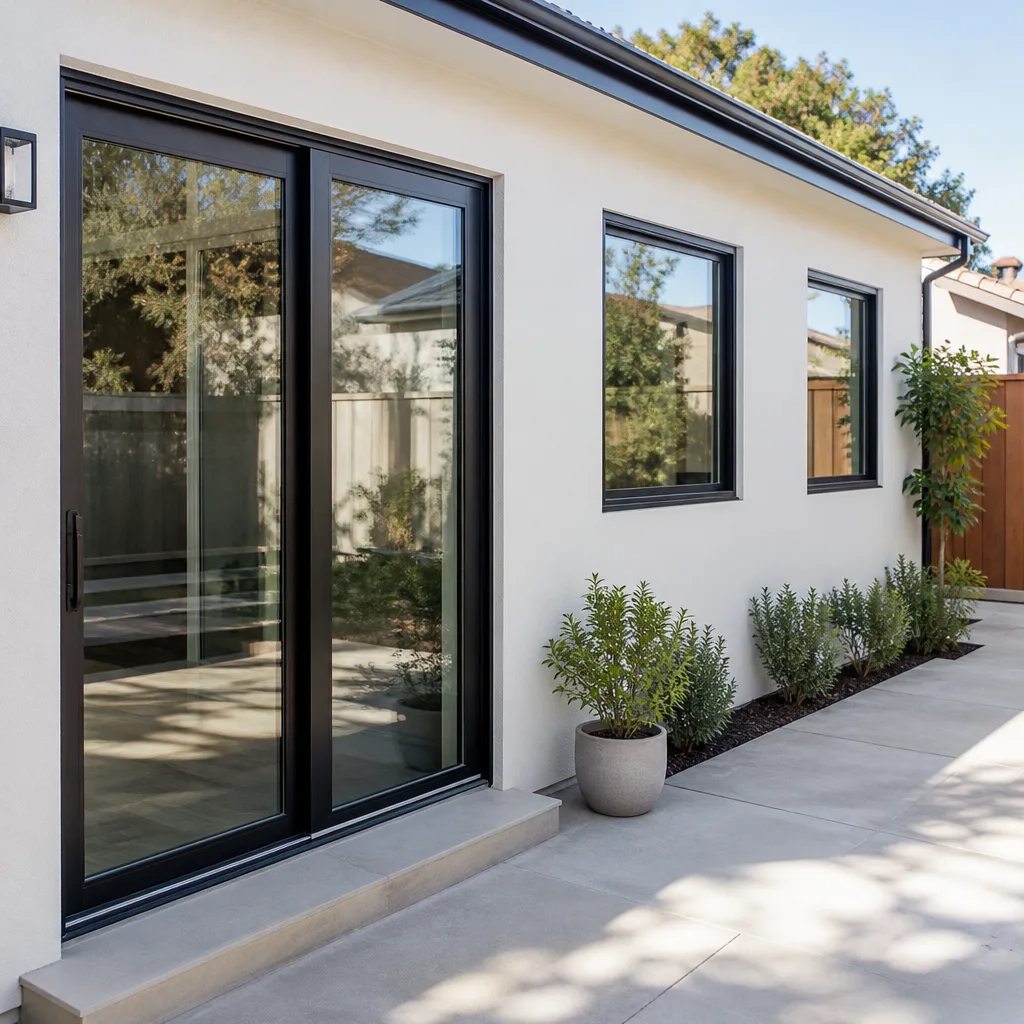 After
After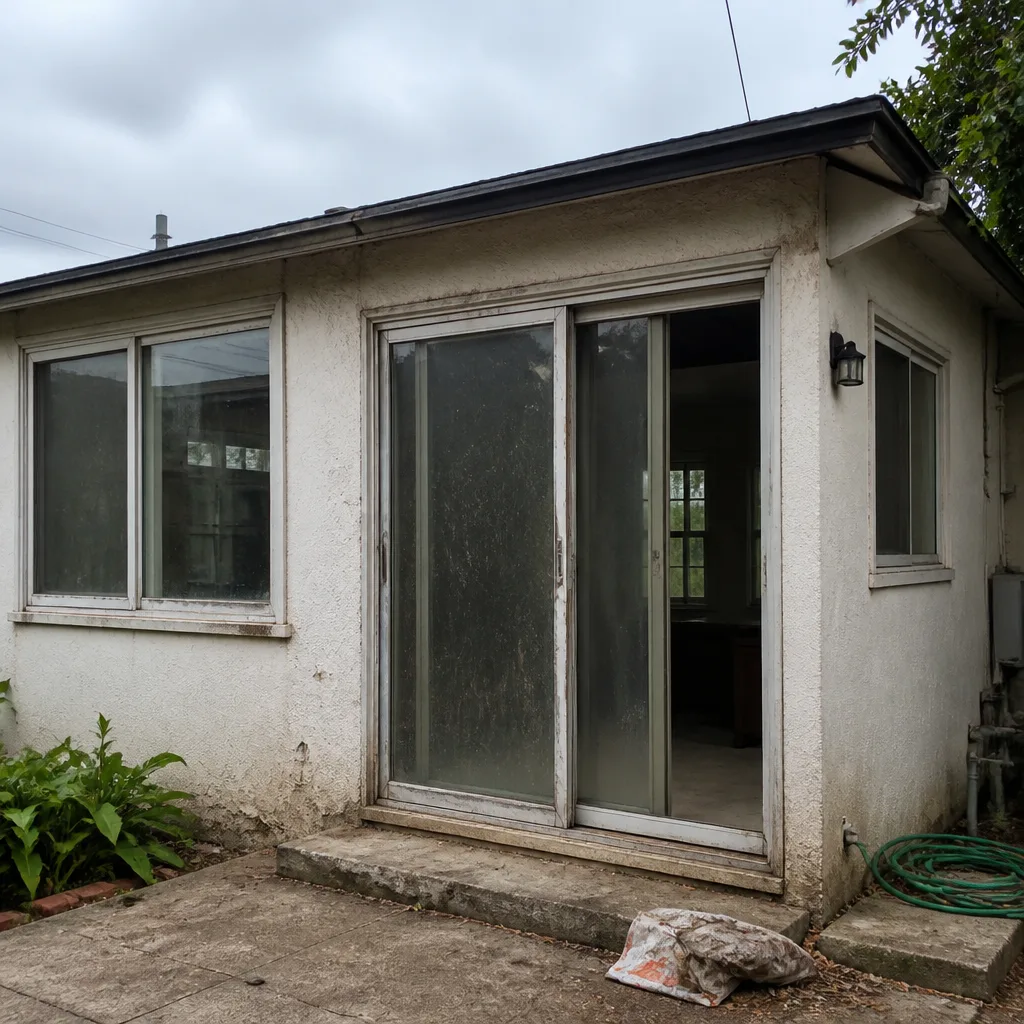 Before
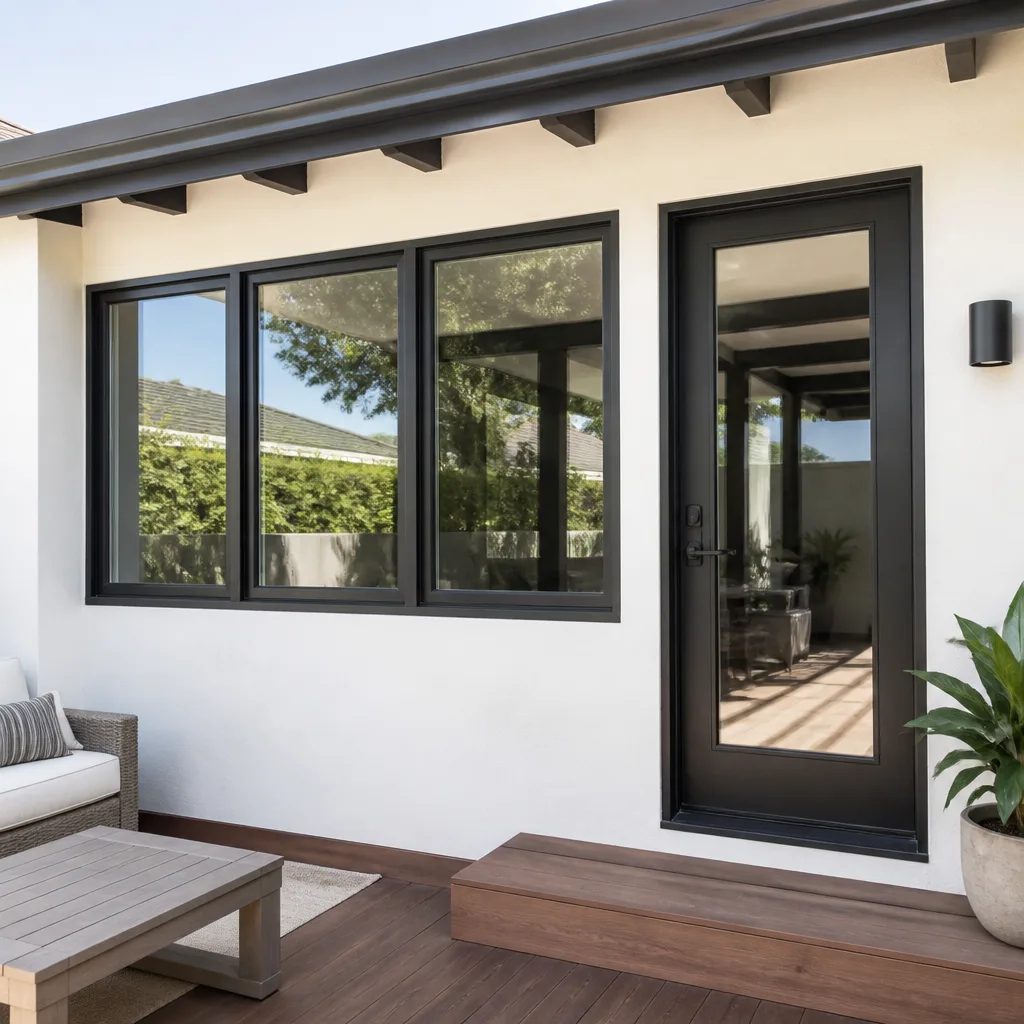 After
After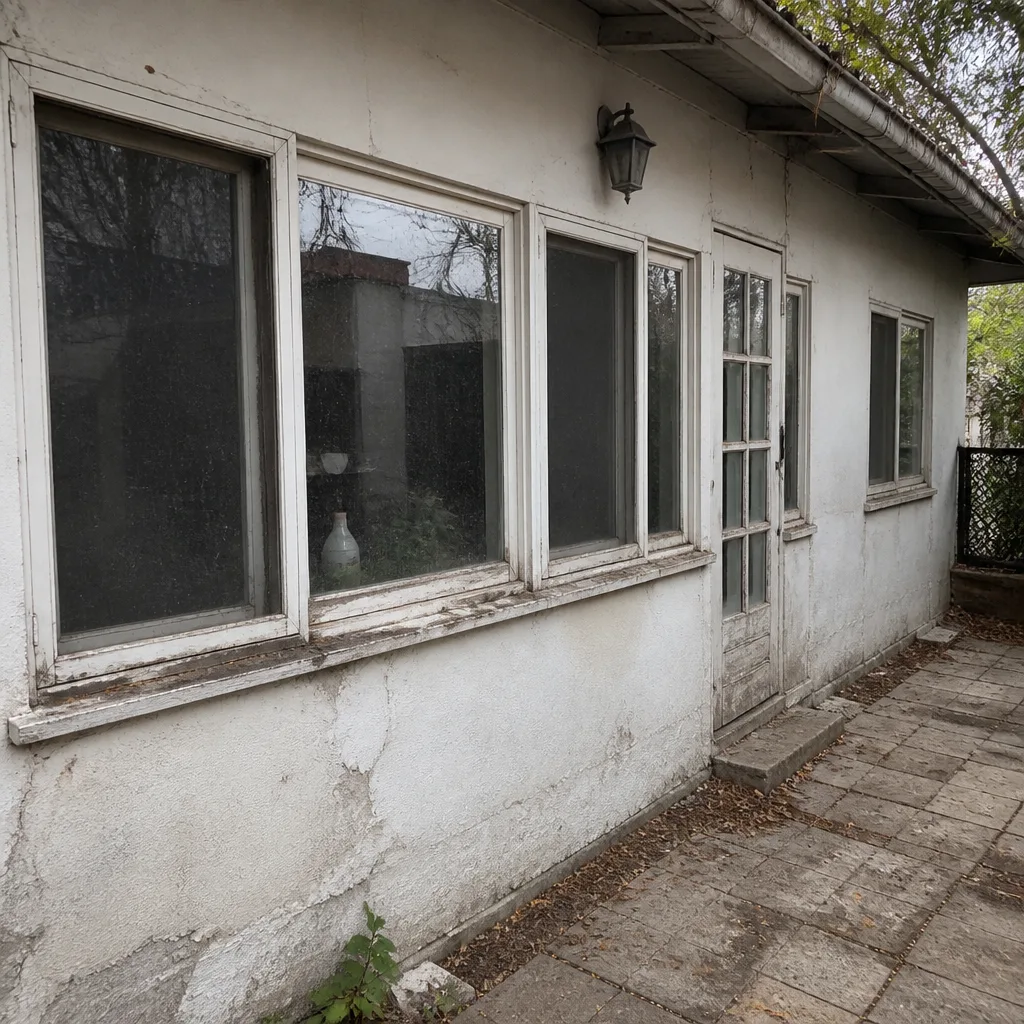 Before
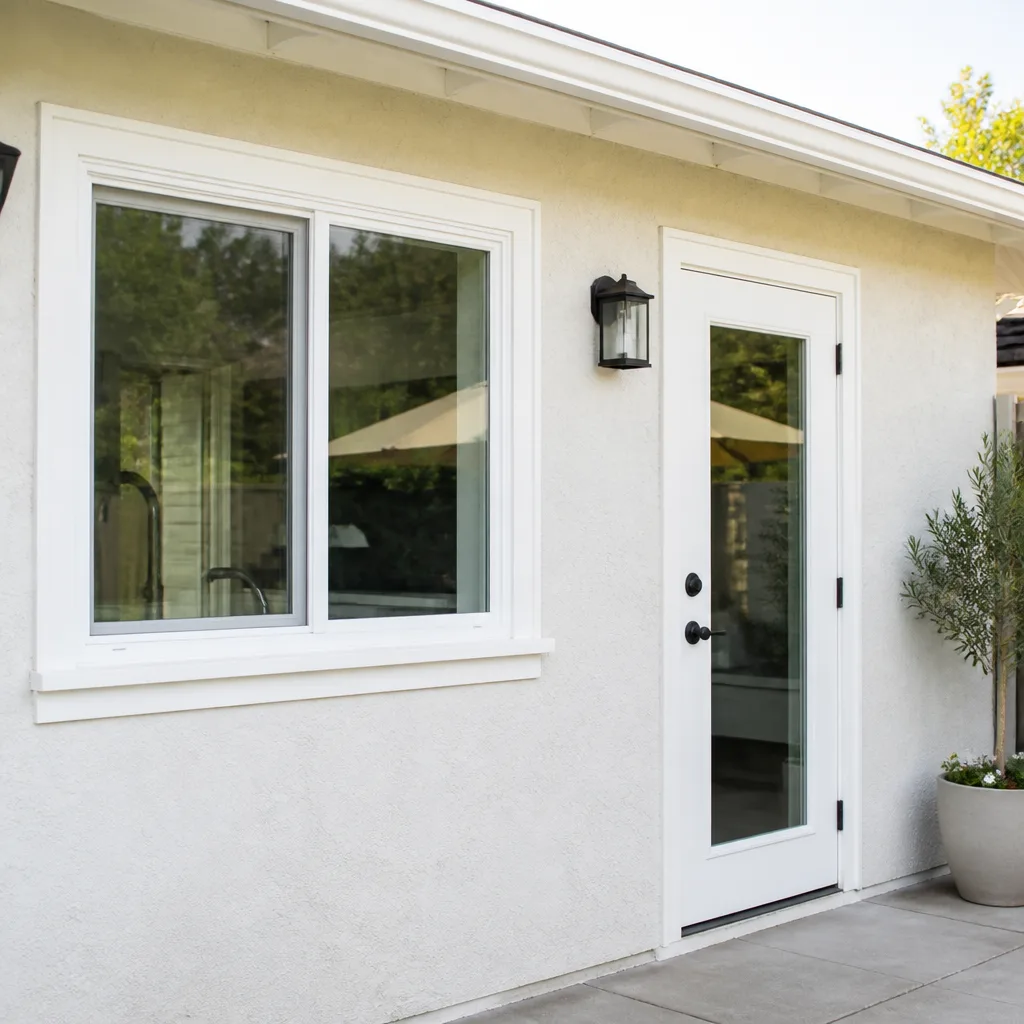 After
AfterDoor Installation Troubleshooting: Common Problems and How to Fix Them
A door that sticks in summer and swings free in winter isn’t warped. It’s almost certainly hung out of plumb by as little as 1/8 inch, and a 10-minute hinge adjustment fixes it without touching the door slab. Most homeowners in Los Angeles assume a misbehaving door means buying a replacement. In our experience since 2009, the opposite is true. The majority of first-year door complaints trace back to installation details, not product defects, and nearly all of them are correctable with basic tools and a little patience. This guide walks through the five most common post-installation problems, how to diagnose each one, and the exact fix that solves it.
Quick Answer
Most our Door Installation services problems fall into five categories: sticking, binding, latching failure, drafts, and threshold leaks. Each has a distinct root cause tied to how the door was hung or adjusted, not the door itself. The fixes range from a 10-minute hinge adjustment to a strike plate repositioning, and almost none require replacing the door.
Table of Contents
- Sticking vs. Binding: Why the Difference Matters
- The Playing Card Diagnosis: Finding Contact Points Without Tools
- Strike Plate vs. Hinge Adjustment: Which First?
- Why Weatherstripping Failures Point Back to the Frame
- The Threshold Adjustment Screw Nobody Knows About
- When the Latch Won’t Catch: Diagnosing Latching Failures
- Common Mistakes to Avoid
- When to Call a Professional
- Frequently Asked Questions
Sticking vs. Binding: Why the Difference Matters
Homeowners use “sticking” and “binding” interchangeably, but they’re different problems with different fixes. A sticking door rubs against the frame at a single contact point, usually at the top corner on the latch side. A binding door resists movement along an entire edge, typically because the door slab is too large for the opening or the hinges are set too deep. Knowing which one you’re dealing with saves you from adjusting the wrong component and making the problem worse.
In Los Angeles, where summer heat expands wood doors and winter brings cooler, drier air that shrinks them, seasonal sticking is common. A door that sticks only in August and swings free in January is almost never defective. It’s reacting to humidity cycles, and the installation simply didn’t leave enough clearance. We see this most often with solid wood doors in older homes across neighborhoods like West Adams, Silver Lake, and the San Fernando Valley, where original framing has settled over decades.
Here’s the distinction in plain terms:
- Sticking: One specific contact point. You can usually see a rub mark or worn paint. Fix: adjust that hinge or sand that spot.
- Binding: The door drags along a full side. No single rub mark. Fix: check hinge mortise depth or slab width.
- Seasonal sticking: Comes and goes with weather. Fix: increase clearance slightly or adjust hinges seasonally.
If you’ve lived with a door that behaves differently every season, it’s not something you have to accept. A properly hung door with correct clearances moves freely year-round.
The Playing Card Diagnosis: Finding Contact Points Without Tools
Before you reach for a screwdriver, find out exactly where the door is making contact. The fastest method costs nothing and uses something already in your house: a playing card.
- Close the door slowly and watch where it first touches the frame. That’s your primary suspect zone.
- Insert a playing card between the door and the frame at the top, middle, and bottom on all three sides (hinge side, latch side, top).
- Slide the card along each gap. A properly hung door should let the card pass with slight resistance but no catching.
- Where the card won’t pass, or where you feel a hard stop, that’s your contact point.
- Repeat on the latch side with the door fully closed. If the card slides freely everywhere except one spot, you’ve found your sticking point.
This test takes five minutes and tells you whether you’re dealing with a hinge issue, a strike plate issue, or a slab that’s genuinely too big. We’ve walked plenty of Los Angeles homeowners through this over the phone, and it usually saves them from making an unnecessary purchase. For more guides & resources, check our blog. Most single door adjustments cost nothing in parts, and knowing where the problem lives is half the repair.
Strike Plate vs. Hinge Adjustment: Which First?
Order matters. The sequence we follow on service calls is hinge first, strike plate second, because hinge adjustments move the entire door and often fix latching problems as a side effect. Strike plate adjustments are more surgical, and they shouldn’t be attempted until you know the door is hung square.
Here’s the logic: a door that’s out of plumb by even 1/8 inch shifts the latch bolt slightly up, down, in, or out relative to the strike plate. The latch misses or catches partially, and the homeowner assumes the strike plate is the problem. But moving the strike plate without straightening the door just relocates the misalignment. It’s a band-aid.
When to Adjust Hinges First
- The door sags visibly, leaving a wider gap at the top on the latch side
- The door rubs at the top corner on the latch side
- The latch misses the strike plate slightly high or low
- The door swings open or closed on its own when unlatched
When to Adjust the Strike Plate First
- The door is plumb and square (confirmed with a level)
- The latch aligns with the strike plate opening but won’t seat fully
- The door latches but rattles in the frame
- The deadbolt aligns but the latch doesn’t
A hinge adjustment takes about 10 minutes with a drill, and tightening or shimming one hinge often resolves both sticking and latching simultaneously. If you’re not sure which applies to your door, start with the hinges. It’s the least invasive fix and the most common root cause we find in Door Installation in Los Angeles projects we’re called back to inspect.
Why Weatherstripping Failures Point Back to the Frame
When a door drafts, most homeowners replace the weatherstripping. Sometimes that works. But if the draft returns within a season, the weatherstripping was never the problem. It was a symptom of an out-of-square frame that compresses the seal unevenly.
Here’s what happens: an exterior door frame consists of two side jambs and a head jamb. If the frame was installed even slightly out of square, the door slab meets the weatherstripping with inconsistent pressure. In one spot the seal compresses fully; in another it barely touches. Air finds the weak spot, and the homeowner feels a draft along the floor or the top corner. They assume the weatherstripping is cheap. They replace it. The draft comes back because the frame hasn’t changed.
In Los Angeles, where many homes predate modern framing standards, out-of-square rough openings are the rule rather than the exception. Contractors who don’t shim the frame properly before fastening it transfer that irregularity straight to the door. Products like Therma-Tru entry doors and impact-rated CGI doors are engineered with tight tolerances, but even the best door can’t seal correctly in a twisted opening.
Before replacing weatherstripping, check the frame:
- Place a level against each side jamb. Anything off by more than 1/8 inch over 80 inches is worth correcting.
- Measure the diagonal distance from top-left corner to bottom-right corner, then top-right to bottom-left. If the two numbers differ, the frame is out of square.
- Close the door on a strip of paper at several points around the perimeter. Where the paper pulls out without friction, the seal isn’t compressing.
If the frame is off, fixing the weatherstripping is a temporary patch. The permanent fix is pulling the casing, re-shimming the frame square, and re-hanging the door. It’s more work, but it’s the difference between a door that seals for decades and one that drafts every winter.
The Threshold Adjustment Screw Nobody Knows About
Most exterior doors have an adjustable threshold, and most homeowners don’t know it exists. Under the threshold, usually hidden beneath a plastic cap or plug, are two to four screws that raise or lower the threshold to create a snug seal against the bottom of the door. If you’re feeling a draft under your door, there’s a good chance a 30-second screw adjustment solves it.
Here’s the step-by-step:
- Open the door and inspect the threshold. Look for small circular caps or slotted plugs spaced along its length.
- Pop the caps off with a flathead screwdriver. You’ll see screw heads beneath.
- Turn each screw a quarter-turn clockwise to raise the threshold. Do this evenly across all screws.
- Close the door and check resistance. You want to feel slight friction when sliding a piece of paper under the closed door, but the door should still latch without slamming.
- Repeat in small increments until the draft disappears.
If you raise the threshold too far, the door will drag and the latch may fail. Back off an eighth-turn at a time. This adjustment is especially useful in Los Angeles rental units and older homes where doors have been repainted multiple times, changing clearances. We’ve also seen it resolve water intrusion during rain in entry doors with exposed southern exposures.
One caution: if you turn the screws and nothing moves, the threshold may be caulked in place or the adjusters may be stripped. Don’t force it. A stripped threshold adjuster requires replacement, and that’s a 20-minute job with the right part in hand.
When the Latch Won’t Catch: Diagnosing Latching Failures
A door that closes but won’t latch is a security problem, not just an annoyance. In Los Angeles, where a front door that doesn’t latch is an invitation to anyone walking by, this fix matters. The good news: latching failures are almost always alignment issues, and alignment issues are almost always fixable in under an hour.
There are three distinct latching problems, and each points to a different cause:
- The latch strikes the plate but won’t seat: The strike plate is positioned too high, too low, or too far forward. The latch bolt hits the edge of the plate opening instead of entering it. Fix: reposition the strike plate.
- The latch seats but pops open with a push: The strike plate is too far back, or the latch bolt isn’t extending fully into the opening. Fix: shim the strike plate outward or adjust the backset.
- The latch won’t reach the plate at all: The gap between the door and the frame is too wide, or the door has sagged. Fix: hinge adjustment first, then evaluate the gap.
Start with the visual check. Close the door until the latch touches the strike plate. Look at the relationship between the center of the latch bolt and the center of the strike plate opening. If they’re off by more than 1/16 inch, you’ve found your misalignment. A strike plate repositioning involves removing two screws, filling the old screw holes with toothpicks or a dowel and wood glue, letting it dry, and re-drilling pilot holes at the correct height. This is a 30-minute job for someone comfortable with a drill.
If the latch aligns but won’t seat, check whether the door is warped or the frame is twisted. Sometimes a door that latches only when pushed hard has a frame issue, and the strike plate adjustment is masking a deeper problem. In our experience, doors hung with proper shimming and sharp attention to plumb rarely develop latching failures over time. When we install Window Replacement in Los Angeles projects that include entry door work, we always check the existing door’s latching before we start, because a house that has one misaligned door often has more than one.
Common Mistakes to Avoid
- Sanding the door before checking the hinges. Sanding removes material you can’t put back. A hinge adjustment is reversible; sanding is not. Always diagnose first.
- Replacing the door when only the frame is out of square. A new door in an out-of-square opening will have the same problems as the old one did. The frame is the issue, not the slab.
- Overtightening hinge screws to fix a sag. Overtightening strips the screw holes and makes the sag worse. If a hinge screw spins without biting, use a longer screw to reach the stud behind the jamb.
- Ignoring a draft because “the weatherstripping is new.” New weatherstripping means nothing if the frame isn’t square. Check the frame before spending money on seals.
- Adjusting the strike plate without checking plumb first. Moving the strike plate on a sagging door just relocates the problem. Square the door, then fine-tune the plate.
- Ignoring a door that doesn’t latch at all. An unlatched door is a security gap. In Los Angeles, where street-facing doors are common, this is a genuine safety concern. Fix it the same week you notice it.
When to Call a Professional
Some problems are worth fixing yourself. Others justify a professional visit, either because the work requires specialty tools or because getting it wrong makes the problem worse. Call a professional if your frame is visibly out of square and requires re-shimming, if your door is heavy enough that removing it risks injury, if your threshold screws are stripped and the adjuster needs replacing, or if you’ve tried the adjustments in this guide and the door still misbehaves. Westlight Windows & Doors offers free estimates in Los Angeles - call (903) 354-7134 to schedule a visit. We’ll diagnose the issue, write up exactly what it takes to fix it, and give you a price before any work starts.
Frequently Asked Questions
Most door adjustments like hinge tightening, strike plate repositioning, and threshold adjustment cost between $120 and $250 when handled by a professional in Los Angeles. The price depends on the number of adjustments needed and whether parts like longer screws or new weatherstripping are required. Call (903) 354-7134 for an exact quote - estimates are free.
A door that sticks only in summer is reacting to humidity, which causes wood to swell. The door was likely hung with minimal clearance. The fix is either a small hinge adjustment to increase clearance or sanding a specific contact point, and it’s a job most Los Angeles homeowners can handle in an afternoon.
Measure the diagonal distance from the top-left corner of the frame to the bottom-right corner, then the top-right to the bottom-left. If the two numbers differ by more than 1/8 inch, the frame is out of square and should be re-shimmed. A level placed against each side jamb will also reveal any lean.
Yes. Weatherstripping is available in adhesive-backed rolls and press-in strips that install without removing the door. But if the frame is out of square, new weatherstripping won’t seal evenly, and the draft will return. Check the frame first.
Therma-Tru is the entry-door brand we install most often in Los Angeles because it offers good insulation values and holds its shape across our seasonal temperature swings. For coastal or hillside homes where wind and fire ratings matter, impact-rated products from CGI and PGT are worth considering. The right brand depends on the exposure and the opening.
Most hinge adjustments take 10 to 20 minutes. Strike plate repositioning takes 30 to 45 minutes including drying time for the wood filler. Threshold adjustments take under 5 minutes. A full frame re-shimming is the exception, usually requiring 2 to 3 hours. For a deeper breakdown, see How Long Does Door Installation Take? Timelines and What to Expect.
The Bottom Line
Most door problems that appear after installation aren’t product failures. They’re adjustment issues with specific, identifiable causes. A sticking door usually means a hinge is out of alignment. A latching failure usually means the strike plate moved or the door sagged. A draft usually means the frame isn’t square or the threshold needs raising. None of these require buying a new door, and all of them are fixable with patience and basic tools. For Los Angeles homeowners who’d rather have it handled correctly the first time, Window Installation in Los Angeles and door work from Westlight Windows & Doors comes with a written price before any work starts and a guarantee in writing when the job is done. Call (903) 354-7134 for a free estimate, and we’ll tell you exactly what your door needs.
Written by Owen Satterfield, Owner at Westlight Windows & Doors, serving Los Angeles since 2009.