
Last updated October 8, 2026
Free in-home measure and quote - PGT, CGI and CWS impact lines compared on your actual openings, style by style
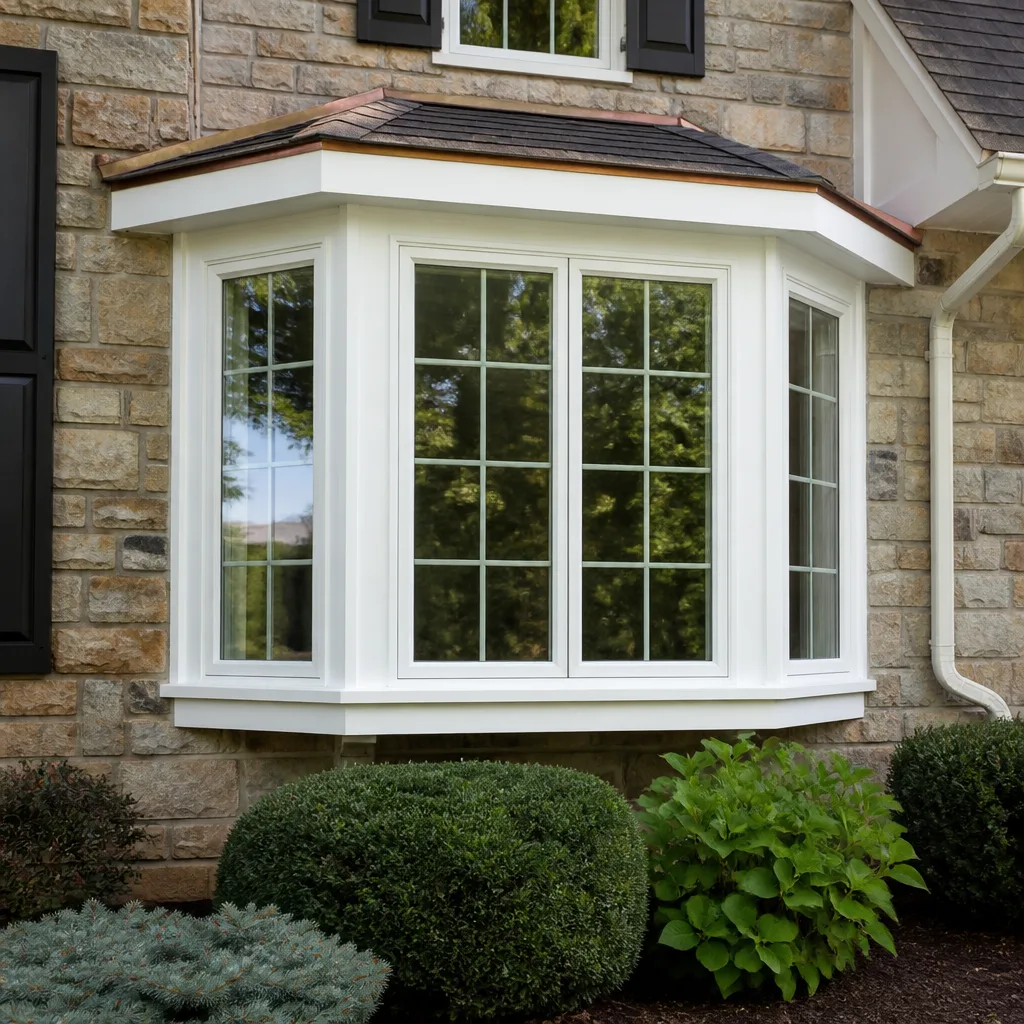
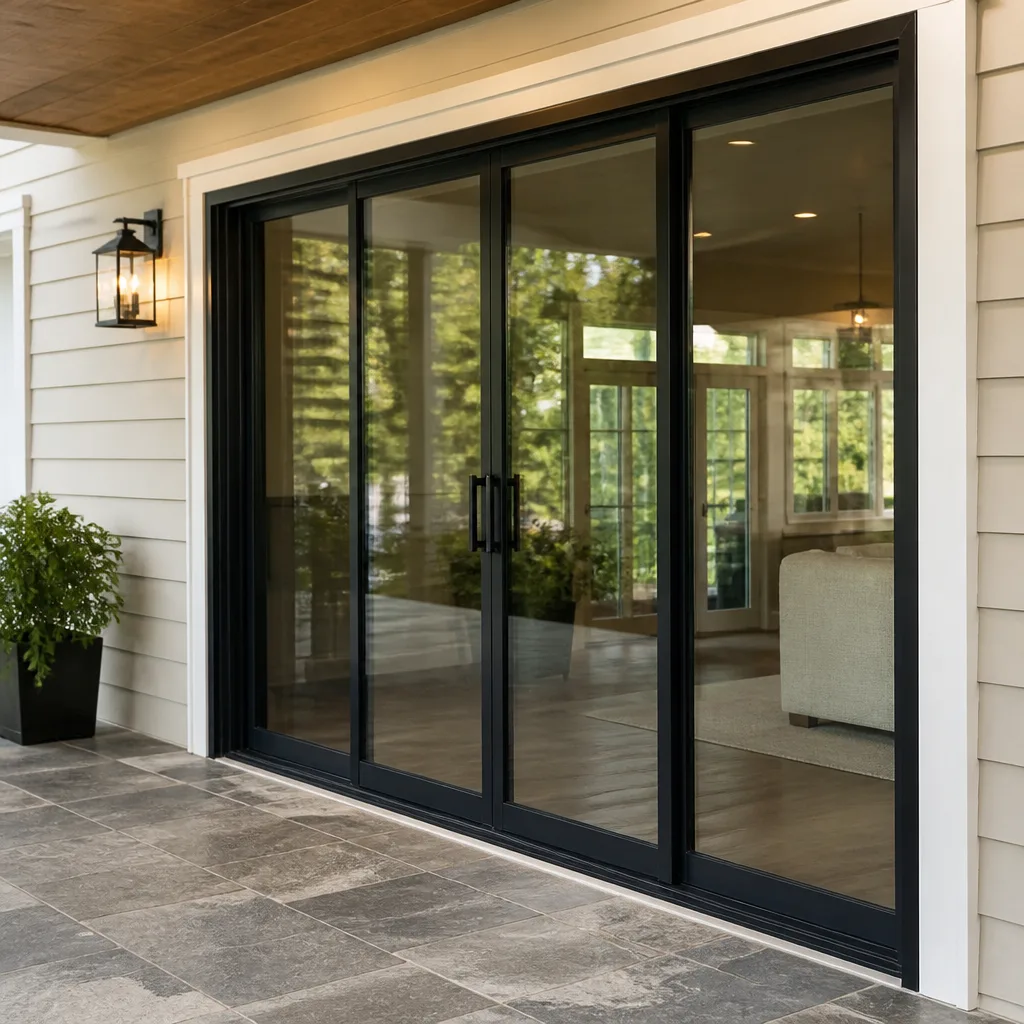



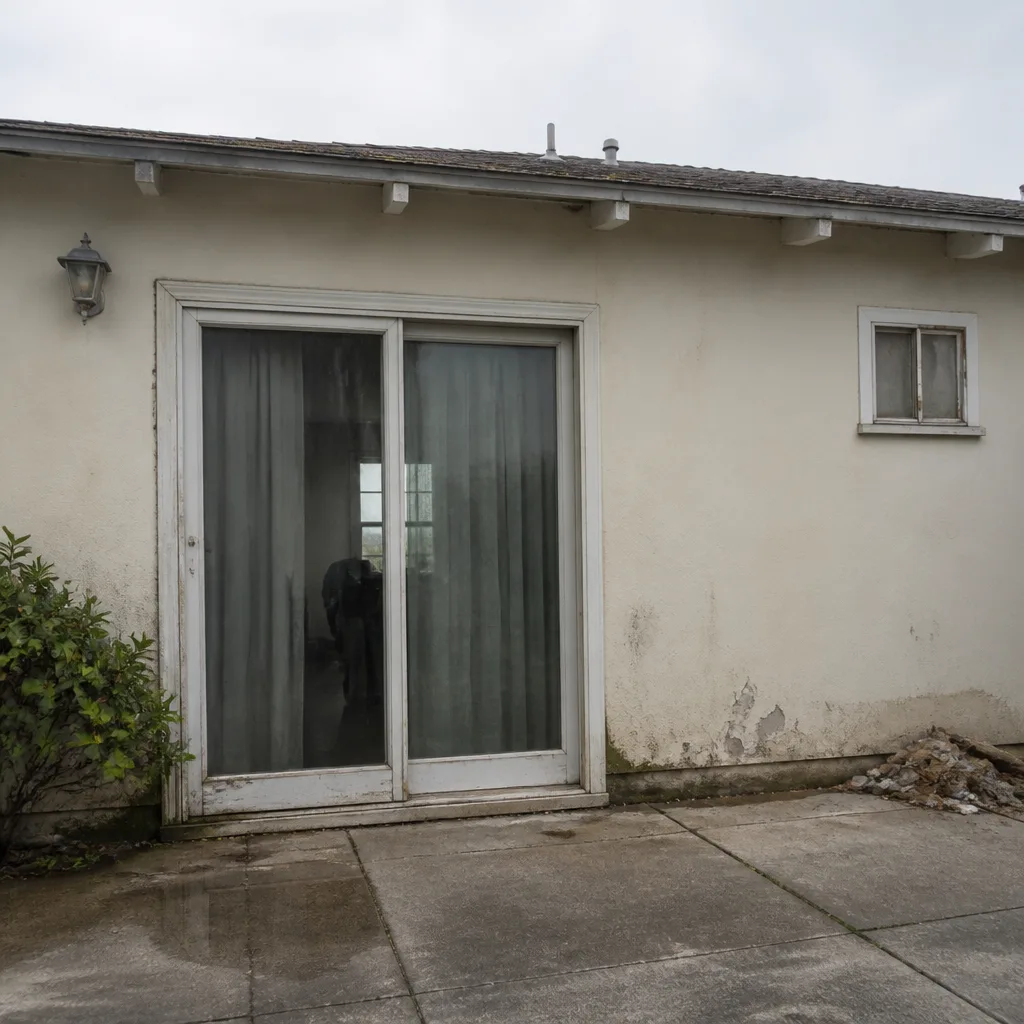 Before
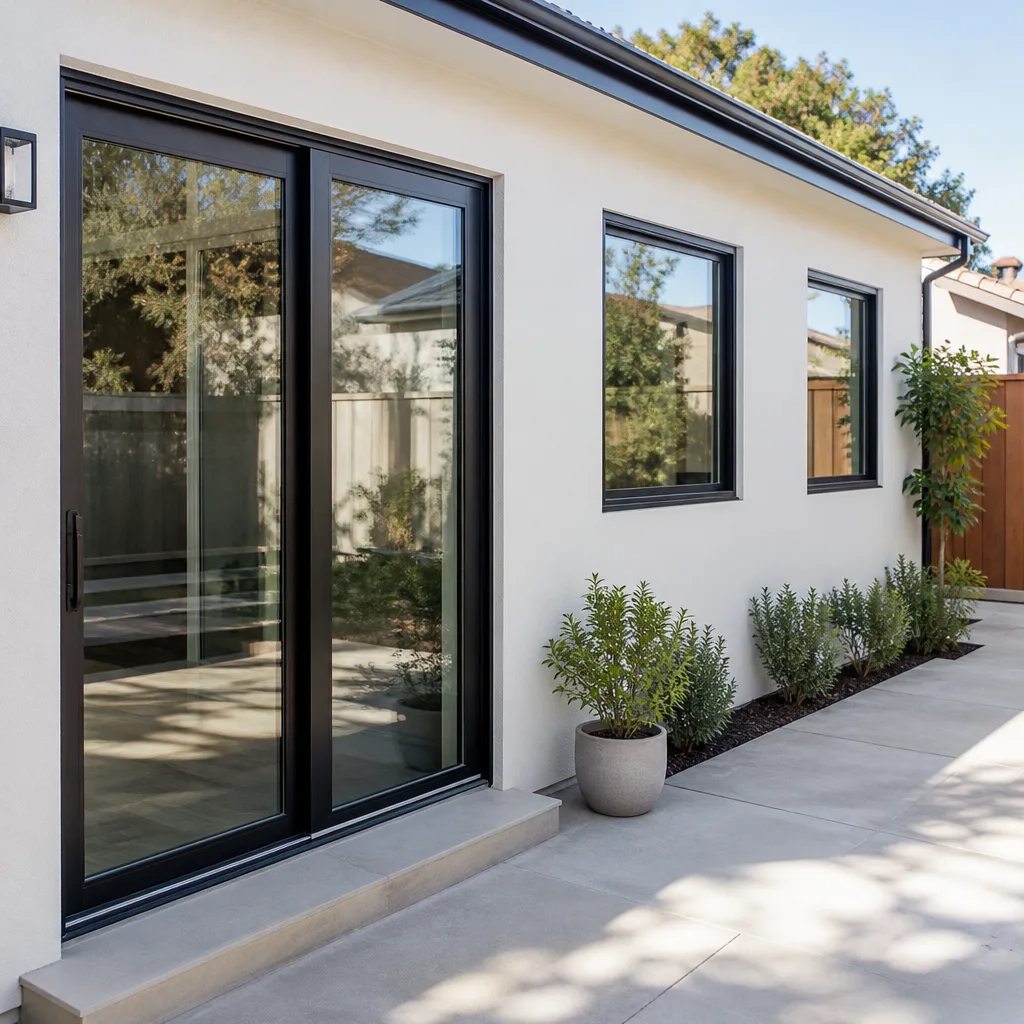 After
After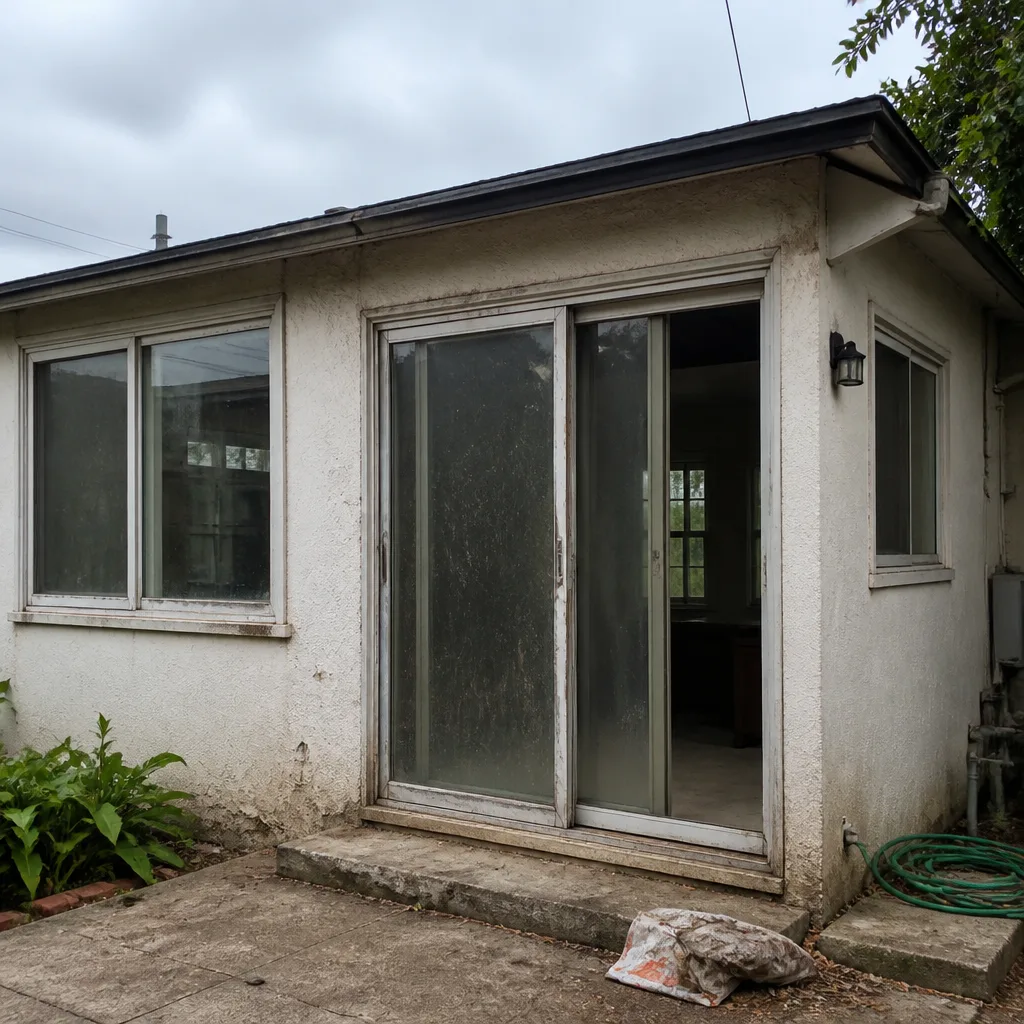 Before
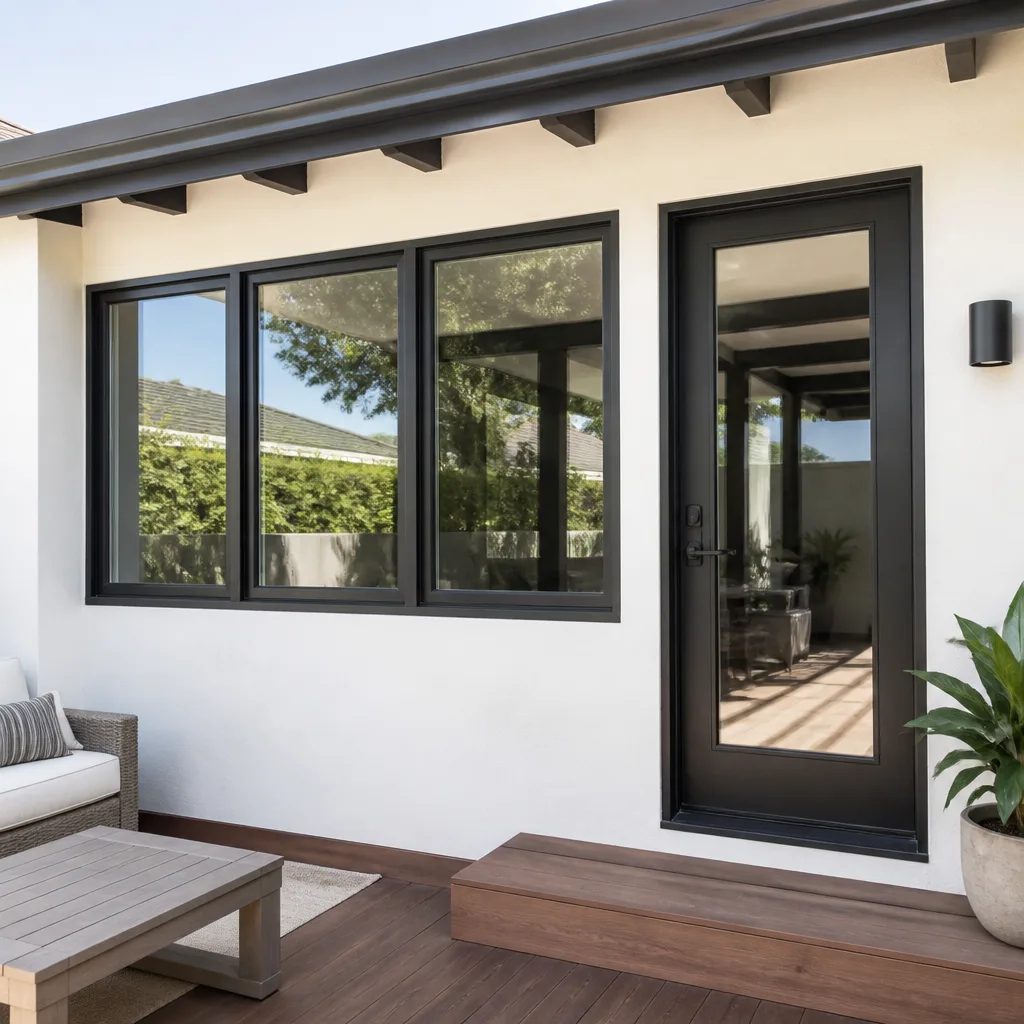 After
After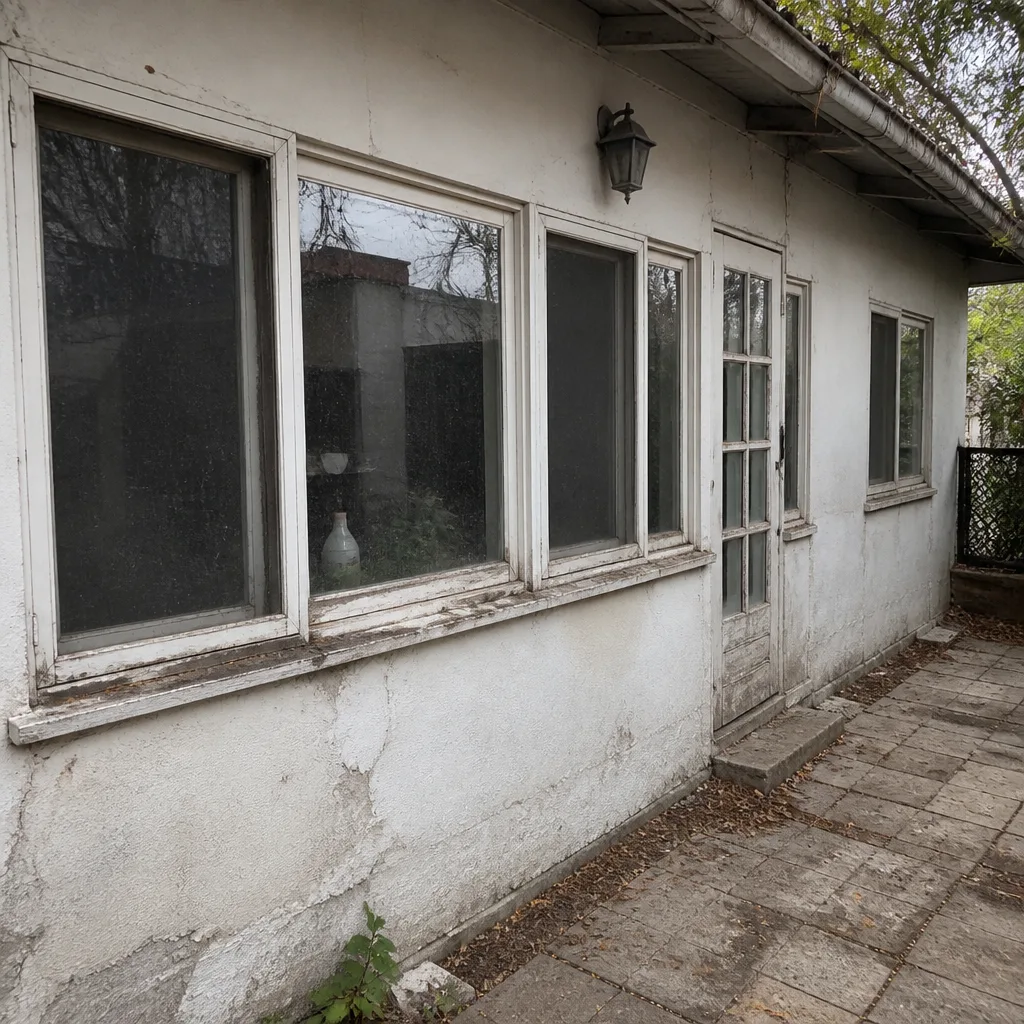 Before
 After
AfterWindow Installation Maintenance Schedule: What to Do and When
The caulk applied on installation day in a Los Angeles summer reaches full cure in 21 days. Any movement or pressure on that window before cure can create a micro-gap that doesn’t show up until the first El Niño rain drives water sideways into the wall. Most maintenance guides start with windows that have been in place for years. This one starts at installation day, because the first 90 days after a window goes in determine how it performs for the next 20 years.
Quick Answer
A new Window Installation maintenance schedule has three phases: verify sealant cure at day 21, check hardware torque and alignment at day 45, and do a full weathercheck at day 90 before winter rain arrives. After that first 90 days, annual maintenance breaks down by frame material: vinyl needs track cleaning and weep hole clearing twice a year, wood-clad needs sealant inspection every fall, fiberglass needs hardware lubrication yearly, and aluminum needs thermal break inspection every two years. The single most important task, regardless of frame type, is keeping weep holes clear so water drains out instead of into your wall cavity.
Table of Contents
- The First 90 Days: Your Post-Installation Checklist
- How to Build a Baseline Record for Every Window
- Annual Maintenance by Frame Material
- Flashing and Weep Holes: LA Stucco vs. Wood Siding
- DIY vs. Calling the Contractor: Specific Thresholds
- How Maintenance Affects Your Warranty
- Seasonal Maintenance Calendar for Los Angeles
- Common Mistakes to Avoid
- When to Call a Professional
- Frequently Asked Questions
The First 90 Days: Your Post-Installation Checklist
New window installation resets the maintenance clock, but it also introduces a set of first-year tasks that existing maintenance guides never cover because they’re written for windows that have been in place for years. For Window Installation Warning Signs Every Homeowner Should Know, see our dedicated guide. Here in Los Angeles, where summer heat accelerates sealant curing and winter brings sudden downpours after months of dry weather, those first 90 days matter more than most homeowners realize.
Day 21: Sealant Cure Check
Most exterior sealants used in window installation reach full cure at 21 days under normal conditions. Before that, the sealant is still soft enough that pressure, movement, or even aggressive cleaning can break the bond. At day 21, run your finger along the exterior sealant bead around each new window. It should feel firm, not tacky. Look for any shrinkage, cracking, or spots where the bead pulled away from the stucco or trim. If you see a gap wider than a credit card edge, that’s a callback to your installer, not a DIY fix.
Day 45: Hardware Torque and Alignment
Window hardware settles in the first six weeks. Screws that were tight on installation day can loosen slightly as the frame settles into the opening, and sash alignment can shift. At day 45, open and close every new window slowly. Listen for grinding, feel for resistance, and check that locking mechanisms engage without forcing. If a crank window takes noticeably more effort than it did on day one, don’t keep cranking, that’s how gears strip. Call the installer for a hardware adjustment.
Day 90: First Full Weathercheck
Before the first winter rain, which in Los Angeles typically arrives between November and January, do a full weathercheck. Check every new window for: sealant integrity around the exterior perimeter, weep hole clarity at the bottom track, screen fit, and any daylight visible between the sash and frame when closed. Run a garden hose at low pressure along the exterior top and sides of each new window for 30 seconds and check the interior for moisture. Any water penetration at this stage means the flashing or sealant needs attention.
How to Build a Baseline Record for Every Window
A baseline record is the single most underrated maintenance tool you’ll ever create for your new windows. It takes about 15 minutes per window and can save you hours of troubleshooting and thousands in resolved warranty disputes down the road. Here’s what to record, in writing, on installation day or within the first week:
- Photographs: Take clear, well-lit photos of each window from inside and outside. Capture the sealant beads, the hardware, the weatherstripping, and the surrounding trim. These photos document the condition at installation and serve as evidence if a defect appears later.
- Measurements: Note the rough opening dimensions and the actual unit dimensions for each window. Also measure the gap between the sash and frame on all four sides. This gives you a reference point for detecting future sagging or frame movement.
- Hardware settings: Record how many turns each casement crank takes to fully open and close. Note where each sliding window’s lock engages. These are your “day one” settings; any change later signals wear or misalignment.
- Manufacturer and model: Write down the brand name and model number for each window. If you had Westlight install PGT, CGI, or ECO Window Systems products, record the specific model line. Warranty claims move faster when you can identify the product without pulling it apart.
- Installation date and crew: Note the date and, if you have it, the name of the installation team. Most manufacturers require proof of professional installation for warranty claims, and having the crew name on record simplifies follow-up.
Store this record digitally, a cloud folder or a shared note works fine. When something goes wrong in year five, you’ll be able to say exactly what changed, exactly when it changed, and exactly who to call.
Annual Maintenance by Frame Material
Not all window frames age the same way. The annual routine that keeps a vinyl window running smoothly will damage a wood-clad frame, and the cleaner that works on aluminum will void certain fiberglass warranties. Here’s what each material actually needs, and what you should never use on it.
Vinyl Frames
Vinyl is the most forgiving frame material, but it has two enemies: abrasive cleaners and neglected weep holes. Twice a year, vacuum the tracks and wipe the frame with a solution of mild dish soap and warm water. Never use solvent-based cleaners, bleach, or abrasive pads; they etch the surface and create micro-scratches where dirt embeds permanently. The single most important vinyl maintenance task is clearing the weep holes. In Los Angeles, dust and pollen accumulate in window tracks quickly, and a clogged weep hole turns a window track into a mini bathtub during the first winter rain.
Fiberglass Frames
Fiberglass frames require the least structural maintenance of any material, but hardware lubrication is non-negotiable. Once a year, apply a dry silicone spray to hinges, locks, and crank mechanisms; never use oil-based lubricants, which attract dust and gum up the works. Fiberglass itself should be cleaned with the same mild soap solution recommended for vinyl. Avoid any cleaner containing ammonia.
Wood-Clad Frames
Wood-clad windows, where a wood interior is protected by a vinyl or aluminum exterior, demand the most attention. The failure point is always the sealant joint where the exterior cladding meets the frame. Every fall, before winter rains arrive in Los Angeles, inspect this sealant bead on every wood-clad window. Any crack, gap, or shrinkage means water can reach the wood core, and once wood begins to rot, replacement is the only real fix. Re-sealant small gaps as soon as you find them; a tube of high-quality exterior sealant costs about $12, and a wood-core window replacement starts around $800.
Aluminum Frames
Aluminum conducts heat and cold, which makes it prone to condensation on the interior frame during Los Angeles winter mornings when temperatures drop overnight. The maintenance priority here is the thermal break, the plastic strip inside the frame that separates the interior and exterior aluminum. Inspect it every two years. If it’s cracked or missing, the window’s energy efficiency drops sharply. Aluminum frames should be cleaned with the same mild soap solution; avoid anything acidic, including vinegar, which pits aluminum over time. If you hear creaking when the window opens, apply dry silicone spray to the hinges immediately; that sound is metal-on-metal wear.
Flashing and Weep Holes: LA Stucco vs. Wood Siding
How you inspect flashing and weep holes in Los Angeles depends entirely on what your house is clad in. Stucco, which covers the majority of LA homes built before 1980, hides installation errors differently than wood siding does, and the inspection technique that works on one will miss problems on the other.
Stucco-clad homes: With stucco, the window flange is buried behind the stucco layer, which means you can’t see the flashing directly. What you can see is the sealant joint where the stucco meets the window frame. Walk around each window and look for hairline cracks in the stucco radiating outward from the window corners, these are stress cracks that often indicate movement behind the wall. Also check for any separation between the stucco edge and the window frame. In our experience across Los Angeles, stucco homes built before the 1990s frequently have inadequate flashing because the original code didn’t require it. If water stains appear on the interior wall below a window, the flashing is the prime suspect.
Wood-sided homes: On wood-sided homes, flashing is more visible. You can actually see the metal flashing tape or felt paper at the window perimeter if you look closely. Inspect the top flashing specifically; a bent or lifted top flashing sends water straight into the rough opening. Also check that the siding itself hasn’t swollen or warped around the window, a sign of trapped moisture.
Weep holes: Weep holes are the small drainage slots at the bottom of the exterior frame. Their job is to drain water that collects in the track. They clog with dust, pollen, and spider nests, and in Los Angeles, where months of dry weather deposit debris before rain arrives suddenly, this is the number one cause of window leaks we see. Check weep holes by pouring a small amount of water into the track and watching whether it drains out the exterior. If it pools instead, clear the holes with a pipe cleaner or compressed air, never a metal tool, which can damage the frame.
DIY vs. Calling the Contractor: Specific Thresholds
Knowing when to handle a window issue yourself and when to call the installer is the difference between a $15 fix and a $1,500 repair. For help diagnosing problems, check our Window Installation Troubleshooting: Common Problems and How to Fix Them. Here are the specific thresholds we use to make that call:
- Gap width: If you can insert a credit card between the weatherstripping and the sash when the window is closed and locked, the seal has failed. A gap thinner than a credit card can be addressed with weatherstripping replacement, which is a DIY task. A wider gap means the sash is out of alignment or the frame has shifted. Call the contractor.
- Draft volume: Hold a lit incense stick near the closed window perimeter on a day with any breeze. If the smoke wavers gently, that’s normal air leakage. If the smoke blows sideways or gets pulled outward, you have a meaningful air leak. A gentle waver is a DIY fix. Smoke deflection is a contractor call.
- Condensation between panes: If fog or water droplets appear between two panes of glass, the insulated glass unit seal has failed. This is never a DIY fix. The glass unit must be replaced. Call your installer; if the window is under warranty, this is often covered.
- Hardware resistance: If a window requires noticeably more force to open or close than it did at day 45, stop using it. Forcing a misaligned window strips gears and bends hinges. If lubrication doesn’t restore smooth operation within a day, call the contractor.
- Any water inside the house: Water staining, peeling paint, or damp drywall below or around a window is a contractor call, period. By the time water shows up inside, it has already been traveling through the wall cavity, and the source may be flashing, sealant, or weep-hole failure. Diagnosing it correctly requires removal of interior finishes in most cases.
How Maintenance Affects Your Warranty
Here’s the part most maintenance guides skip: your warranty is conditional. Manufacturer warranties for windows from brands like CGI, CWS, and ECO Window Systems require proof of reasonable maintenance, and the definition of “reasonable” varies by frame material. What counts as reasonable for a vinyl frame (occasional cleaning) doesn’t count as reasonable for wood-clad (documented annual sealant inspection).
The Kingswell Guarantee, which Westlight Windows & Doors puts in writing on every installation, covers the workmanship, not the ongoing care. If a window fails because of a defective product or an installation error, we come back and fix it at no charge within the guarantee period. If a window fails because the weep holes were never cleared and water pooled in the track for months, that’s a maintenance issue, not a warranty claim. The distinction matters, and the baseline record described above is your best evidence in either direction.
Our 365-Day Done Right Promise works the same way. If something about the installation itself is wrong, if a window leaks because of how it was flashed, or a hardware failure traces back to installation day, we return and correct it at no charge, because the written guarantee says so. The maintenance schedule in this guide exists to keep legitimate warranty issues rare and to give you the documentation you need when something genuinely fails.
Seasonal Maintenance Calendar for Los Angeles
Los Angeles has two maintenance seasons: the dry season (roughly April through October) and the wet season (roughly November through March). The transition points between them are when window maintenance actually gets done, and here’s the calendar that works for this climate:
September to October (pre-rain prep): This is your most important maintenance window of the year. Clear all weep holes. Inspect all exterior sealant beads for cracks. Check wood-clad frames for any exposed wood. Test every window for smooth operation. Replace any weatherstripping that’s compressed or loose. The first winter storm in Los Angeles catches homeowners who skipped October prep, and catches them hard.
November to March (wet season monitoring): During the wet season, do monthly visual checks. After every heavy rain, check the interior walls below windows for any sign of moisture. Listen for water sounds inside walls near windows. Keep weep holes clear of storm debris. This is also when condensation between panes becomes most visible, because the temperature difference between inside and outside is greatest.
April to May (post-rain reset): Once the rains stop, clean every window track thoroughly. Dust and pollen accumulated through the dry season, then rain turned that dust into mud in the tracks. Vacuum tracks, wipe frames with the appropriate cleaner for your material, and lubricate hardware with dry silicone spray. This is also the best time in Los Angeles to schedule any window work, because installers have more schedule flexibility and the weather cooperates with sealant curing.
June to August (routine maintenance): During the dry season, monthly tasks are minimal. After windy days, check for dust accumulation in tracks. If you have a crank window that’s been stiff in the past, test it. Otherwise, the summer months in Los Angeles require almost nothing from your windows, which is why fall prep sneaks up on so many homeowners.
Common Mistakes to Avoid
- Cleaning vinyl frames with bleach: Bleach etches vinyl surfaces, creating a chalky texture that permanently traps dirt. Once etched, the frame can’t be restored; it has to be replaced. Use mild soap and water only.
- Painting over weep holes: If you repaint your exterior trim, protect the weep holes. A single coat of paint can seal them shut, and water that should drain out of the track instead drains into the wall cavity. In Los Angeles stucco homes, this is a silent killer that shows up as interior water damage months later.
- Using oil-based lubricants on window hardware: WD-40 is not a window lubricant. Oil-based products attract dust, which turns into a grinding paste inside hinges and locks. Use dry silicone spray, which lubricates without leaving a residue that collects dirt.
- Skipping the day-90 weathercheck: The first winter after installation reveals installation errors that were invisible during the dry season. Homeowners who skip the pre-rain check discover leaks during the first storm, when contractors are already booking at capacity. Checking in October costs 30 minutes; repairing a leak in January costs whatever the emergency contractor wants to charge.
- Forcing a stiff window: Forcing a crank window that resists movement strips internal gears, and once the gear is stripped, the whole operator mechanism needs replacement. A stripped operator is a $150 to $300 repair. A lubrication call is free if you’re still in your guarantee period.
- Leaving the baseline record in your memory: Memory fails. Photos and measurements don’t. Every warranty claim becomes easier when you can show what the window looked like on day one.
- Ignoring a small sealant crack: A hairline crack in the sealant bead around a wood-clad window isn’t a cosmetic issue. Water finds that crack and rots the wood core behind it. The repair for a cracked sealant bead is a $12 tube of sealant. The repair for a rotted wood core is a window replacement.
When to Call a Professional
Call a professional when water shows up inside the house, when your window won’t open or close with reasonable force, when condensation appears between the glass panes, or when the sealant bead around any frame shows consistent cracking or separation after two repairs. The threshold questions are always the same: can you see, reach, and diagnose the problem with certainty? If the answer to any of those is no, the problem is likely bigger than the visible symptom. Stucco walls hide moisture damage for months before paint bubbles, and by then the repair has moved past simple. Westlight Windows & Doors offers free estimates in Los Angeles, call (903) 354-7134 and a technician will assess the window, identify the source, and write the price down before any work begins.
Frequently Asked Questions
Basic annual maintenance, if you do it yourself, costs between $25 and $75 for supplies: mild soap, dry silicone spray, a tube of exterior sealant, and replacement weatherstripping for a few windows. Professional maintenance inspections, where a technician evaluates every window and resolves minor issues on the spot, typically run $150 to $400 in Los Angeles depending on the number of windows. Call (903) 354-7134 for a written quote before any work starts.
Exterior window sealant typically reaches full cure in 21 days under normal conditions, though high humidity and cool temperatures can extend that to 28 days. Avoid pressure-washing new windows, placing any weight on the frame, or aggressive cleaning during the first three weeks after installation. In Los Angeles summer conditions, 21 days is reliable; in winter, give it the full 28.
The most common warranty voiders are: using solvent-based or abrasive cleaners on frames, painting over weep holes, using oil-based lubricants on hardware, failing to maintain wood-clad frames’ exterior sealant, and unauthorized modifications like drilling into the frame for window treatments. Always check the specific manufacturer requirements for your window brand; not every warranty has identical terms.
Fog or condensation between two panes of glass means the insulated glass unit’s seal has failed, allowing moisture into the space between the panes. This is a product failure, not a maintenance issue, and it never clears permanently. If your windows are under warranty, contact your installer for a glass replacement. If they’re not, the insulated glass unit for most standard sizes runs $150 to $400 per window to replace.
Twice a year is the minimum, in October before the rains and in April after they stop. Los Angeles dust and pollen accumulate quickly, and a track that’s clean in November can be full by February. If you live near a canyon, near a major boulevard, or in any area with high dust, check monthly during the wet season. Clear tracks mean clear weep holes, and clear weep holes mean water drains outside instead of into your walls.
In most cases, replacing an existing window in the same opening does not require a permit in Los Angeles, as long as the structural opening is not modified. Changing the size or shape of a window opening, or adding a new window where one didn’t exist, does require a permit and typically an inspection. For window installation in Los Angeles, we confirm permit requirements as part of the written quote, so there’s no surprise at inspection time.
The Bottom Line
A window installation maintenance schedule isn’t busywork, it’s the difference between windows that last 20 years and windows that fail in five. The critical windows are day 21 for sealant cure, day 45 for hardware, and day 90 for the pre-rain weathercheck. After that, annual maintenance by frame material and a seasonal calendar built around Los Angeles’s dry and wet seasons keep problems small. Clear weep holes, inspect sealant, use the right cleaners, and document everything from day one. When something goes wrong, and something eventually will, you’ll know exactly who to call and exactly what to tell them. For more guides & resources, visit our blog, or call (903) 354-7134 for a free estimate on any window issue, whether it’s a day-21 sealant question or a year-10 glass failure.
Written by Owen Satterfield, Owner at Westlight Windows & Doors, serving Los Angeles since 2009.