
Last updated October 8, 2026
Free in-home measure and quote - PGT, CGI and CWS impact lines compared on your actual openings, style by style


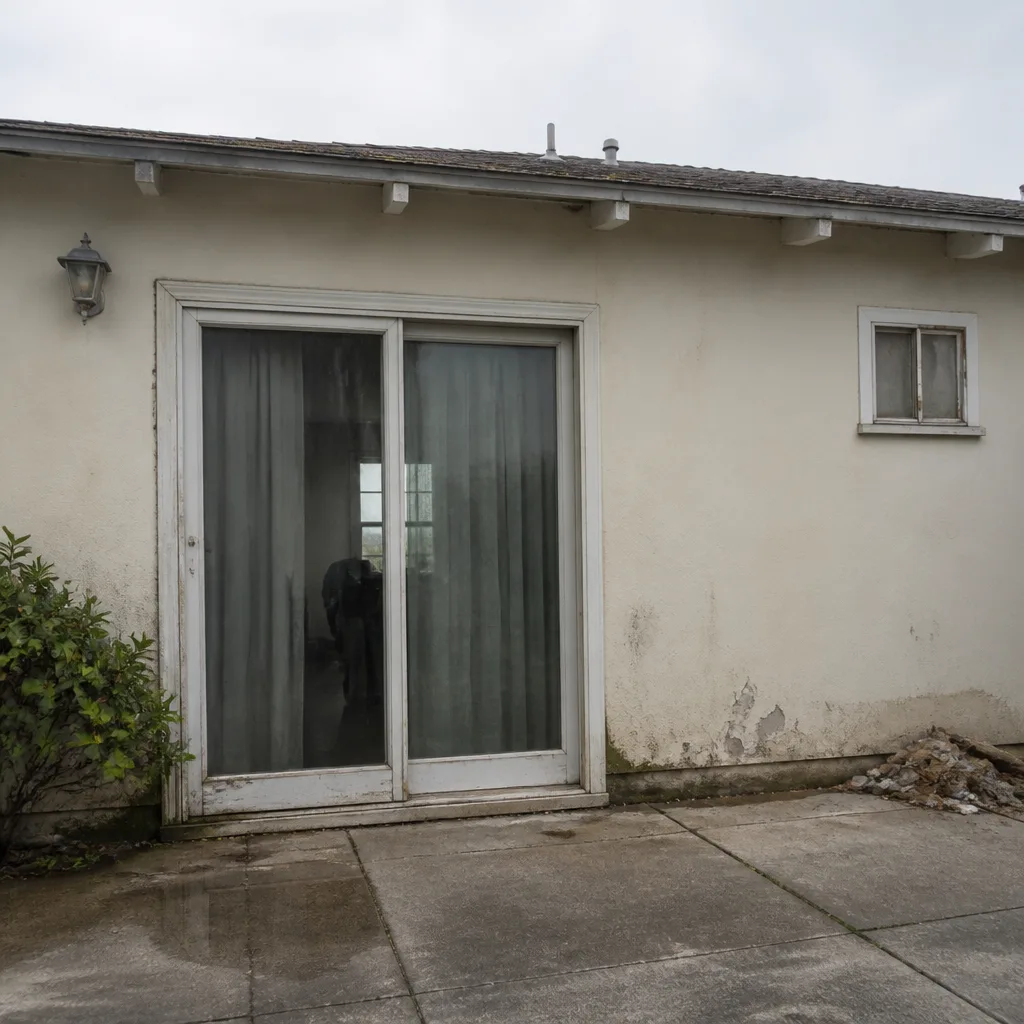 Before
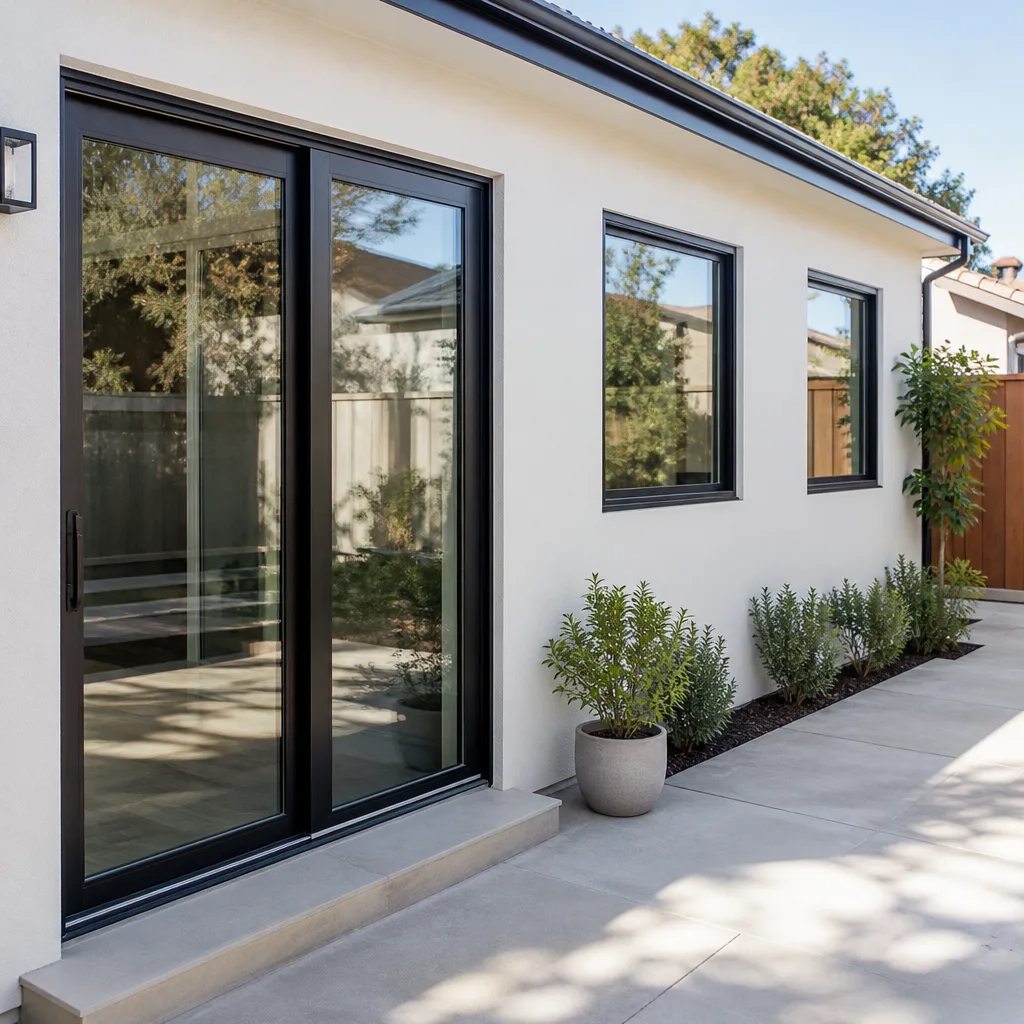 After
After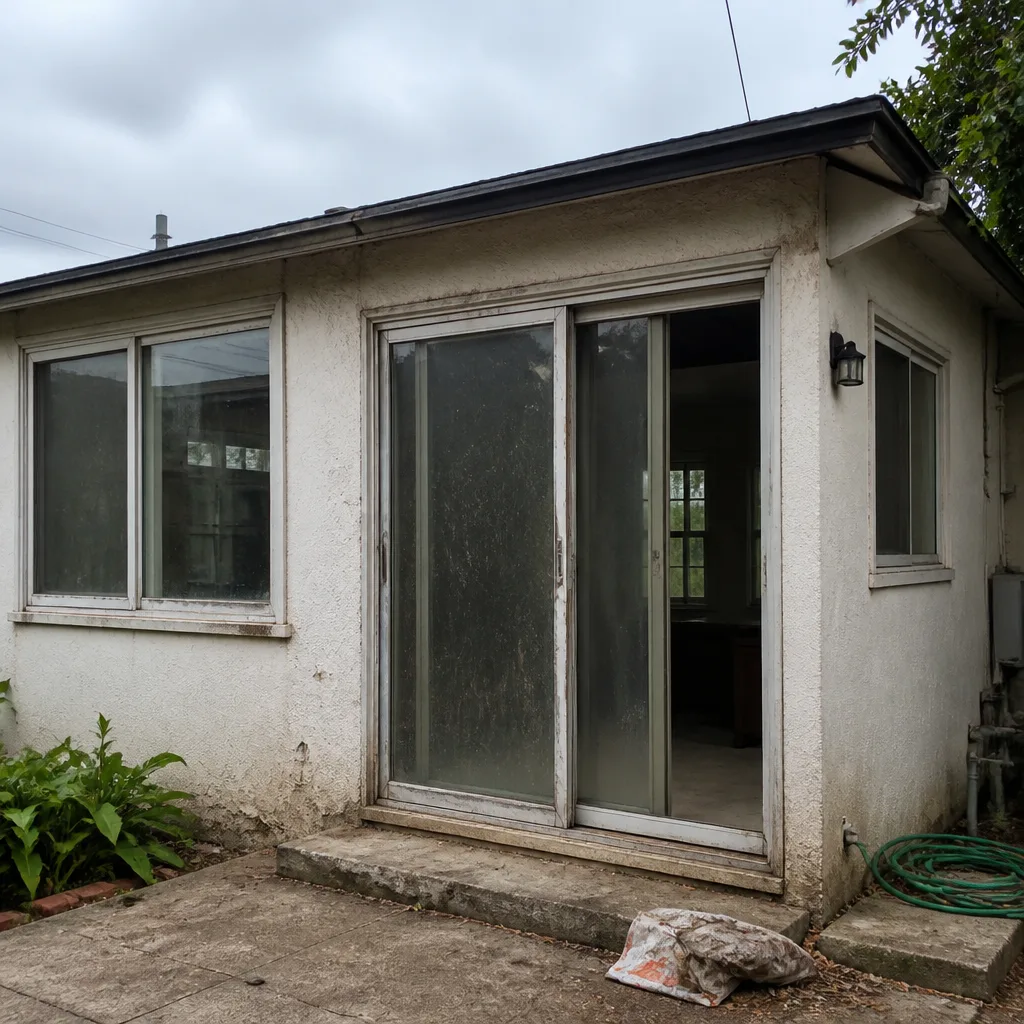 Before
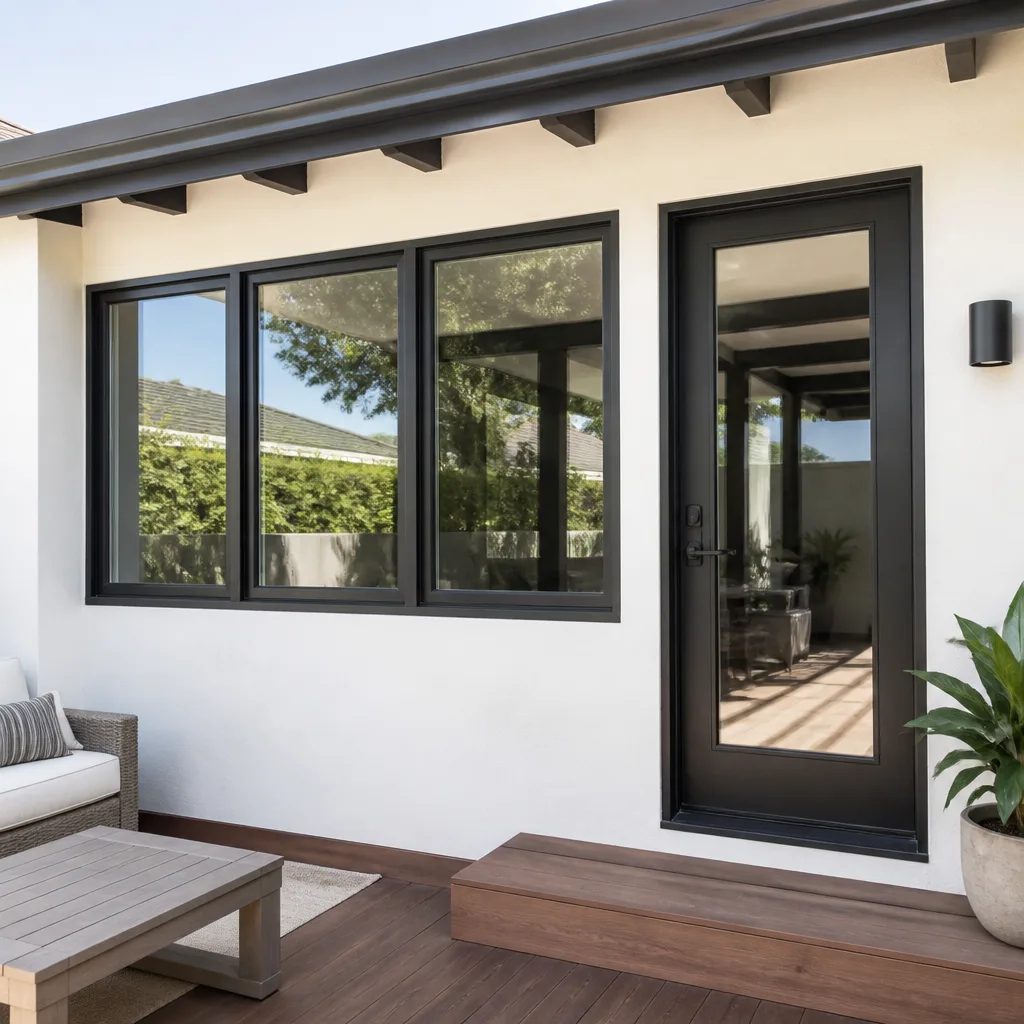 After
After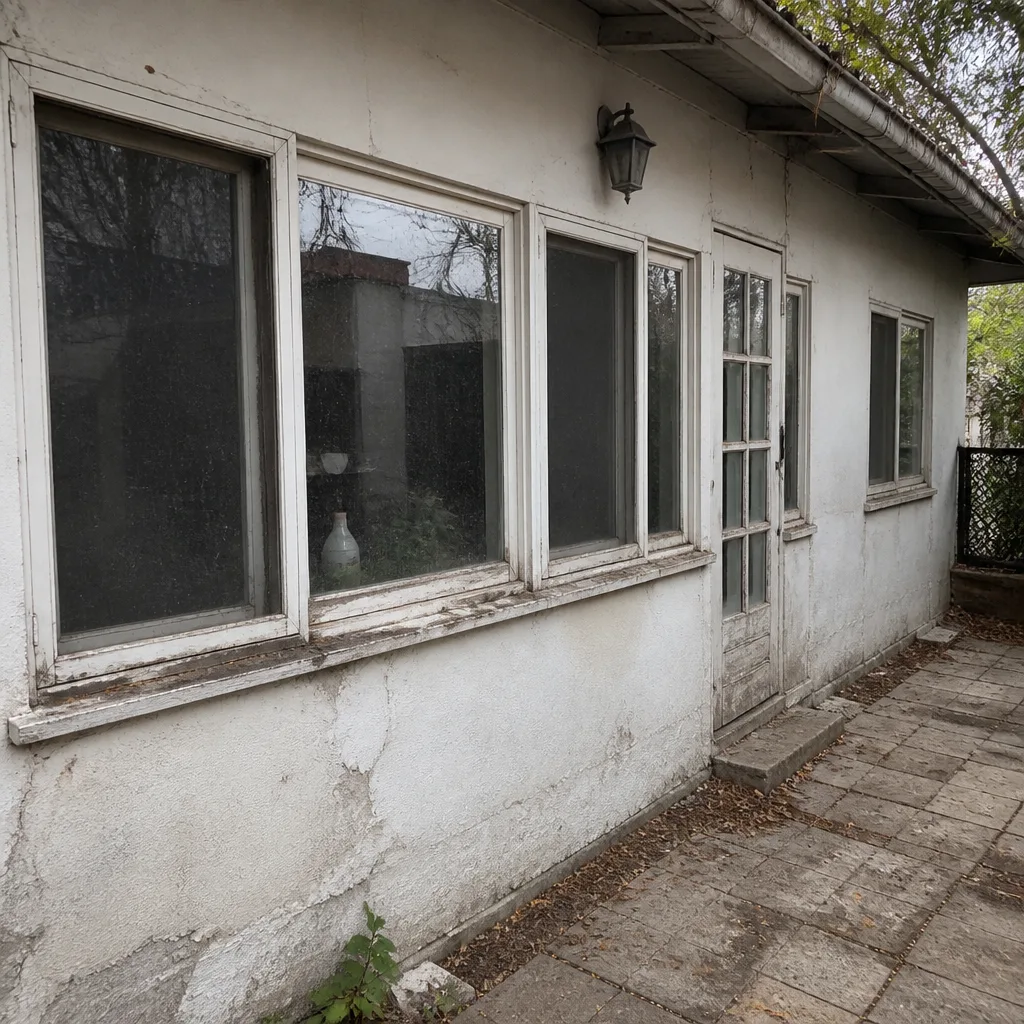 Before
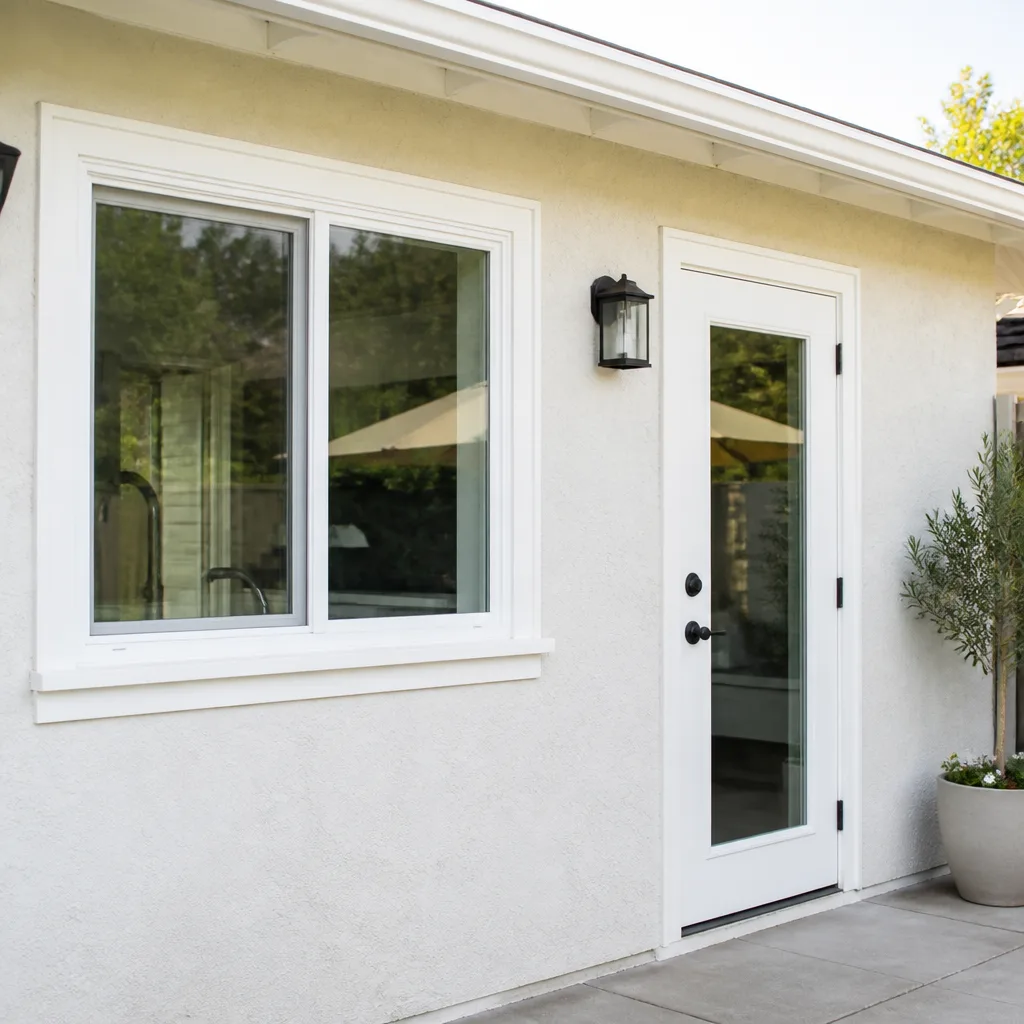 After
AfterWindow Installation Warning Signs Every Homeowner Should Know
The most expensive window installation mistake isn’t a broken seal. It’s an installer who skipped the flashing tape and left your stucco to absorb the first rainstorm. You won’t see that damage for six months, maybe a year, and by the time the water stain blooms on the drywall below the sill, the contractor has changed his phone number. In Los Angeles, where we swing between drought years and sudden atmospheric-river downpours, a poorly flashed window doesn’t just leak. It invites mold into the wall cavity, rots the framing, and turns a $900 replacement into a $9,000 structural repair. This guide walks through the early signals that separate a window installed right from one that’s quietly failing, what to check the day the crew leaves, and how a written workmanship guarantee changes what happens when you bring a problem back.
Quick Answer
The earliest window installation warning signs are visible the day of the job: no flashing tape or house wrap at the rough opening, foam sprayed before the window is shimmed level, and trim nailed on before the caulk has cured. Afterward, watch for windows that bind when you open them, drafts you can feel at the sill on a cool night, water staining below the window after rain, and glass that fogs between the panes. Any one of these means the window was set out of square, sealed poorly, or flashed incorrectly, and the fix is a return visit now, not a structural repair later.
Table of Contents
- On-the-Day Red Flags: What to Watch While the Crew Is Working
- The Dollar-Store Level Test and Other Post-Install Checks You Can Do in Ten Minutes
- What Fogged Glass Actually Means: Failed Seal vs. Surface Condensation
- The 30-Day and 90-Day Tests: How to Confirm a Window Was Set Square
- Water Stains Below the Sill: The Warning Sign Nobody Wants to Find
- Caulk, Flashing, and House Wrap: The Three Layers Most Skipped Installers Ignore in Los Angeles
- How a Written Workmanship Guarantee Changes the Conversation When Something Fails
- Common Mistakes to Avoid
- When to Call a Professional
- Frequently Asked Questions
- The Bottom Line
On-the-Day Red Flags: What to Watch While the Crew Is Working
Most homeowners don’t watch their window installation. They should. Not hovering with a coffee cup, but checking three things at key moments. The first is the rough opening before the new window goes in. If you don’t see flashing tape at the sill and house wrap folded into the opening, the window is going in naked against the framing. In Los Angeles, where many homes are stucco over wood frame, that gap is where wind-driven rain finds its way into the wall. The second red flag: foam applied before the window is shimmed level. Spray foam is not a leveling tool. If the installer foams the perimeter while the window is still crooked in the opening, the foam locks the crookedness in place permanently. The third: trim nailed on before the caulk has cured. Caulk needs hours, not minutes, to skin over and bond. Nail the trim on immediately and the caulk squishes out unevenly, leaving thin spots that fail within a season. We’ve walked into Los Angeles homes where all three shortcuts happened on the same job. The windows looked fine from the sidewalk. Inside the walls, the framing was already wicking moisture.
The Dollar-Store Level Test and Other Post-Install Checks You Can Do in Ten Minutes
The day the crew leaves, grab a level. The cheap plastic one from the dollar store works fine. Here’s the sequence we recommend to every Los Angeles homeowner after a window install.
- Level the sill. Set the level on the interior sill, left to right. If the bubble sits anywhere outside the center lines, the window was set out of level. A window that’s off by even 1/8 inch over three feet will bind over time as the frame settles.
- Level the jambs. Hold the level against the side jamb, vertical. Same check. Out of plumb means the sash will drift when you open it.
- Open and close each sash once, slowly. It should glide without resistance. If it catches mid-travel or you have to push harder at the top than the bottom, the frame is racked.
- Lock it, then try the sash. A properly set window locks with a firm, positive click and the sash doesn’t rattle when you push on it.
- Run a flashlight around the interior perimeter at night. Have someone stand outside with a bright light while you’re inside with the room dark. If you see light bleeding around the frame, daylight and air are getting through too.
Checks three through five take ten minutes total. They catch 90% of the problems we’re called out to fix later.
What Fogged Glass Actually Means: Failed Seal vs. Surface Condensation
Fogged glass shows up in two ways, and only one of them is the installer’s fault. Surface condensation is moisture on the room-side of the glass. You can wipe it off with your finger. In Los Angeles, you rarely see surface condensation because our humidity averages around 50-55%, but on cold winter mornings in the canyons or near the coast, a little interior fog on a single-pane window is normal physics. A failed seal is different. The fog is between the two panes of insulated glass. You can’t wipe it off because it’s inside the sealed unit. That means the seal around the edge of the glass has failed and the insulating gas, usually argon, has escaped. When does a failed seal happen because of installation? When the window was forced into an out-of-square opening, twisted, or shimmed under pressure, the glass unit flexes and the seal cracks within months. A quality insulated glass unit from a manufacturer like Mr-Glass or ECO Window Systems carries a seal warranty of ten years or more, but an installer who puts the window in crooked can void that warranty before the first year is up. If your new window fogs between the panes within fourteen months of installation, the problem is usually the install, not the glass.
The 30-Day and 90-Day Tests: How to Confirm a Window Was Set Square
Windows don’t fail immediately. They fail in stages as the framing settles, the weather cycles, and the caulk flexes. Two checkpoints catch most problems before they compound.
The 30-day test: operation, lock, and seal. A month after installation, the caulk has fully cured and the frame has settled into the opening. Walk to each window and do this:
- Open the sash all the way and let go. It should stay put. A sash that slides down is out of balance.
- Close it and lock it. Listen for the click. Then press on the corners. No movement.
- Run your hand along the interior caulk lines. Thin spots, cracks, or areas where the caulk has pulled away from the trim mean the joint flexed during the first weeks. That’s a return-visit issue, not a maintenance issue.
- Check the exterior from the outside. Look at the junction where the window meets the stucco or siding. Any gap, no matter how small, is a water entry point.
The 90-day test: the first meeting of the window, the wall, and the weather. By month three, the window has been through a temperature swing or two. In Los Angeles, that might mean a 40-degree morning followed by an 85-degree afternoon. Open, close, and lock each window again. Look for new binding, new rattles, new gaps. Feel for drafts at the sill on a cool evening. If anything has changed since day 30, the installation is moving. That’s the sign to call before the movement turns into water intrusion.
Water Stains Below the Sill: The Warning Sign Nobody Wants to Find
A water stain below a window is never a small problem. On drywall, it shows up as a yellowish-brown ring that grows after each rain. On plaster, the paint may bubble or flake. Either way, water is entering somewhere it shouldn’t, and it’s traveling downward through the wall cavity. The entry point is usually one of three things: the flashing tape at the sill was skipped or done backwards, the exterior caulk joint failed at the bottom corners, or the house wrap wasn’t lapped correctly over the window flange. In Los Angeles homes built before 1980, many original windows were installed with no sill flashing at all, and when a replacement is dropped into the same opening without correcting that, the new window inherits the old leak. By the time you see the stain, water has already soaked the insulation and started working on the framing. The fix then is not caulk. It’s removing the window, repairing the opening, replacing the flashing, and resetting the unit. Catching a small stain in month three saves thousands compared to finding mold in month eighteen.
Caulk, Flashing, and House Wrap: The Three Layers Most Skipped Installers Ignore in Los Angeles
Water management on a window comes down to three layers, and they work in order. The house wrap, like Tyvek, goes on the exterior sheathing and laps over the window flange so water running down the wall is directed out and away. The flashing tape, usually a self-adhered butyl or asphalt tape, seals the sill corners and the top flange. The caulk is the final cosmetic and weather joint at the exterior trim. Skipping any one of these layers works in a dry climate until it doesn’t. Los Angeles averages about 15 inches of rain a year, but those 15 inches often arrive in three or four intense storm events. A window with no house wrap will survive the dry season and flood during the first December atmospheric river. We’ve seen this in neighborhoods from Sherman Oaks to Pasadena, where the same contractor pattern repeats: old window pulled, new window set, foam sprayed, trim nailed, caulk smeared, and gone by noon. The homeowner sees a clean trim job. The wall sees an open channel for water. When our crews install windows, we pull back the existing paper, inspect the framing, repair what’s rotted, flash the sill with tape, set the window, foam only after it’s shimmed level, and caulk last. That’s the window installation standard for Los Angeles homes that holds up across decades, not seasons.
How a Written Workmanship Guarantee Changes the Conversation When Something Fails
Here’s what a verbal promise is worth when your window leaks: nothing. Here’s what a written workmanship guarantee is worth: leverage. When a contractor puts the guarantee in writing, it means they’ve defined what “done right” looks like, how long it’s covered, and exactly what happens if the work fails. At Westlight Windows & Doors, the Kingswell Guarantee puts four promises on every job: a written price before any work starts, a committed arrival window, a clean job site, and a written guarantee on the completed work. If something’s not right, our 365-Day Done Right Promise means we come back and fix it at no charge. And if a repair fails, a second visit is also free, automatically, no negotiating. That changes the conversation when you find a draft at the sill or a water stain below the trim. Instead of arguing with a contractor who insists “it’s the window, not the install,” you have a document that says the workmanship is covered, and a company that answers the phone at (903) 354-7134 with a live person every day of the year, not a voicemail box. Our founder, Owen Satterfield, built Westlight on the belief that a window company should be as accountable as the windows it installs. That’s why the guarantee is handed to every customer in writing when the job is done, not mentioned on a sales pitch and forgotten after the check clears.
Common Mistakes to Avoid
- Accepting a verbal quote. If the price isn’t in writing before the job starts, the price will change before the job ends. In Los Angeles, where window replacement bids can swing by thousands between contractors, a written line-item quote is the only protection you have.
- Ignoring a window that’s hard to lock. A lock that doesn’t engage cleanly means the sash and frame are misaligned. The longer it stays that way, the more the hardware wears and the worse the gap becomes.
- Wiping fogged glass and assuming it’s humidity. Fog between the panes is a seal failure. Call the window company the same week you notice it, while the workmanship coverage is still in force.
- Caulking over a water stain. If water is staining the drywall below a window, caulk won’t fix it. The water is inside the wall. Caulk just traps it there.
- Hiring on price alone. Most single-window replacements in Los Angeles run between $600 and $1,400 installed, depending on size, glass package, and the existing opening. The bid at $350 is leaving something out, and that something is usually flashing or labor quality.
- Skipping the post-install walkthrough. The day the crew leaves is the easiest day to spot a problem. A week later, the contractor can reasonably say “you must have bumped it.” Do the level check and the open-close check the same day.
- Assuming old homes are easier to retrofit. A 1960s stucco house in Los Angeles may have no header above the window opening, rotted sill framing, or out-of-square rough openings. Retrofits on older homes need more prep, not less. If the crew is done in two hours, they skipped something.
When to Call a Professional
Call a professional the day you notice a window you paid to have installed is binding, leaking, fogging between the panes, or showing water damage below the sill. These are not maintenance items. They’re installation failures. If you see light around the frame, feel a draft at the sill on a cool evening, or notice the caulk pulling away from the trim within the first year, the workmanship is failing and the installer should be called back. If the installer doesn’t answer, doesn’t show, or tells you “that’s normal,” that’s your answer about the quality of the original install. Westlight Windows & Doors offers free estimates in Los Angeles. Call (903) 354-7134 to schedule a walkthrough. We’ll tell you honestly if the window needs a minor adjustment, a full reset, or a complete replacement, and we’ll put the price in writing before any work starts. For a broader look at what replacement costs and what to expect, see our window replacement guide for Los Angeles homeowners.
Frequently Asked Questions
Minor fixes like re-caulking or shim adjustments typically run $150 to $400, while a full reset that requires removing the window, repairing the flashing, and reinstalling it runs $500 to $1,200 per window. If water damage has reached the framing, add $800 to $3,000 for structural repair depending on how far the rot has spread. Call (903) 354-7134 for an exact quote, and you’ll get a written price before anything is scheduled.
The glass manufacturer’s seal warranty usually covers fogged glass for 10 to 20 years, but most seal warranties exclude failures caused by installation error. If the window was set out of square or forced into a twisted opening, the manufacturer may deny the claim. A written workmanship guarantee from the installer is what covers you in that case, so ask before you sign anything.
A standard single-window replacement takes 2 to 4 hours including prep, setting, insulation, trim, and cleanup. A full retrofit on an older Los Angeles home with rotted framing or out-of-square openings can take a full day per window. If a crew is done in under an hour per window, they skipped steps.
You can’t see the flashing tape without removing the exterior trim or the interior casing, but you can look for its absence. From the outside, check the bottom corners of the window where the sill meets the stucco or siding for gaps, cracks, or caulk that’s pulling away. From the inside, peel back a corner of the drywall or trim if you’re already seeing water stains. If you find bare wood against the window flange, there’s no flashing and the window needs to be reset.
A retrofit window fits into the existing frame and is common in Los Angeles stucco homes where cutting into the exterior is expensive and often triggers a stucco patch. A full-frame replacement removes everything down to the rough opening, which lets the installer inspect the framing, repair rot, and flash the window correctly. Retrofits can be done well, but they require more care with sealing because the old frame remains in place. If the old frame was leaking, a retrofit over it will leak too.
For most residential window replacements that don’t change the size of the rough opening, the City of Los Angeles does not require a permit. For full-frame replacements, enlargements, or structural repair to the header or sill, a permit is required and we handle the paperwork. We’ll tell you on the walkthrough which situation applies to your home, and the written quote covers all permit fees up front. For door work, see our door installation page for Los Angeles. For company background and service areas, visit the Westlight Windows & Doors home page.
The Bottom Line
Bad window installation announces itself in small ways: a sash that sticks, a lock that fights back, a foggy pane, a stain below the sill. Know the signs on day one and you can catch a shortcut before it becomes a structural repair. Know them at month three and month nine and you can hold the installer accountable while the workmanship coverage still applies. In Los Angeles, where our dry summers mask water intrusion until the rainy season hits, the timeline matters. The most expensive mistake you can make is waiting. If a window you paid to have installed isn’t right, call the company that did it. If they don’t answer, call Westlight Windows & Doors at (903) 354-7134. We’ll put the fix in writing, and we’ll stand behind it in writing too.
Written by Owen Satterfield, Owner at Westlight Windows & Doors, serving Los Angeles since 2009.