
Last updated October 8, 2026
Free in-home measure and quote - PGT, CGI and CWS impact lines compared on your actual openings, style by style
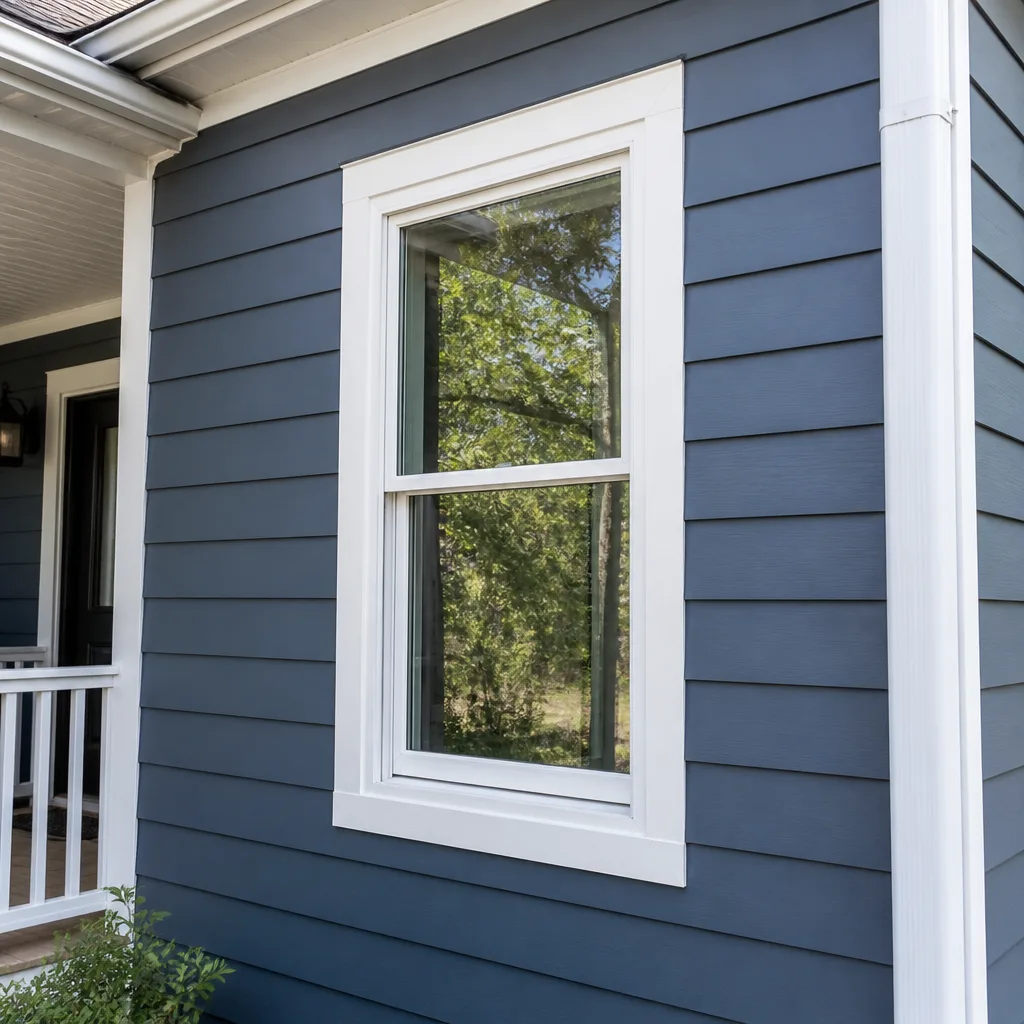
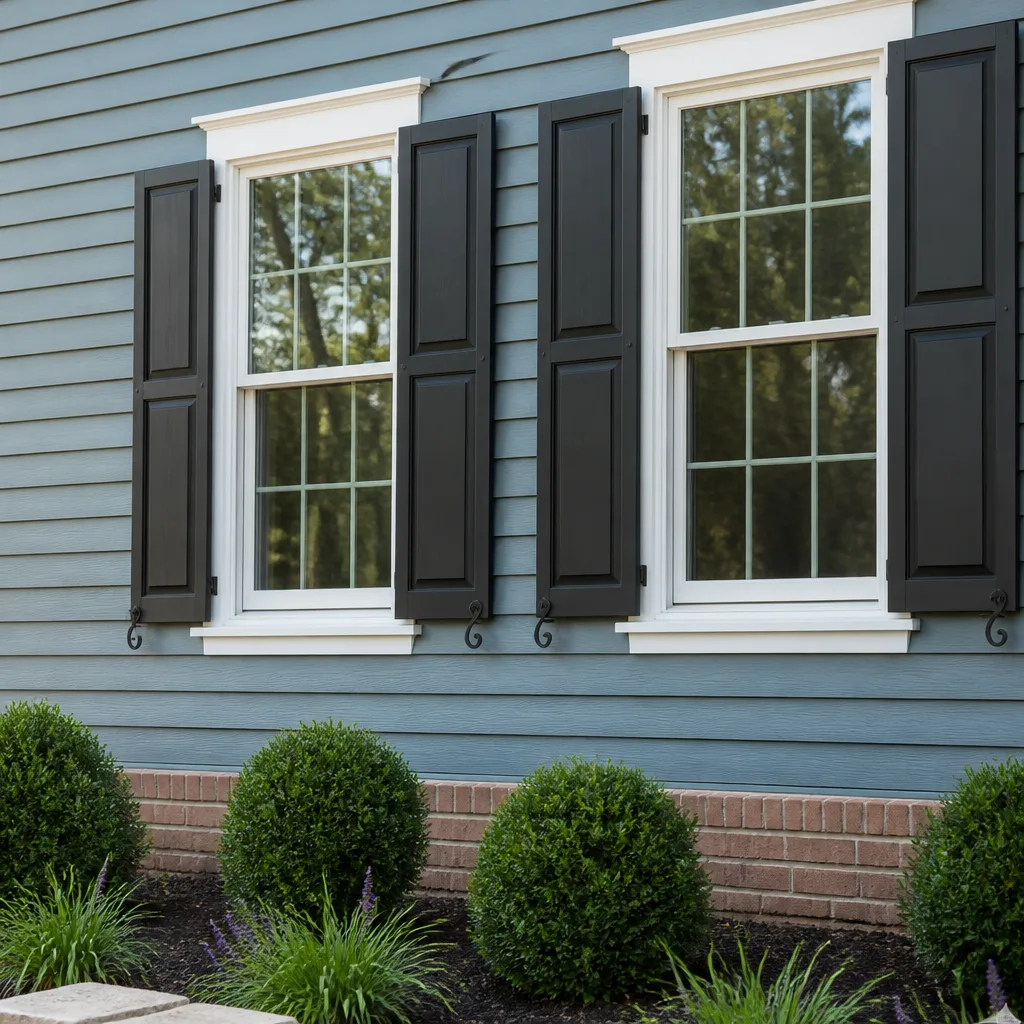
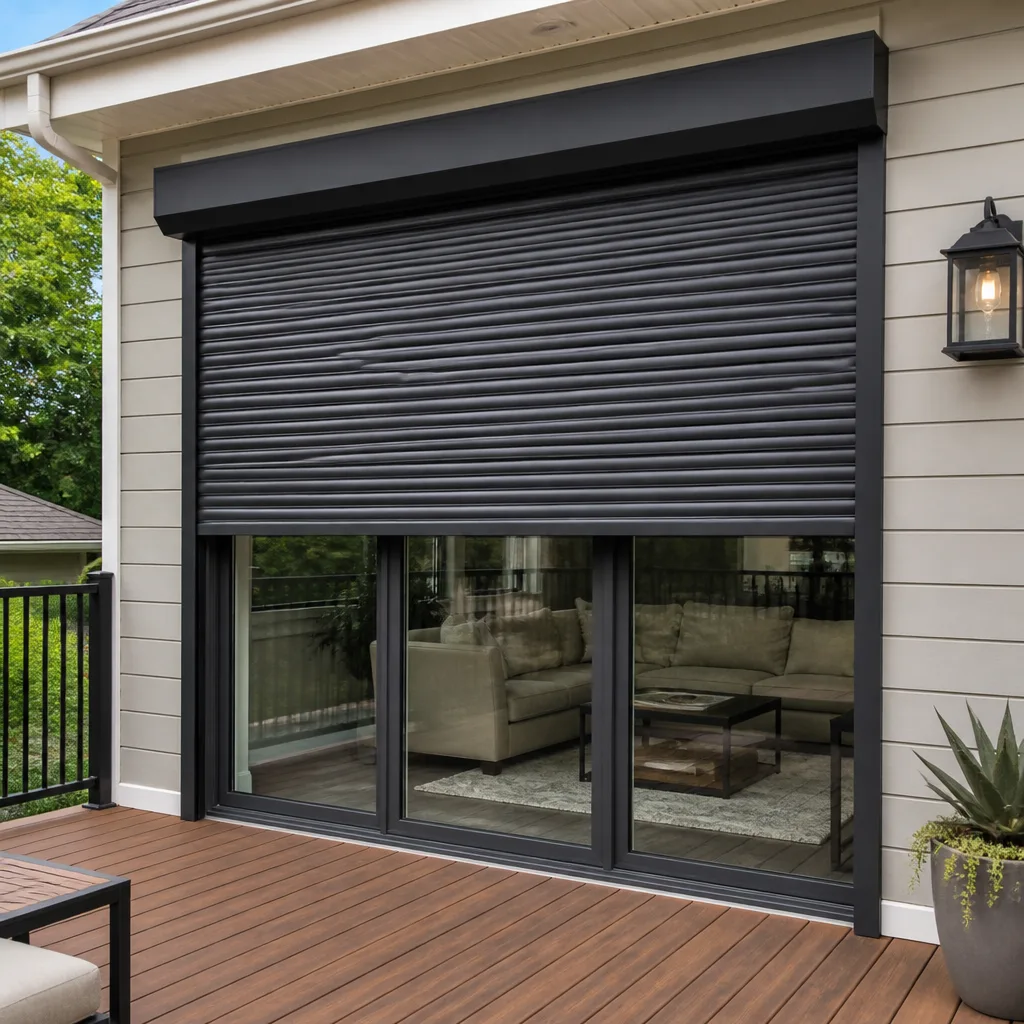
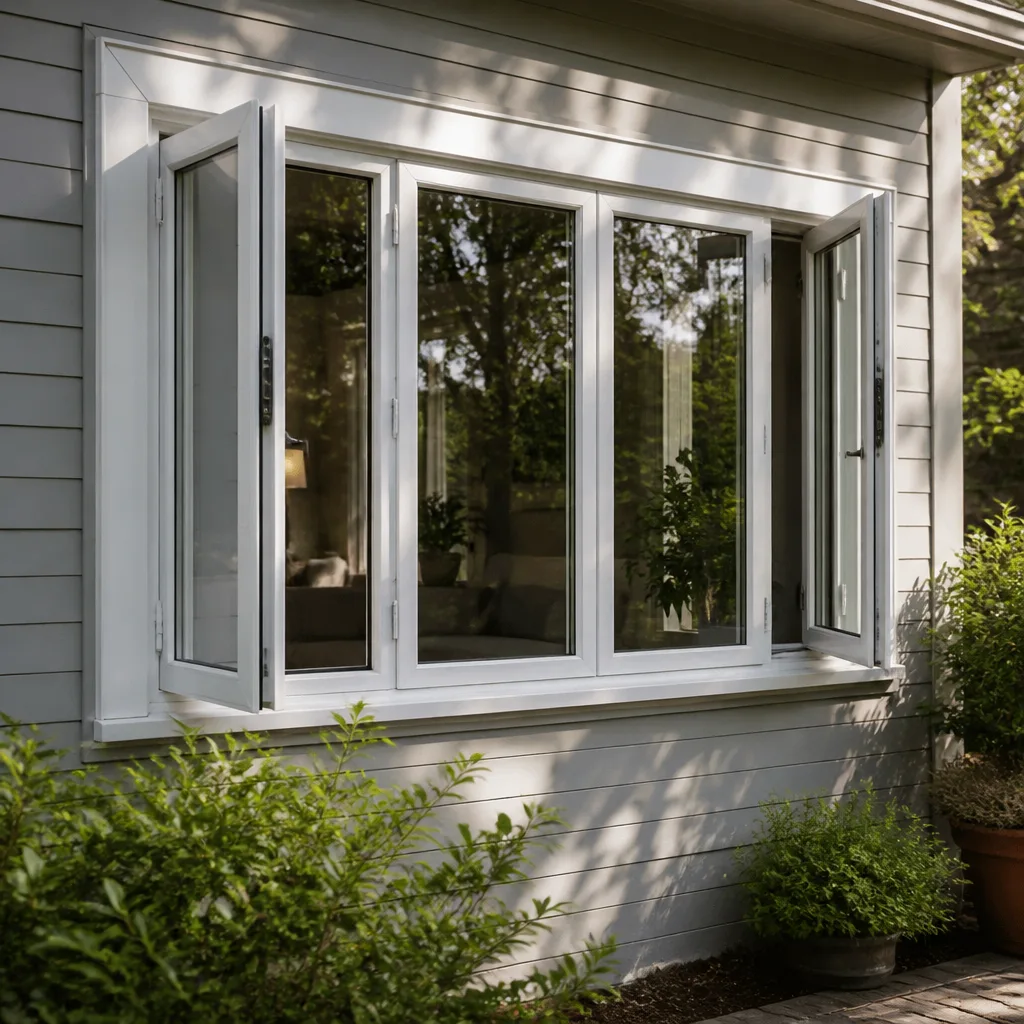
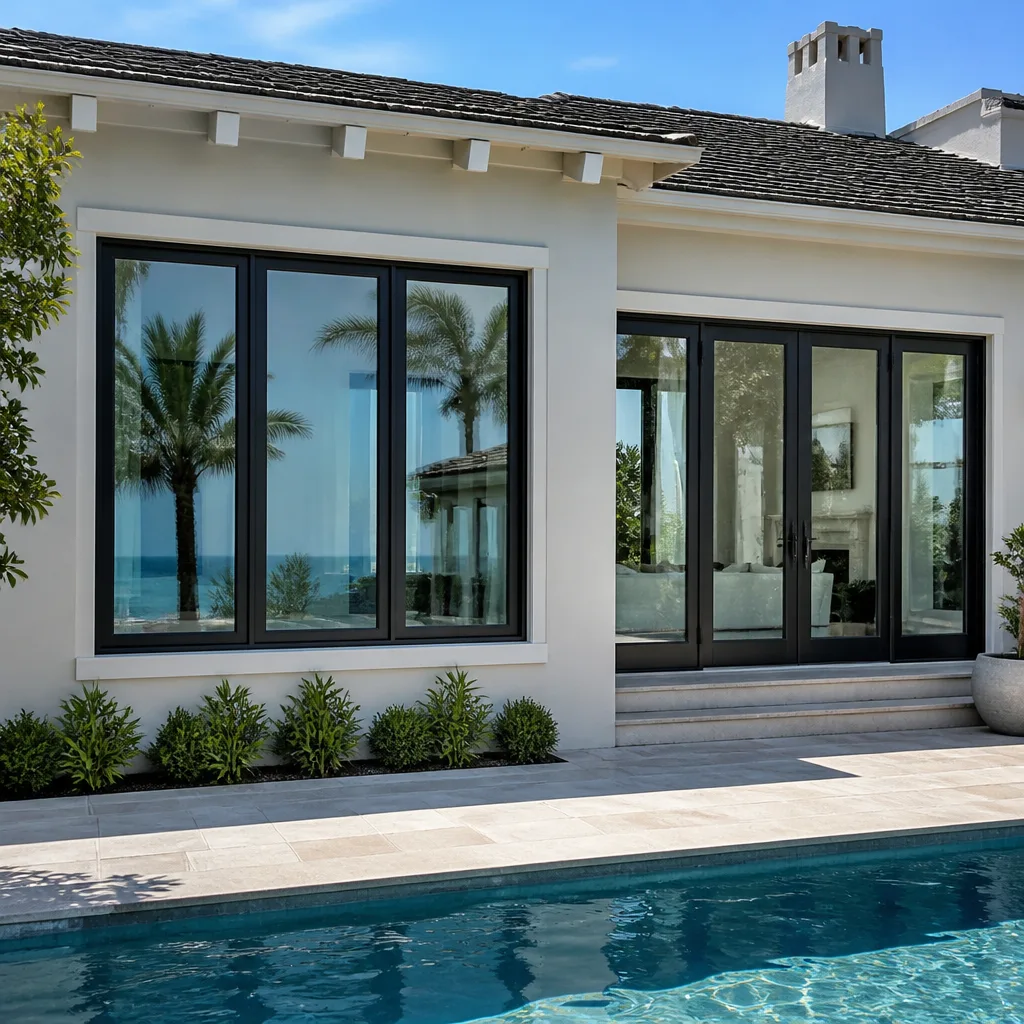
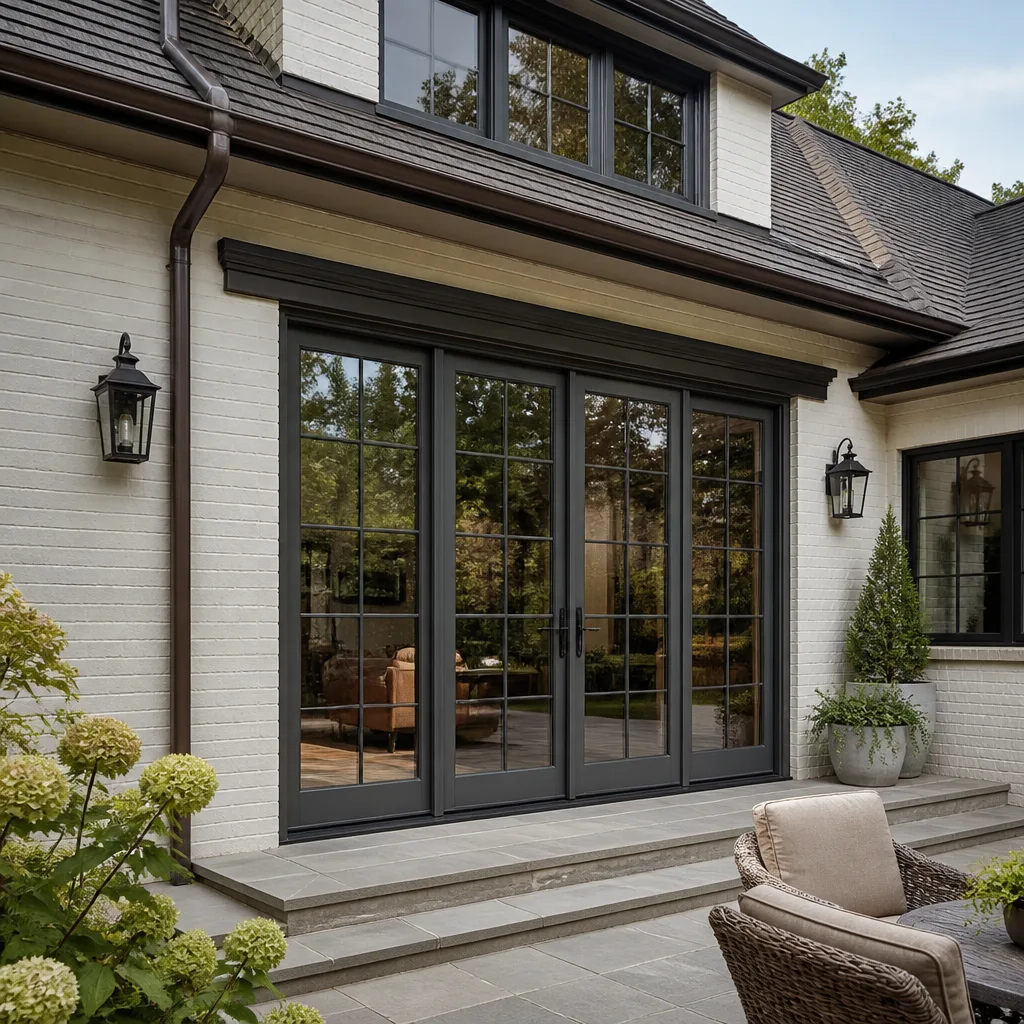
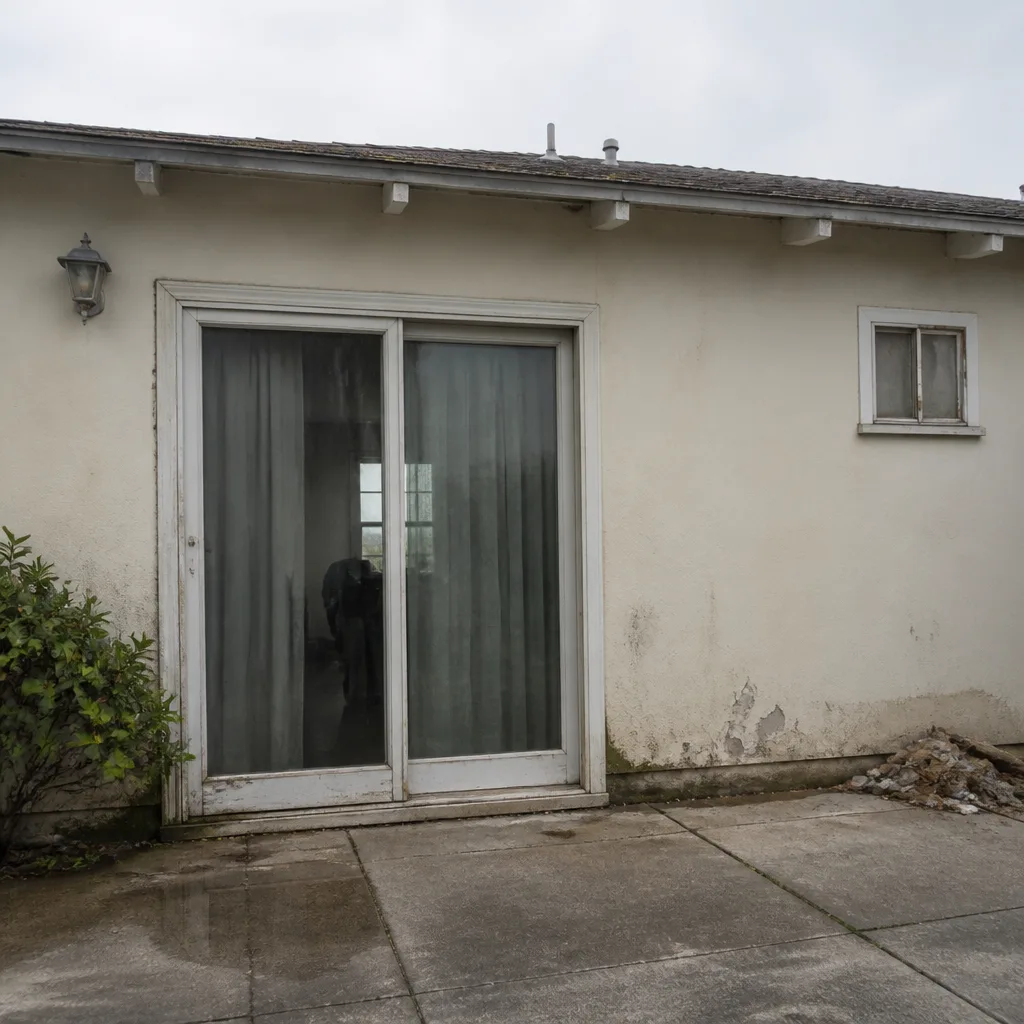 Before
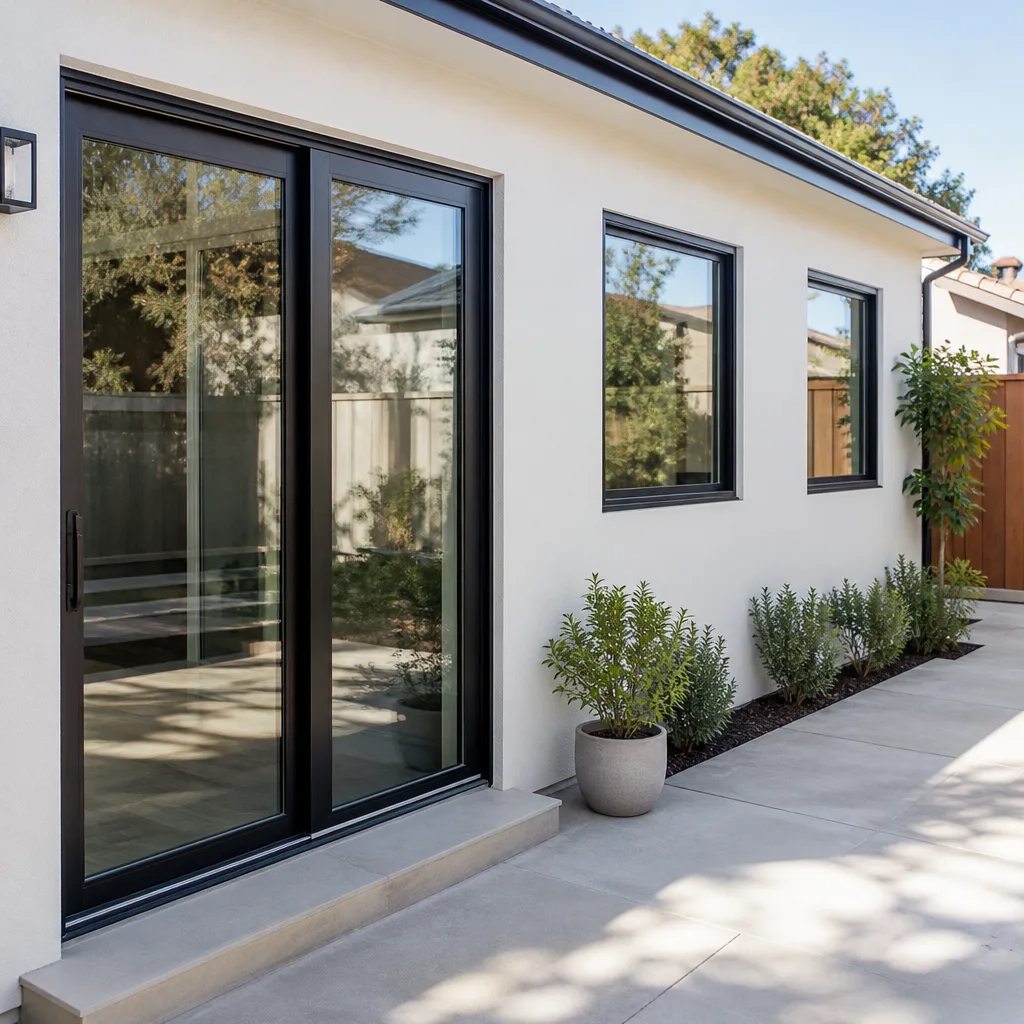 After
After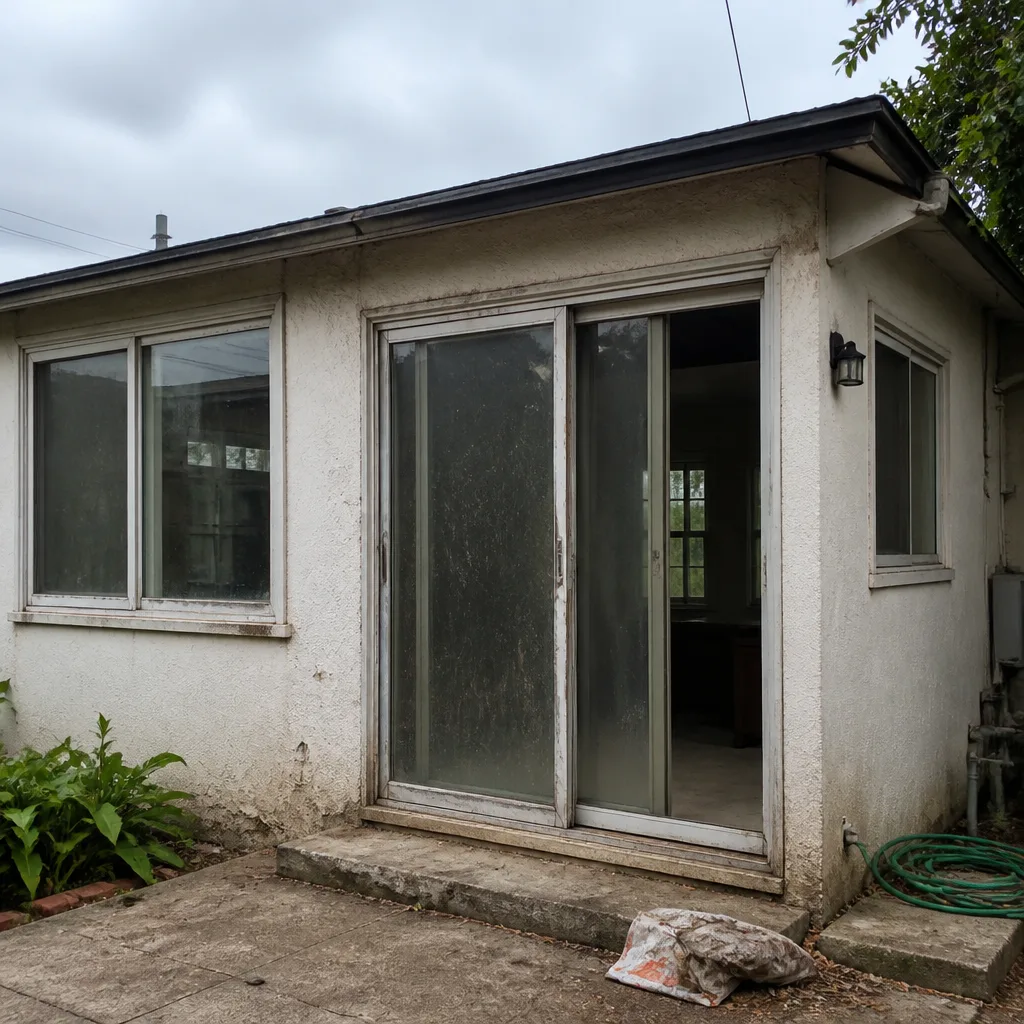 Before
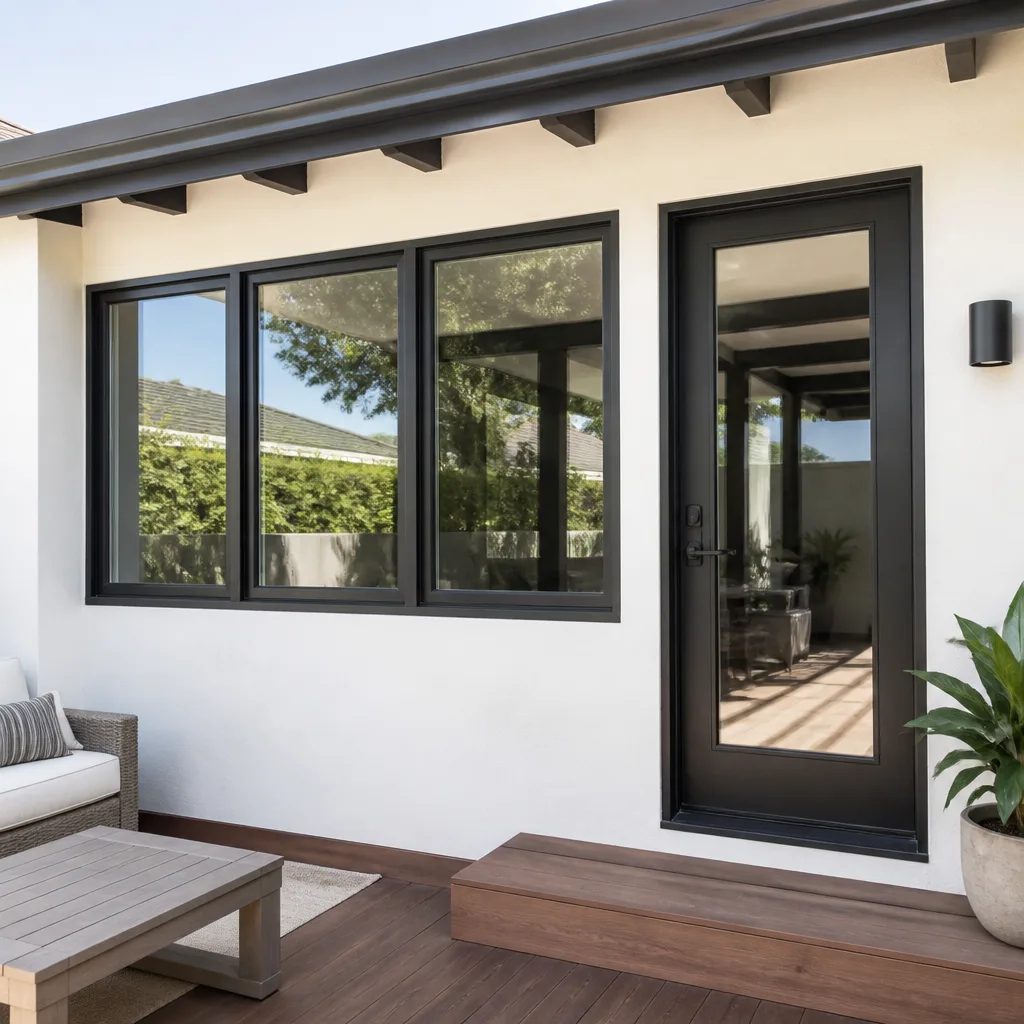 After
After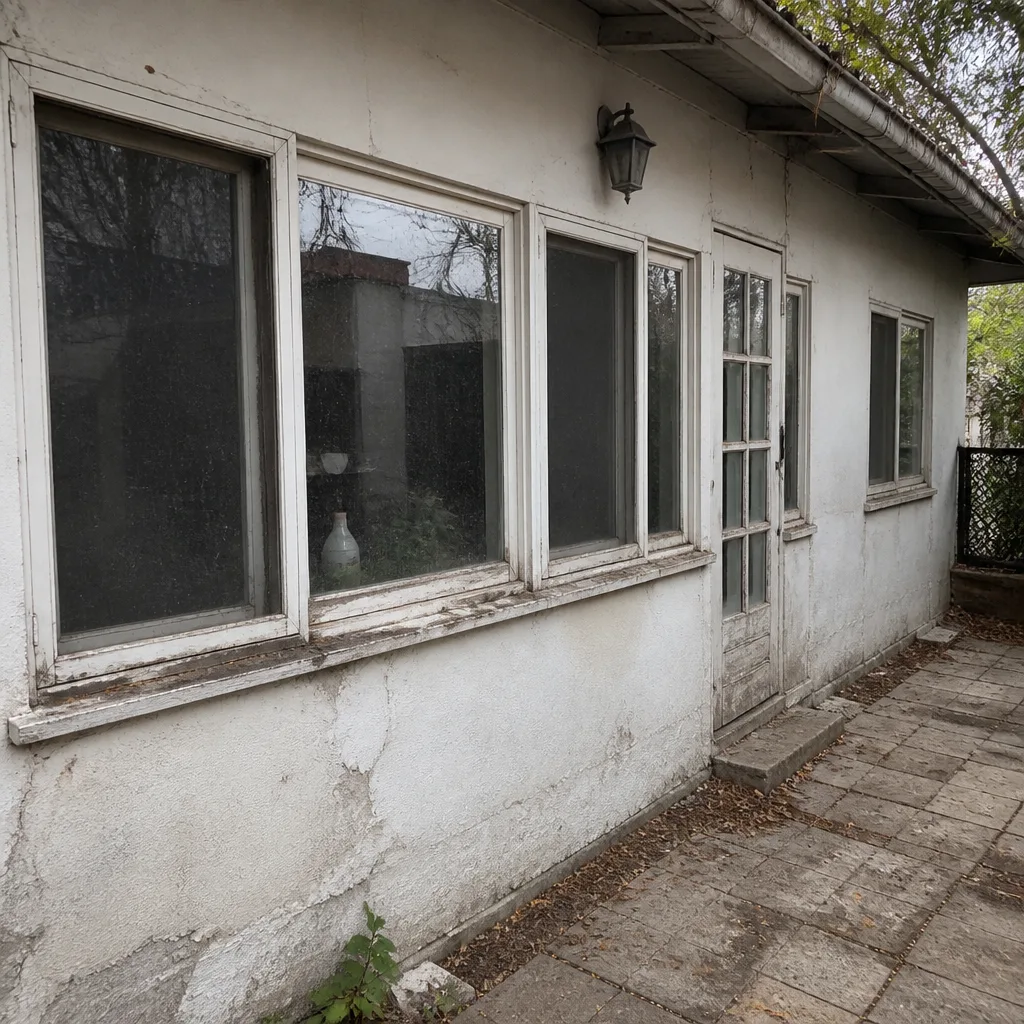 Before
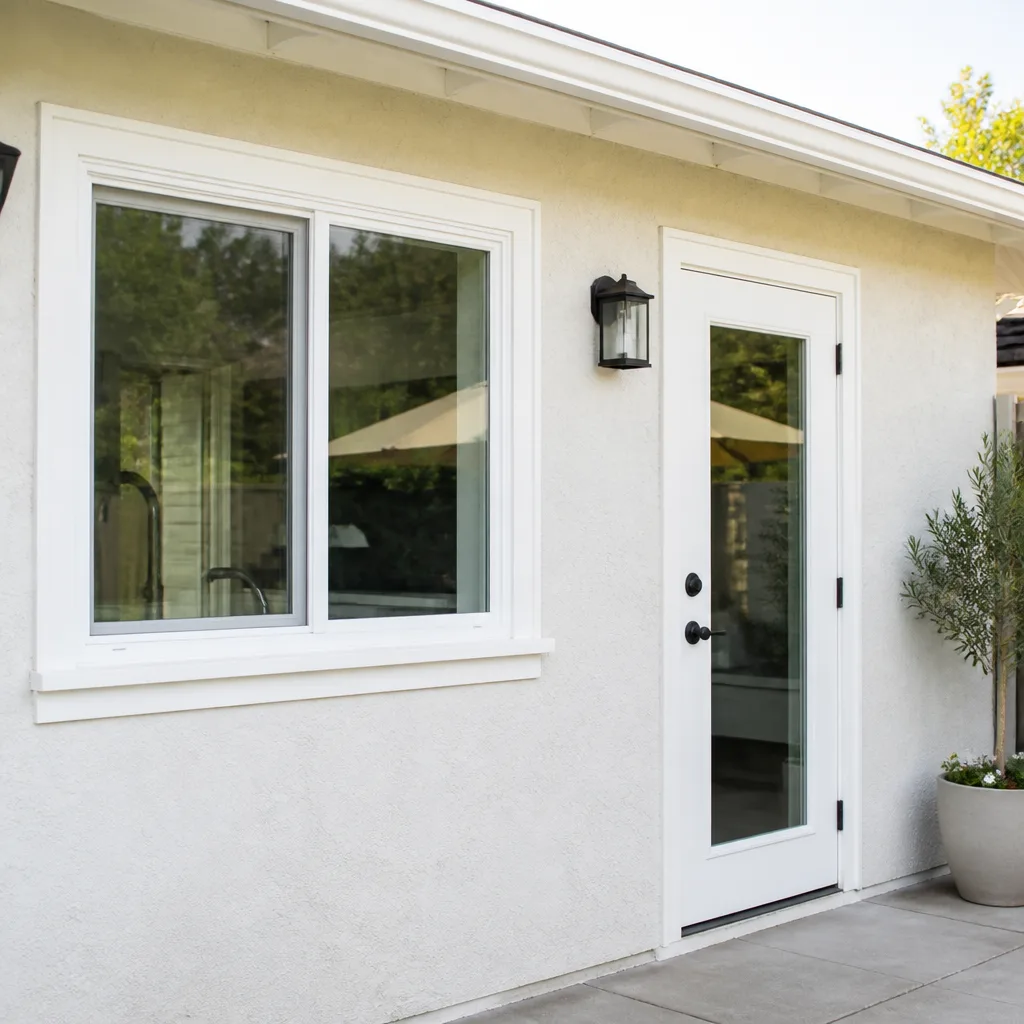 After
AfterWindow Installation Troubleshooting: Common Problems and How to Fix Them
Most post-installation window failures in Los Angeles don’t announce themselves on day one. They show up between the first and second rainy season, after the caulk has cured, the stucco patch has settled, and the framing has had a full summer to expand against the new window. That timing is not an accident. It’s exactly when a contractor without a written guarantee stops returning calls. If you’ve read this far, you’re probably standing in front of a window that’s not doing its job, or you’re about to call someone about it. This guide gives you the diagnostic language to describe what you’re seeing, figure out whether the window installation caused it, and know what to document before you make that call.
Quick Answer
Problems that appear weeks or months after a window installation are almost always traceable to one of four installation errors: improper flashing at the head, insufficient shim spacing causing frame rack, missing or wrong backer rod before caulking, or misaligned sashes on casement and awning units. Knowing which error matches your symptom determines whether you get a free callback or pay for a second repair. Document everything with photos, dates, and measurements before you make the call.
Table of Contents
- Why Most Window Problems Wait for the First Rainy Season
- Flashing Errors at the Head: The Leak You Can’t See Until It Rains
- Shim Spacing and Frame Rack: The Draft That Never Goes Away
- Backer Rod and Caulking Failures: The Crack That Keeps Coming Back
- Sash Alignment on Casement and Awning Units: The Sticky Window Nobody Adjusted
- How to Tell a Sash Alignment Problem From an Undersized Rough Opening
- What to Document Before You Call the Installer Back
- The Written Guarantee Checkpoint: What Triggers a No-Charge Return Visit
- When It’s a Manufacturer Defect, Not an Installation Problem
- Common Mistakes to Avoid
- When to Call a Professional
- Frequently Asked Questions
- The Bottom Line
Why Most Window Problems Wait for the First Rainy Season
Los Angeles has a peculiar weather pattern that exposes window installation errors on a delay. We get long stretches of dry heat from April through October, then a relatively short, concentrated rainy season from November through March. A window that was installed in July might perform flawlessly for five months because it never faced rain. When the first Pacific storm hits, that’s when the flashing error at the head reveals itself as a water stain creeping down the interior drywall. The summer heat also did its part. Framing lumber loses moisture through those dry months, and the residual shrinkage creates gaps between the window frame and the rough opening. A window that seemed airtight in August suddenly has a draft in January, not because anything broke, but because the wood finally moved. This is normal construction behavior, which is exactly why installation details like shim spacing and backer rod matter so much. A window installed correctly holds its seal through these seasonal shifts. One installed with shortcuts shows symptoms on a six-to-twelve-month delay.
Flashing Errors at the Head: The Leak You Can’t See Until It Rains
The head of a window is the top horizontal edge, the part that catches water sliding down the exterior wall above it. In Los Angeles, most windows are installed into stucco-clad walls. Proper flashing means installing a metal or self-adhered membrane flashing tape across the top of the window frame, tucked behind the building paper, so that any water that gets behind the stucco is directed outward, over the top flange of the window, and away from the opening. When an installer skips this step or installs the flashing tape in the wrong order, the leak is invisible on a dry day. On a rainy day, water migrates down the wall cavity, hits the top edge of the window, and finds its way inside. The symptom is almost always a water stain that appears along the top interior corner of the window, sometimes accompanied by peeling paint or a soft spot in the drywall above the frame. We’ve seen this exact pattern in Los Angeles stucco homes from the San Fernando Valley to the Westside. The fix is not more caulk at the interior. The fix is removing the exterior trim or stucco at the head, installing the flashing correctly, and resealing. In our experience, this is the single most common installation error that triggers a callback after the first rainy season. If your interior wall is wet above the window, not below it, this is almost certainly the cause.
Shim Spacing and Frame Rack: The Draft That Never Goes Away
Every window sits inside a rough opening in the wall framing. Shims are the thin wedge-shaped pieces of wood or composite that the installer places between the window frame and the rough opening studs. Their job is to keep the window square, plumb, and level while the screws are driven through the frame into the studs. Shim spacing matters more than most homeowners realize. A window should be shimmed at specific points: corner to corner, at the midpoint of the sill, and on either side of the frame at intervals no greater than about 24 inches. When shims are spaced too far apart, or placed only where it’s convenient, the window frame can flex under the pressure of the screws and the sliding sash. Over time, that flex becomes permanent. This is called frame rack, and it produces a very specific set of symptoms. The window is harder to open at certain points in its travel, as if it’s binding. The sash doesn’t seat fully into the weatherstripping, leaving a visible gap where the sash meets the frame. And, most tellingly, the draft is intermittent. It comes and goes depending on the temperature, because the frame is moving with the weather. If you run your hand around the perimeter of the window on a cold evening and feel air moving in more than one place at once, the problem is probably frame rack, not just old weatherstripping. Frame rack is a structural installation error, and it is not something a tube of caulk can fix.
Backer Rod and Caulking Failures: The Crack That Keeps Coming Back
Backer rod is a cylindrical foam strip that installers place into the gap between the window frame and the surrounding wall before applying caulk. Its job is simple. It fills the depth of the joint so that the caulk doesn’t just fill a deep, wide gap that will crack as the materials expand and contract. Without backer rod, or with the wrong diameter of backer rod, the caulk has to span too much distance. It bonds to the two sides of the joint, but when the wall framing moves, the caulk can’t stretch far enough. The result is a crack that forms along the interior caulk line, usually within the first year, and often in the upper corners of the window where the highest stress concentrates. The fix is not recaulking over the old crack. The right repair is removing the old caulk, digging out any failed material, installing the correct backer rod, and then applying a quality elastomeric sealant. In Los Angeles, stucco walls are especially unforgiving. Stucco is rigid and moves differently than wood framing. On a hot summer day, the stucco at the west side of the house can get significantly hotter than the window frame. That temperature differential translates directly into joint movement. If the installer skipped the backer rod on a west-facing wall, that caulk joint will crack within six months, every time. This is also the easiest failure for a homeowner to spot. If you see a hairline crack running along the interior caulk, even one that looks cosmetic, reach out to the installer. If the crack is in the caulk, and not in the drywall, it’s an installation repair.
Sash Alignment on Casement and Awning Units: The Sticky Window Nobody Adjusted
Casement windows crank open on side-mounted hinges. Awning windows are hinged at the top and push outward. These units have hardware that is more forgiving of installation mistakes than a sliding sash, which is precisely why installers sometimes skip the alignment step. What happens is this. The window is set into the opening, the frame is screwed in place, and the sash is operated once or twice to check that it opens. But the hinge plate, the sliding arm, and the locking assembly all need to be adjusted so that the sash meets the frame evenly when it closes. If the sash is slightly out of alignment, it will open fine for months. Then the hardware wears unevenly, and the sash begins to stick at a specific point in the arc. The symptom is often described as a window that’s “hard to crank” or “won’t close all the way.” It’s especially noticeable on warm days, when the metal arms expand. Many homeowners assume the hardware is defective, but more often than not, the hardware is simply fighting a frame that was set out of square by a fraction, or a hinge that was over-tightened at installation. The alignment is an adjustment, not a replacement. A technician who knows meaning of the symptom can realign the sash and adjust the hardware in under an hour. Homeowners can recognize this issue by opening the window fully, then watching the gap between the sash and the frame as it closes. If the gap is wider at one corner than the other, it’s an alignment problem, and it’s worth a callback. On awning units in particular, we see alignment issues on windows installed into older Los Angeles homes where the original rough opening was never square to begin with. The install team needs to compensate, and that requires taking the time to shim and adjust on the day of installation, not after the hardware has already started to wear.
How to Tell a Sash Alignment Problem From an Undersized Rough Opening
Drafts in a newly installed window can come from two fundamentally different causes, and only one of them is covered by a typical installation warranty. Here’s how to tell them apart. A sash alignment problem means the window unit itself is installed correctly, but the movable panel isn’t seating fully against the weatherstripping. The fix is an adjustment to the sash or the hardware, and it falls squarely under installation workmanship. The draft is often felt at a single point, most commonly near the lock or the lower corner on the hinge side. The window will typically still lock, but with some resistance. An undersized rough opening is a different story. This happens when the original window was measured incorrectly, and the new unit is smaller than what the opening can properly accommodate. The installer fills the extra space with extra shims, sometimes an inch or more of them, and then hides the gap behind the interior and exterior trim. The window bolts to the shims, not to solid framing, and those shims flex. The draft is not intermittent, it’s constant. It’s worse on windy days, and you’ll often feel it around the entire perimeter, not just in one spot. The window will also look odd if you examine it closely from the exterior: the frame will be inset farther than the original was, and the trim will look wider than it should. An undersized rough opening is a structural problem that no amount of adjustment can fix, because the window itself is the wrong size for the hole in the wall. Most window warranties do not cover a window that was measured wrong at the outset. This is why the written guarantee matters. If your installation contract specifies the window dimensions and the opening dimensions, and the installer signed it, the responsibility is clear. If the contract doesn’t include that detail, the dispute becomes a he-said-she-said. The Westlight Windows & Doors home page explains how we document every measurement before any price is given.
What to Document Before You Call the Installer Back
The difference between a callback that ends in a free repair and one that ends in a dispute is documentation. Before you call anyone, collect these things.
- Photograph the symptom from three angles. One close-up of the problem, one from a few feet back showing the entire window, and one from the interior of the room looking at the window in context. Do this before you clean anything. If there’s a water stain, photograph the stain before it dries.
- Write down the date the symptom first appeared. Not just the date you decided to call. The actual date you noticed it. If the symptom came and went, write down the dates it appeared and disappeared. These records establish a timeline that can be cross-referenced with weather patterns in Los Angeles.
- Measure and record the interior humidity. A basic hygrometer costs under twenty dollars. In a Los Angeles home, interior humidity should be around 30-50%. If your windows are sweating on the interior, and your humidity is at 65%, the problem is likely a ventilation issue in the house, not a window installation failure. That reading protects both you and the installer from the wrong diagnosis.
- Locate your installation contract. Circle the sections about warranty, guarantee, workmanship, and any language about return visits. Photograph those pages. If the contract says “workmanship guaranteed for 12 months” or includes a written guarantee like the Kingswell Guarantee, that language is what obligates the installer to return.
- Note the window brand and model. The sticker is usually on the frame or sash. Write down the serial number if there is one. Manufacturer defect claims require this information.
With this in hand, your callback conversation has evidence instead of competing memories. For more guides & resources on handling window issues, explore our blog. We’ve been on the other end of this conversation enough times to know that a prepared homeowner gets better results than a frustrated one. It’s harder to dismiss a dated photograph than a vague description of “a draft somewhere around the window.”
The Written Guarantee Checkpoint: What Triggers a No-Charge Return Visit
Not all installation contracts are written the same way. A contract that says “all workmanship guaranteed” without defining the term is less valuable than one that says “if the installation fails at any point within 365 days of completion, the installer will return and correct the work at no charge.” That second sentence is the Kingswell Guarantee language, and it’s the kind of specificity that makes a no-charge return visit enforceable. Here’s what to look for in your paperwork.
- A defined duration. A guarantee that lasts 90 days is materially different from one that lasts 365 days. A correctly installed window should not fail within the first year. If the window was installed correctly, the installer has nothing to fear from a longer guarantee period.
- A written price before work started. Why does this matter for troubleshooting? It matters because it establishes the scope of work at the outset. If the installer tried to change the price at the door, or added charges without your approval, that’s a signal about how they’ll treat a callback request. A company that stands behind its work doesn’t need to play pricing games at the point of sale.
- Language about correcting failures, not just “inspecting” them. Some contracts say the installer will “investigate” a complaint. What you want is language that says the installer will “return and correct” or “repair or replace.” Those are very different obligations.
- What documentation is required from you. A humane guarantee doesn’t require you to prove anything beyond the simple facts: the date, the symptom, and a photo. A contractor who demands an independent engineering report before they’ll even look at the window is creating friction on purpose.
If your contract includes a written guarantee, read it before you call. Quote the specific language in your callback request. And start with an email or a text, not a phone call. You want the request in writing, with your documentation attached, so there’s a record. When our customers call us, the guarantee is already in their hand. We wrote it down, gave it to them at completion, and made it plain English. That’s how it should work everywhere. The Window Installation in Los Angeles page walks through what our written guarantee includes, every time.
When It’s a Manufacturer Defect, Not an Installation Problem
Some window failures have nothing to do with how the window was installed, and everything to do with how the window was built. Recognizing the difference saves you from blaming the installer, or worse, paying the installer to diagnose a problem that isn’t their fault. Here are the telltale signs.
A fogged double-pane window that has condensation between the two panes of glass is a sealed unit failure, not an installation failure. The window was installed into the wall correctly, and the seal inside the glass unit failed, allowing air and moisture to enter the space between the panes. This is a manufacturing defect. Most quality window companies, including the eight manufacturer lines we install such as Mr-Glass, PGT, and ViewLux, provide a warranty on the glass and the vinyl or aluminum frame for a period of time specified in the manufacturer’s warranty. A window that is physically cracked for no apparent reason, with no impact damage, is another manufacturing issue. A window with a warped frame, where the frame itself bends or bows visibly, is a manufacturing or material defect. And a hardware failure, like a broken crank mechanism or a snapped locking lever, is often a manufacturer-supplied hardware issue, not an installation mistake. If the installer disputes responsibility, you can file a claim directly with the manufacturer. Gather the window brand, model number, and serial number from the sticker on the frame. Photograph the defect in detail. Then contact the manufacturer’s warranty department directly. The warranty is typically tied to the serial number, not to the installer, so a claim can proceed even if the installer is being unresponsive. This is one reason we install eight different manufacturer lines: the right product from a company like Therma-Tru or ViewLux often carries a better manufacturer warranty than a no-name unit, and that warranty survives even if the relationship with the installer doesn’t.
When to Call a Professional
Window troubleshooting has limits. If the problem involves a possible leak inside the wall cavity, a window that is physically loose in the framing, or a glass unit that has cracked, call someone. Water inside a wall is never a DIY project, in Los Angeles or anywhere else. The moisture it leaves behind becomes mold, and the repair cost escalates quickly. If the window is under warranty, call the installer. If it isn’t, call a company that offers a written guarantee and ask specifically whether they offer a free inspection. Westlight Windows & Doors offers free estimates in Los Angeles. You can call us at (903) 354-7134 and tell us what you’re seeing. We’ll tell you honestly if it’s an installation issue, a manufacturing defect, or something else entirely. A good Window Replacement in Los Angeles starts with straight answers.
Frequently Asked Questions
For a simple sash alignment or hardware adjustment, most Los Angeles window companies charge between $125 and $250 for the service call and labor. A caulking repair with proper backer rod installation typically runs $150 to $350, depending on access and the amount of failed sealant that must be removed. A flashing repair at the window head, which requires removing and reinstalling exterior stucco or trim, often runs $400 to $900. If the problem is a manufacturing defect, the repair is typically covered by the manufacturer’s warranty and costs you nothing except a possible service fee. Call (903) 354-7134 for an exact quote on your specific window. Estimates are free.
In the vast majority of cases, yes. A draft caused by a sash alignment issue, a worn piece of weatherstripping, or a small gap in the caulk line can be repaired without removing the window from the wall. Only an undersized rough opening, where the window itself is the wrong size for the opening, requires replacement. That’s a measurement error, not a repairable defect.
A properly installed window from a reputable manufacturer line should operate smoothly and hold its seal for 10 to 20 years or more before anything needs attention. The installation itself should never need service. The most common point of failure on an aging window is the seal on the double-pane glass, which eventually fails and causes fogging. See our Window Replacement Maintenance Checklist for Los Angeles Homeowners to keep yours in top shape. That’s a normal end-of-life event, not an installation error.
In the City of Los Angeles, window replacement does not typically require a permit when the window is being replaced in an existing opening without changing the size of the rough opening. If the opening is being enlarged, moved, or added, a building permit is required. This is why the measurement phase matters so much: an installer who saves money by cutting a bigger hole without a permit is creating a liability for you, not just a construction problem. The Kingswell Guarantee covers every detail of this process in writing before the work begins.
The Kingswell Guarantee is a written promise, handed to every customer before work begins, that covers four things: a written price before any work starts, a committed arrival window, a clean job site, and a written guarantee on the completed work. If an installation problem occurs within the guarantee period, Westlight returns and corrects the work at no charge. It also includes a Free Second Visit if the repair fails. That’s the standard we believe every Los Angeles homeowner deserves.
Locate the manufacturer’s sticker on the window frame, which lists the brand, model, and serial number. Photograph the fogged unit and the sticker. Then find the manufacturer’s warranty contact information online or through the installing company. The claim is typically filed directly with the manufacturer, and most window manufacturers will send a replacement sealed unit that the installer then replaces at no charge for labor during the labor warranty period. If your installer is unresponsive, the manufacturer claim can still proceed.
The Bottom Line
Window installation failures in Los Angeles are rarely mysterious. Most are the direct result of four specific installation shortcuts: flashing at the head done wrong, shims spaced too far apart, backer rod missing before caulking, and sash alignment skipped on casement and awning units. Each produces a recognizable symptom, and knowing the difference between them puts you in the position of strength when it comes time to call the installer back. Document your symptoms, read your contract, and know what a written guarantee actually says. The problem is solvable. The company should answer the phone. The Door Installation in Los Angeles we do is held to the same standard: no surprises, written guarantees, and a real person on the other end of the line.
And if you’re not getting that, call us at (903) 354-7134. We’ve been doing this since 2009. We’ll tell you what’s wrong, what it costs to fix, and we’ll put everything in writing before a single screw turns.
Written by Owen Satterfield, Owner at Westlight Windows & Doors, serving Los Angeles since 2009.