
Last updated October 8, 2026
Free in-home measure and quote - PGT, CGI and CWS impact lines compared on your actual openings, style by style
 Before
 After
After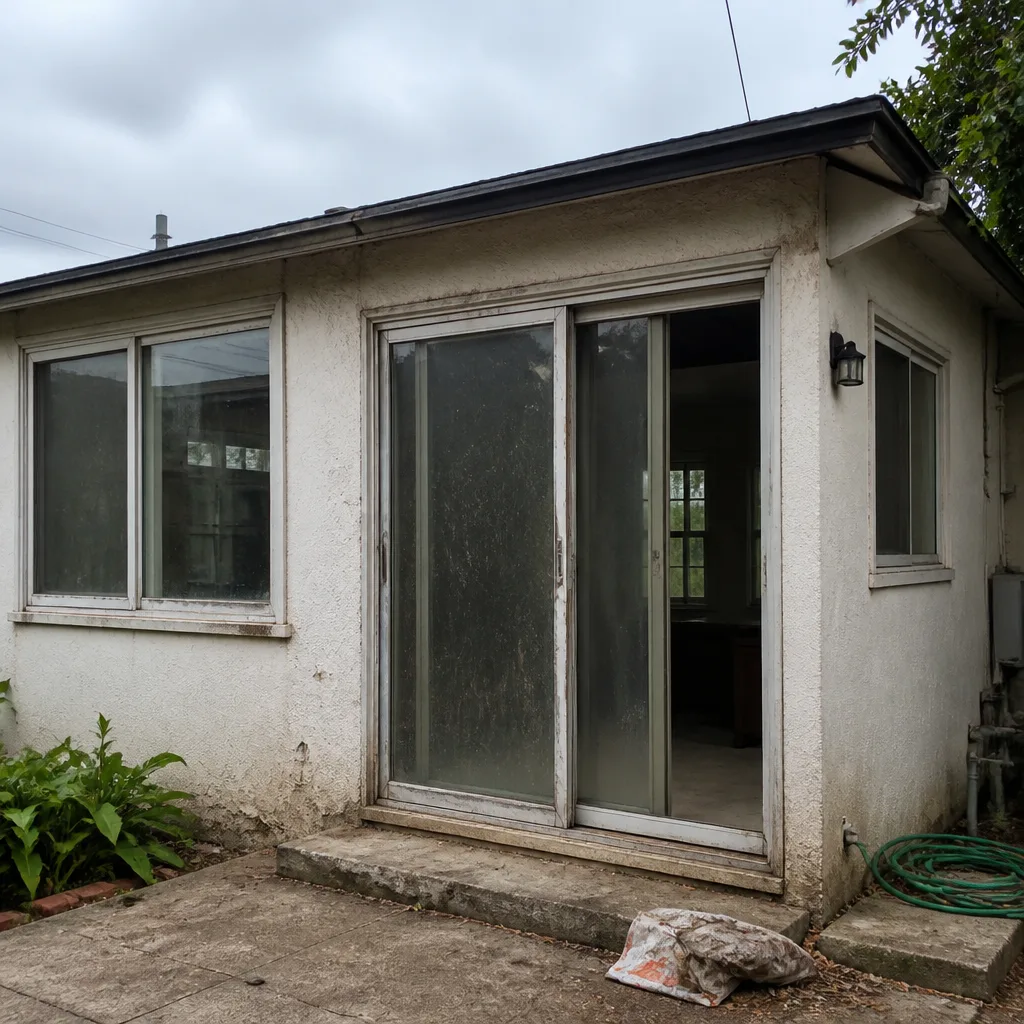 Before
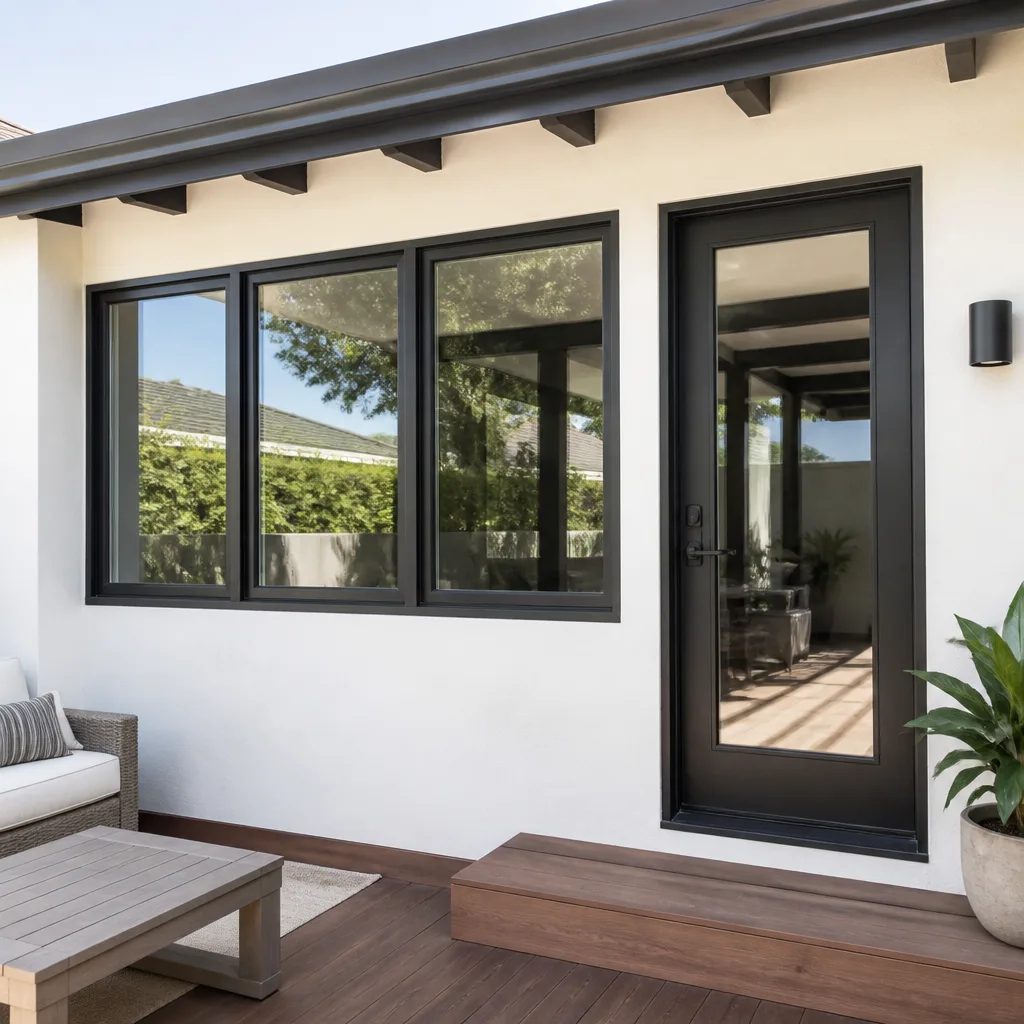 After
After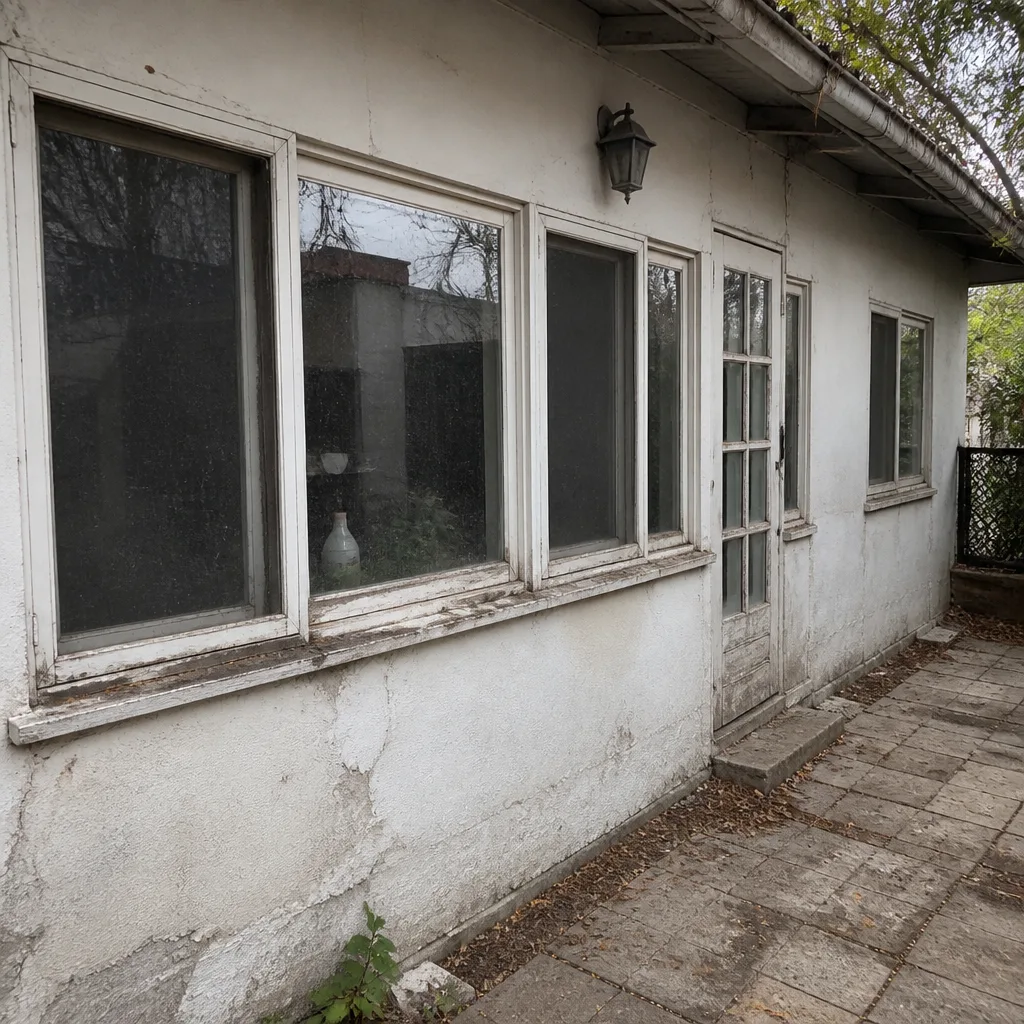 Before
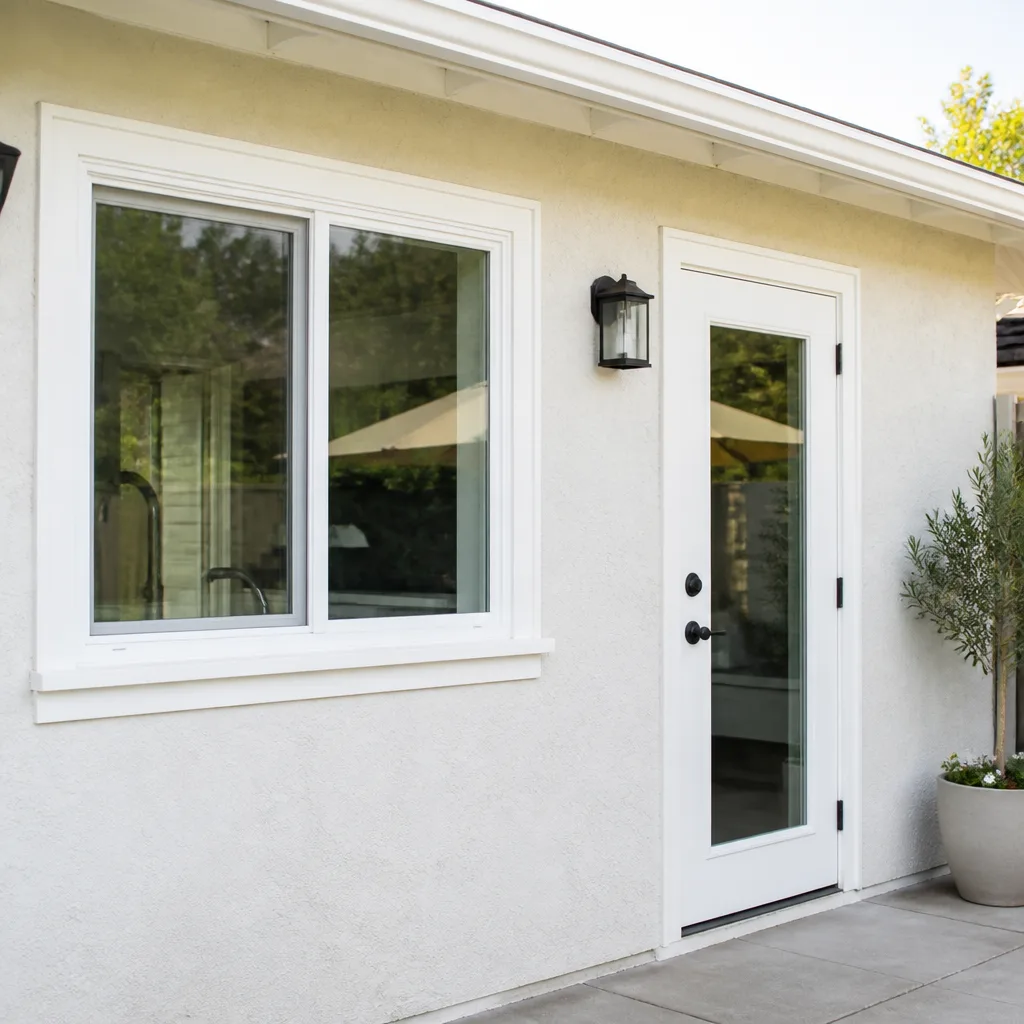 After
AfterDoor Installation Maintenance Schedule: What to Do and When
A new exterior door carries a 20-year lifespan on paper, but in Los Angeles we see doors fail at year ten, eleven, twelve because nobody told the homeowner what the door actually needs. The good news is that the single most important maintenance task costs about four dollars and takes four minutes: lubricating the hinges and lock cylinder once a year. This schedule gives you exact months, exact products, and exact warning signs so you know when a task can wait and when it can’t. We’re writing this for the homeowner who paid good money for a Door Installation in Los Angeles and wants that door to outlast the mortgage.
Quick Answer
A door installation maintenance schedule comes down to four annual tasks: lubricate hinges and the lock cylinder with a dry graphite or Teflon lubricant, condition weatherstripping with a silicone-based protectant, inspect the exterior finish for micro-cracks, and run a dollar-bill compression test on every seal. In Los Angeles, the best months for those tasks are October (after the dry Santa Ana season) and March (after winter rain). Total time investment: under one hour per year.
Table of Contents
- The Month-by-Month Maintenance Calendar for Los Angeles
- Lubrication: The $4 Task That Adds Ten Years to a Door
- Weatherstripping and the Dollar-Bill Test
- Exterior Finish Inspection: Catching Micro-Cracks Before Rot
- Threshold and Sweep Maintenance: The Bottom Seal Nobody Checks
- Hinges, Screws, and Alignment Checks
- When Maintenance Crosses Into Warranty Territory
- Common Mistakes to Avoid
The Month-by-Month Maintenance Calendar for Los Angeles
Los Angeles has two seasons that matter for doors: the dry, hot Santa Ana months from September through November, and the rainy El Niño stretch from December through March. Each season attacks a door differently and each requires specific countermeasures. Here is the calendar we recommend to homeowners across the city, from the salt air in Playa del Rey to the inland heat of the San Fernando Valley.
October: The Big Annual Service
- Lubricate all hinges with a dry Teflon lubricant like Super Lube or DuPont Teflon Silicone. Do not use WD-40; it is a solvent, not a lubricant, and it strips the factory grease from hinge pins.
- Lubricate the lock cylinder with a graphite powder made specifically for locks. Insert the key, puff a small amount into the keyway, and work the key in and out ten times.
- Clean and condition weatherstripping with a silicone-based rubber protectant like 303 Aerospace Protectant or Gummi Pflege Stift. This keeps the rubber pliable instead of cracking under Santa Ana dryness.
- Inspect the exterior finish under bright light for hairline cracks, especially on the bottom rail and the hinge-side stile where water pools after rain.
- Run the dollar-bill test on all four sides of the door. (More on this below.)
March: Post-Rain Checkup
- Re-check weatherstripping for swelling or loss of compression after winter rain. Wet rubber compresses differently than dry rubber.
- Inspect the threshold seal for dirt, grit, or mildew embedded in the sweep. El Niño rain carries fine silt that grinds against the seal every time the door swings.
- Wipe down the door face with a mild soap solution and inspect for any water spots or finish dulling that suggests the clear coat is breaking down.
- Check all hinge screws for loosening after months of humid air cycling. A door that rubs the frame in winter often just has one loose top hinge screw.
- Test the deadbolt throw into the strike plate. If it binds, the slab has swollen slightly, and the strike plate may need a 1/16-inch adjustment.
This two-date schedule covers more than 90% of door maintenance needs in Los Angeles. The October service prepares the door for winter rain, and the March checkup repairs what that rain did. Everything else in this guide explains how to do those tasks correctly and what signs mean a bigger problem is forming; see our Door Installation Warning Signs Every Homeowner Should Know for early indicators.
Lubrication: The $4 Task That Adds Ten Years to a Door
We replace more door hardware than most contractors because we see what neglect does to a good Therma-Tru or ViewLux entry door. The hinge pins grind, the finish wears off, the metal galls, and eventually the door sags enough to drag on the threshold and tear the sweep. All of that is preventable with one annual application of the right lubricant.
The Right Products (and the Wrong Ones)
- Hinge pins: Use a dry Teflon or PTFE lubricant. Super Lube Multi-Purpose Synthetic Grease with PTFE works well. Apply one small dab to each hinge pin, then swing the door open and closed five times to work it in. Wipe away excess.
- Lock cylinder: Use graphite powder sold specifically for locks, like Hillman or LAB graphite. Liquid lubricants attract dust, and dust turns into grinding paste inside a cylinder.
- Do not use WD-40 on hinges or locks. WD-40 is a water-displacing solvent. It strips lubrication and leaves a thin residue that attracts dirt. We have replaced hinge pins on doors where WD-40 use accelerated wear measurably.
- Do not use 3-in-1 oil or motor oil. They are too thick, they migrate, and they stain the door face or jamb over time.
We have seen doors in Studio City and Sherman Oaks where hinges destroyed themselves simply because the homeowner used the first spray can they found under the sink. The can said “lubricant” on it, so it seemed fine. It was not fine. If the can does not say PTFE, Teflon, or graphite, leave it in the garage.
How to Lubricate a Hinge Correctly
- Open the door fully and wedge a thin book under the latch side to take weight off the hinges.
- If the pin has a cap, pop it off with a flathead screwdriver.
- Apply one or two drops of PTFE lubricant at the top of each pin, letting it run down into the knuckle.
- Swing the door gently five or six times to distribute.
- Wipe the pin and surrounding hinge with a clean rag.
If a hinge still creaks after lubrication, the pin is likely bent or the knuckle is worn. That is a hardware replacement, not a lubrication problem, and it is one of the few repairs we recommend a professional handle because a badly worn hinge changes the door’s geometry. For step-by-step help, see our Door Installation Troubleshooting: Common Problems and How to Fix Them.
Weatherstripping and the Dollar-Bill Test
Weatherstripping is the door’s first line of defense against air leakage, and in Los Angeles it fails quietly. The rubber dries, compresses, and loses its spring, and the homeowner notices nothing until the energy bill ticks up or a cold draft appears in November. The dollar-bill test is the simplest diagnostic in this entire guide.
How to Run the Dollar-Bill Test
- Close the door completely and engage the latch.
- Place a crisp dollar bill between the door and the frame at the top, about six inches from the corner.
- Close the door on the bill. (You can re-close it with the bill in place.)
- Pull the bill out slowly. You should feel resistance; the bill should not slide out freely.
- Repeat at the latch side, the hinge side, and along the threshold sweep.
If the bill slides out with no resistance, the weatherstripping is not compressing. That means outside air is moving through the gap. In a Los Angeles summer, that is cooled air leaking out onto the porch. In winter, it is cold, damp air seeping into the house. The fix is usually a new weatherstripping gasket, which costs $15 to $40 in material depending on the door brand. A Therma-Tru door may take a specific profile gasket, while a newer PGT or Mr-Glass steel door may use a different shape. When in doubt, photograph the old gasket before removing it so you can match the profile.
Conditioning, Not Just Replacing
Most weatherstripping fails early not because it wore out, but because it dried out. Los Angeles summers with week after week of 90-degree heat bake the rubber until it cracks and loses memory. A silicone-based protectant like 303 Aerospace Protectant or nextzett Gummi Pflege Stift keeps the rubber supple. Apply it in October before the dry season gives way to winter rain. One application takes five minutes and costs about fifty cents of product. If the weatherstripping is already cracked, conditioning will not save it; replace it and start conditioning the new material annually.
Exterior Finish Inspection: Catching Micro-Cracks Before Rot
Water destroys doors from the inside. It enters through a hairline crack in the finish, soaks into the wood or the engineered core, and sits there while the surface looks fine. By the time the homeowner sees a soft spot or bubbling paint, the door is usually beyond surface repair. The inspection catches those cracks while they are still cosmetic.
Where to Look
- Bottom rail: The bottom six inches of the door are the most vulnerable because water splashes up from the threshold and sits there. Run your palm along the bottom edge. Any roughness means the finish is breaking down.
- Hinge-side stile: Water runs down the hinge side and pools at the bottom corner. Look for hairline cracks running vertically along the edge grain.
- Panel joints: On panel doors, water wicks into the seam where the panel meets the stile. That seam is the first place finish cracks appear on a Therma-Tru or ViewLux door.
- Around the lock bore: The lock cylinder creates a penetration point. Look for finish lifting in a ring around the deadbolt.
In Los Angeles, the east-facing and south-facing sides of a house take the worst sun, and the doors on those sides crack before doors on shaded sides. A dark-painted door can reach 140 degrees surface temperature on a July afternoon in the Valley, and the finish expands and contracts every single day. That movement eventually forms micro-cracks. A light caulk line along panel joints or around the threshold does not fix a cracked finish, but it slows water penetration until the door can be refinished properly.
When we see a finish with widespread hairline cracks, we recommend stripping and refinishing before the next rainy season. A professional refinish in the Los Angeles market runs roughly $200 to $500 for a door removed, stripped, sanded, and repainted with a marine-grade finish. Waiting until the wood feels soft under the paint means replacement, which starts around $1,200 installed for a basic entry door and goes up from there.
Threshold and Sweep Maintenance: The Bottom Seal Nobody Checks
The threshold and the door sweep do the hardest work of any component on the door. They stop rain, dust, insects, and noise. They also live an inch above the ground, which means they collect silt, leaves, and grit every time the wind blows through a Los Angeles yard. We have pulled sweeps off doors in Burbank that were packed solid with dust from a single Santa Ana season.
What to Do, Step by Step
- Vacuum the threshold channel twice a year, once in October and once in March. A crevice tool gets into the groove where the adjustable seal sits.
- Clean the sweep on the bottom of the door with a damp cloth. If the sweep has a brush insert, comb it out gently with an old toothbrush.
- Adjust the threshold height if the door leaks air under the sweep. Most adjustable thresholds have screw holes under caps in the top surface. A quarter turn on those screws raises or lowers the seal in 1/16-inch increments.
- Replace the sweep if the rubber fin is cracked, curled, or torn. A replacement sweep for most residential doors costs $8 to $25.
A failing threshold shows up as daylight under the door, visible dust or leaves on the floor just inside the entry, or a cold draft at ankle height in winter. In our experience, the threshold is the single most overlooked component on a door, and it is also the cheapest to fix. If the threshold itself is cracked, that is a structural problem; replacement thresholds run $60 to $150 and typically require removing the door slab, so it is best left to a door installer.
Hinges, Screws, and Alignment Checks
A door that drags at the top corner or rubs the strike side is usually not a warped door; it is loose hardware. Three hinges carry the full weight of the slab, and over time the screws back out, the hinge leaves flex, and the door sags. That sag changes the gap at the top and bottom, which loads the hinges unevenly and accelerates wear.
The Two-Minute Alignment Check
- Stand inside the house and look at the gap between the door and the frame on the latch side. It should be even from top to bottom.
- If the gap is wider at the top than the bottom, the top hinge is loose or the slab has sagged.
- Open the door halfway and let go. If it swings open or closed on its own, the hinges are not plumb, and the load is uneven.
- Check every hinge screw with a screwdriver. If a screw turns freely without tightening, the screw hole is stripped.
Stripped hinge screw holes are common in wood frames, especially in older Los Angeles houses where the original jambs were made from fir or redwood that has dried and cracked over 60 years. The fix is to pack the hole with a wood sliver or a few toothpicks and wood glue, let it dry, and re-drive the screw. For heavier doors, longer screws that reach into the framing behind the jamb make a real difference. A 3-inch screw through the top hinge into the stud can pull a sagging door back into alignment without any other adjustment.
When the door slab itself is warped more than about 1/8 inch across its face, adjustment will not fix it. Warping is a manufacturing issue and often appears in the first year; if it shows up, that is a warranty claim, not a maintenance problem.
When Maintenance Crosses Into Warranty Territory
Every reputable door manufacturer backs its doors with a warranty, and most of those warranties contain a maintenance clause. If the homeowner cannot show reasonable maintenance, the manufacturer can deny the claim. We help homeowners document their maintenance so that a legitimate defect never gets dismissed as neglect.
What to Document, and How
- Purchase date and model: Keep the sales receipt and take a photo of the door label, usually on the hinge edge, which shows the model and date code.
- Installation date: If a contractor installed the door, the contract or invoice establishes the start of the warranty period.
- Maintenance log: A simple notebook entry or a few dated photos each autumn and spring is enough to show the door was lubricated, conditioned, and inspected.
- Defect photos: If a crack, delamination, or seal failure appears, photograph it immediately with a date stamp and a ruler for scale.
Specific defects that are warranty issues include glass seal failure in a door lite (the interior of the glass fogs permanently), delamination of the door skin from the core, a slab that warps more than 1/8 inch, and factory finish that peels within the finish warranty period. These are not maintenance problems, and no amount of lubricant will fix them. A homeowner who notices any of those signs should contact the installer or the manufacturer. In our experience, a clear photo and a dated maintenance log are what separate approved claims from denied ones.
For a door installed by our team, the Kingswell Guarantee covers the workmanship, and we come back at no charge if the repair fails within the guarantee period. We hand every customer a written guarantee at job completion, so the terms are never in question.
Common Mistakes to Avoid
- Using WD-40 on hinges and locks. It strips lubrication and attracts dust. Within a year, the hinge squeaks worse than before.
- Skipping the threshold sweep. The bottom seal counts as weatherstripping too, and it fails faster because it drags on the ground. Inspect it every time you vacuum the entry.
- Painting over weatherstripping. Paint dries the rubber and glues the seal to the frame. When the door opens, the seal tears. Mask weatherstripping before painting the frame, or better, remove it entirely.
- Conditioning a cracked gasket. Silicone protectant restores pliability to intact rubber; it does not heal cracks or tears. If the weatherstripping is cracked, replace it.
- Ignoring a top hinge that has pulled loose. A sagging door grinds the threshold sweep and forces the deadbolt to bind. The top hinge screw is the first thing to check, not the last.
- Documenting warranty work only when something fails. Warranties need proof of maintenance too. A photo log twice a year takes two minutes and protects a five-figure door investment.
- Thinking Los Angeles has no weather. The city gets less rain than most places, but the heat, UV, and Santa Ana dust are harder on door finishes and weatherstripping than rain ever was.
Frequently Asked Questions
Once a year, in October before the Los Angeles rainy season. Use a dry Teflon or PTFE lubricant on hinge pins and graphite powder in the lock cylinder. If you live within a few blocks of the ocean in a neighborhood like Playa del Rey or San Pedro, lubricate twice a year because salt air accelerates corrosion. Call (903) 354-7134 if a hinge is still noisy after lubricating; that usually means a bent pin or worn knuckle, and we can tell you over the phone whether it’s a simple fix or a hardware replacement.
The dollar-bill test measures weatherstripping compression. Close a dollar bill in the door and pull it out; if it slides out freely with no resistance, the seal is not compressing and outside air is moving through the gap. That means higher energy bills and reduced comfort. A failing compression test usually means the weatherstripping needs replacement, which costs $15 to $40 in material. For an exact quote on your door, call (903) 354-7134 and we’ll give you a written price before any work starts.
A well-maintained exterior door should last 20 to 30 years in Los Angeles. A neglected door often fails around year ten to twelve because the finish cracks, water penetrates, and the core rots or delaminates. The annual maintenance schedule in this guide is what separates the 30-year door from the 10-year door. We install doors from manufacturers like Therma-Tru, Mr-Glass, and PGT that are engineered for long service life, and we back the labor with the Kingswell Guarantee in writing.
Fiberglass doors need the same lubrication, weatherstripping care, and threshold checks as wood doors, but they do not require the same finish attention because the skin does not absorb water. A Therma-Tru or ViewLux fiberglass door needs its finish inspected for cracks and its hardware maintained, but the slab itself is far more forgiving than wood. Wood doors in Los Angeles need finish inspection every six months because the dry heat opens cracks that let water in during winter rain. For help choosing the right door material for your house, call (903) 354-7134 and we’ll walk you through the trade-offs honestly.
Most adjustable thresholds can be raised or lowered with a screwdriver by turning the adjustment screws under the caps on the top surface. A quarter turn moves the seal about 1/16 inch. If the threshold itself is cracked or the door still leaks after adjusting, the threshold needs replacement, and that requires removing the door slab. That’s a job for a professional. We replace thresholds as part of a door installation or repair visit, and we’ll give you a written price before any work starts. Call (903) 354-7134 to schedule a free estimate.
The Kingswell Guarantee covers workmanship failures, including a repair that fails within the guarantee period; we come back and fix it at no charge. Homeowner maintenance, like lubricating hinges and conditioning weatherstripping, is the homeowner’s responsibility, and we document how to do it. If a manufacturer defect appears, like seal failure or delamination, we help you file the warranty claim with proper documentation. Every Westlight customer gets the guarantee in writing at job completion, so you always know what’s covered. Call (903) 354-7134 with any question about your door’s warranty or maintenance.
The Bottom Line
A door is one of the few products in your house where four dollars and one hour a year make a ten-year difference. Lubricate the hinges and lock in October, condition the weatherstripping before the dry season ends, inspect the finish for micro-cracks every spring, and run the dollar-bill test twice a year. If you do those four things, your door in Los Angeles should outlast its warranty by a decade. If you skip them, you will pay for replacements you could have avoided. And when the day comes that a door needs professional help, Westlight Windows & Doors gives you a written price before any work starts and stands behind it with the Kingswell Guarantee.
Call (903) 354-7134 to schedule a free estimate, or visit our Westlight Windows & Doors home page to learn more about how we work. We also offer Window Replacement in Los Angeles and Window Installation in Los Angeles for the rest of the house.
Written by Owen Satterfield, Owner at Westlight Windows & Doors, serving Los Angeles since 2009.